

It’s been a few weeks since I’ve updated my woodworking projects. There’s been so much going on, but I finally got around to wrapping up my 6th project of the year. I’ve finally finished the coffee table for our formal living room.
This project took longer for a few reasons – time constraints, evening meetings, and the table was challenging. In the end, it turned out pretty good in my opinion.
This table was built by 1x4s and a sheet of 1/2 inch plywood. I also used a whole lot of wood glue! (not all of this wood was for the table…) This project was my first entry into the world of using dado blades, which look a lot more intimidating than they are. I also used a strap clamp, and made some pretty wicked miter joints.
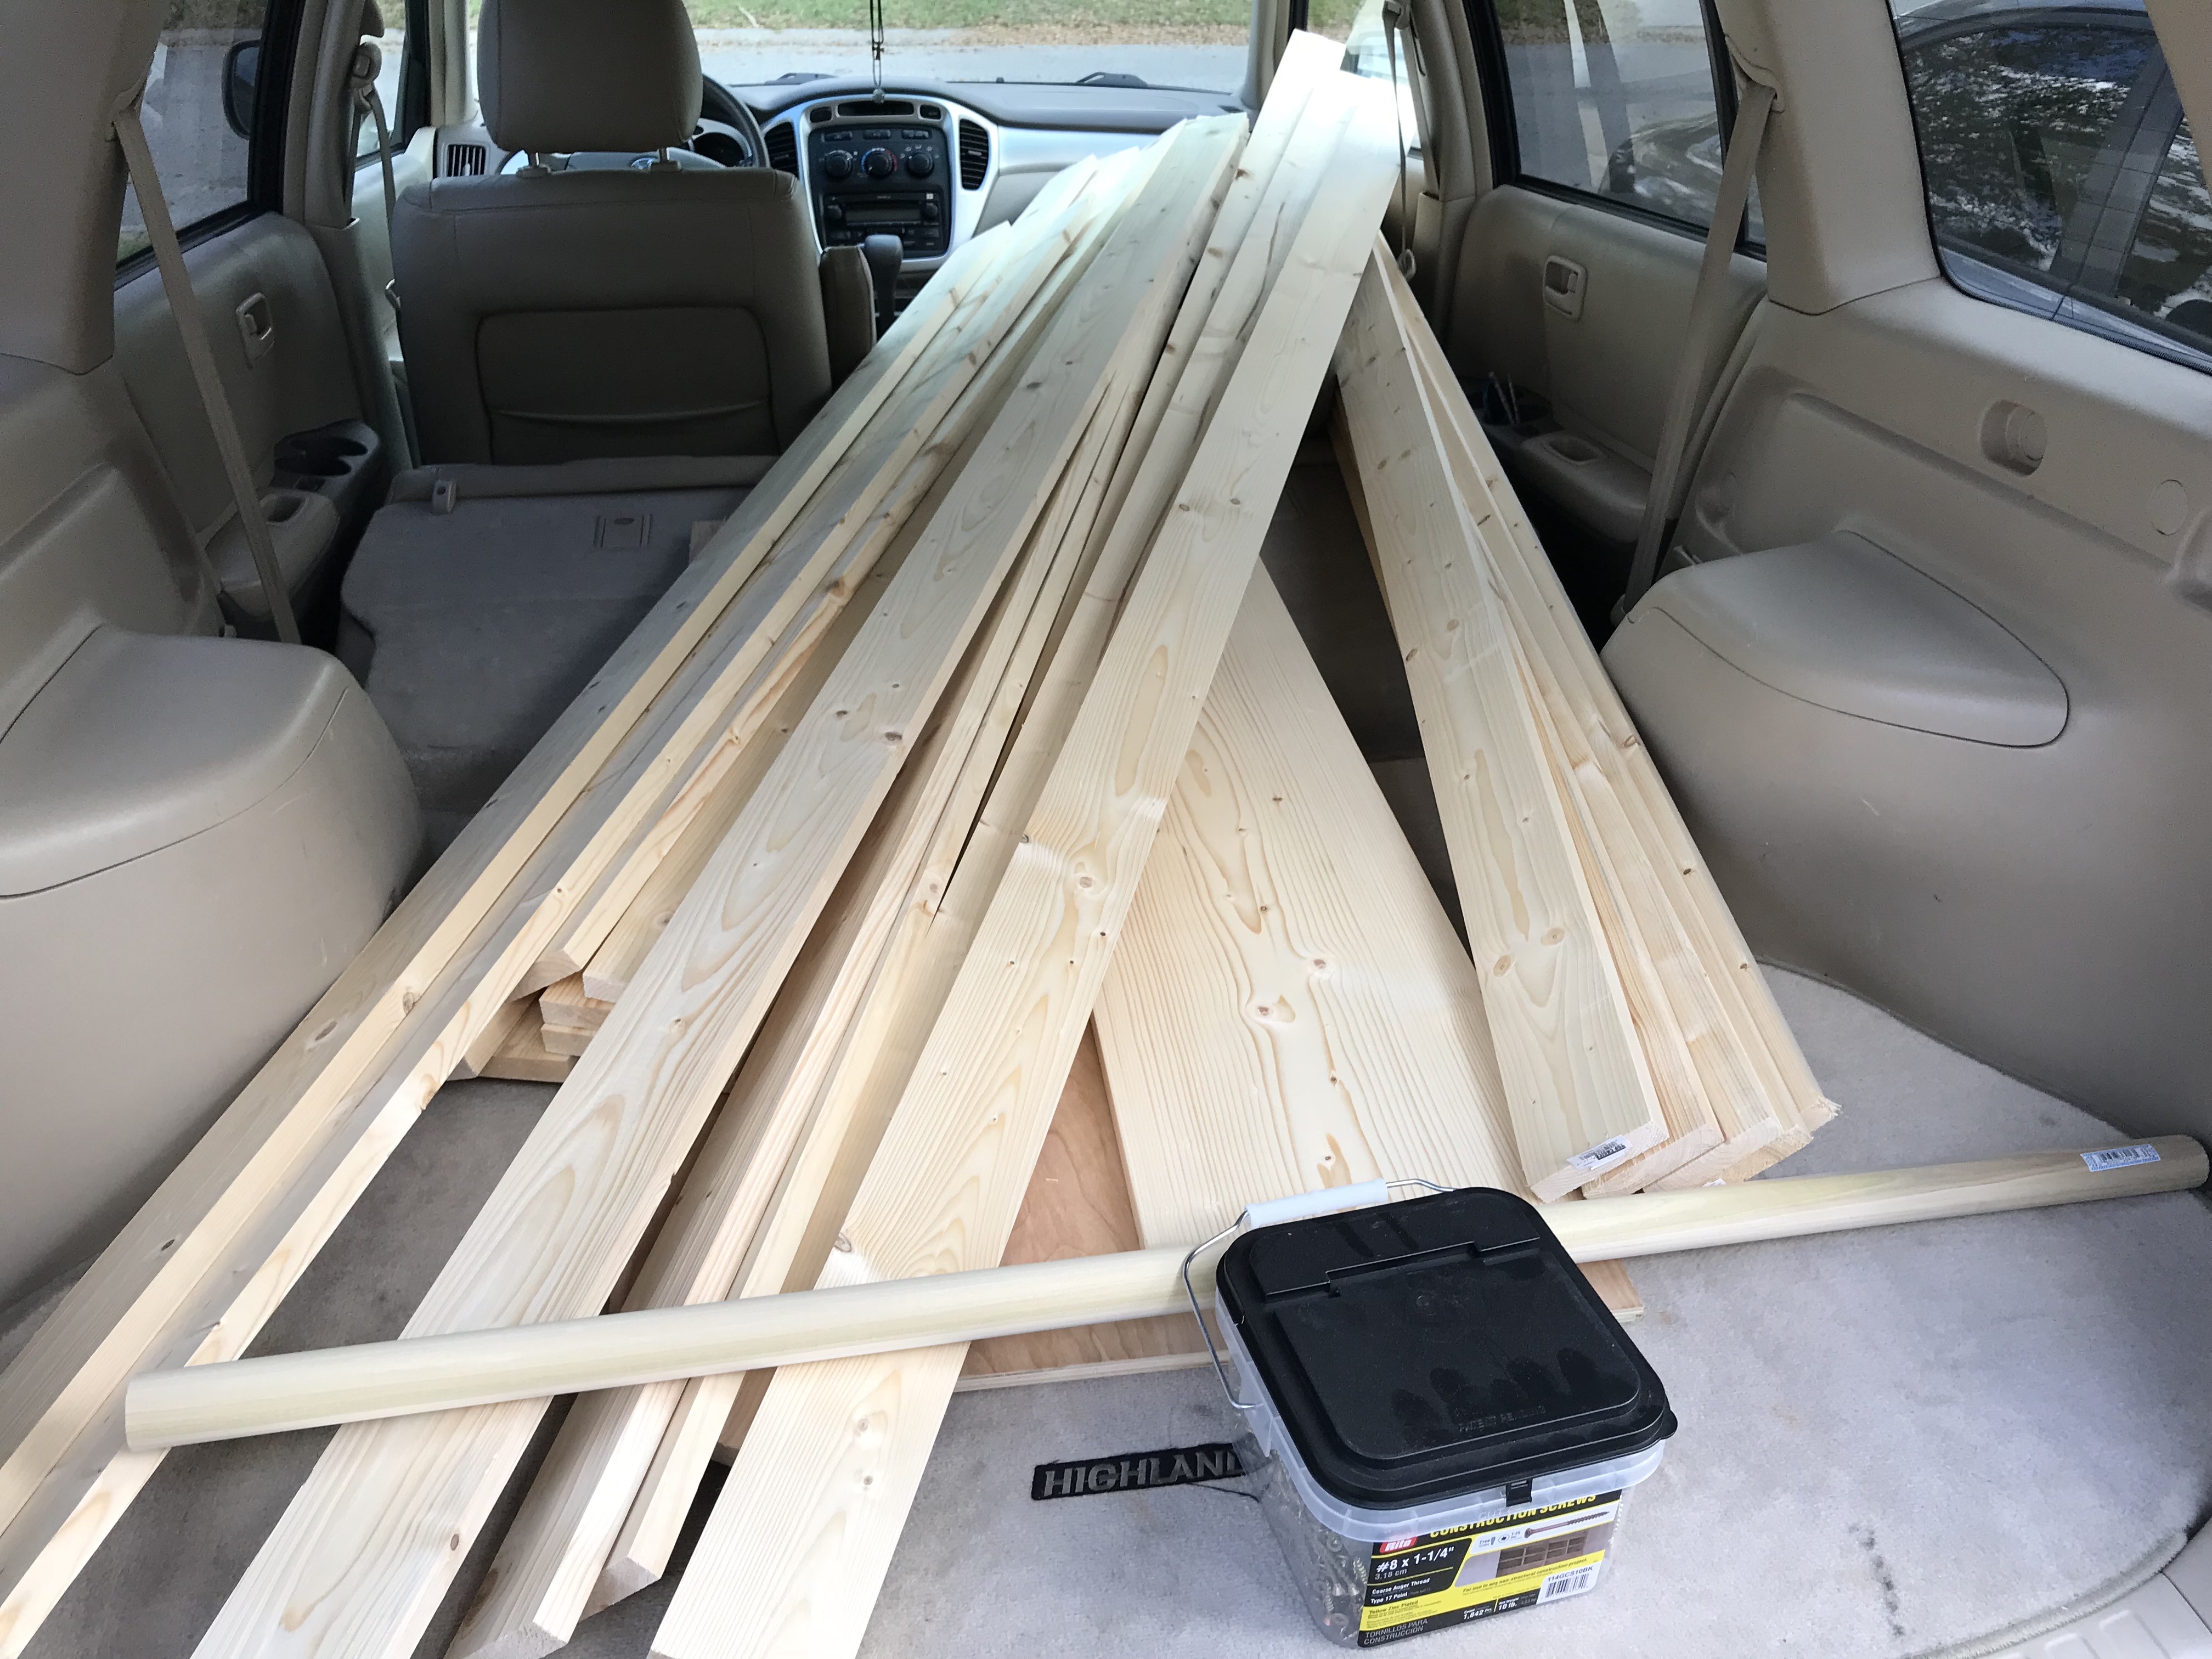
Lots of wood that I bought at a nearby big box home center.
I started off by making the legs. This consisted of cutting them to length, and gluing them together. I then cut a bevel into them to put an nice looking angle to the legs.
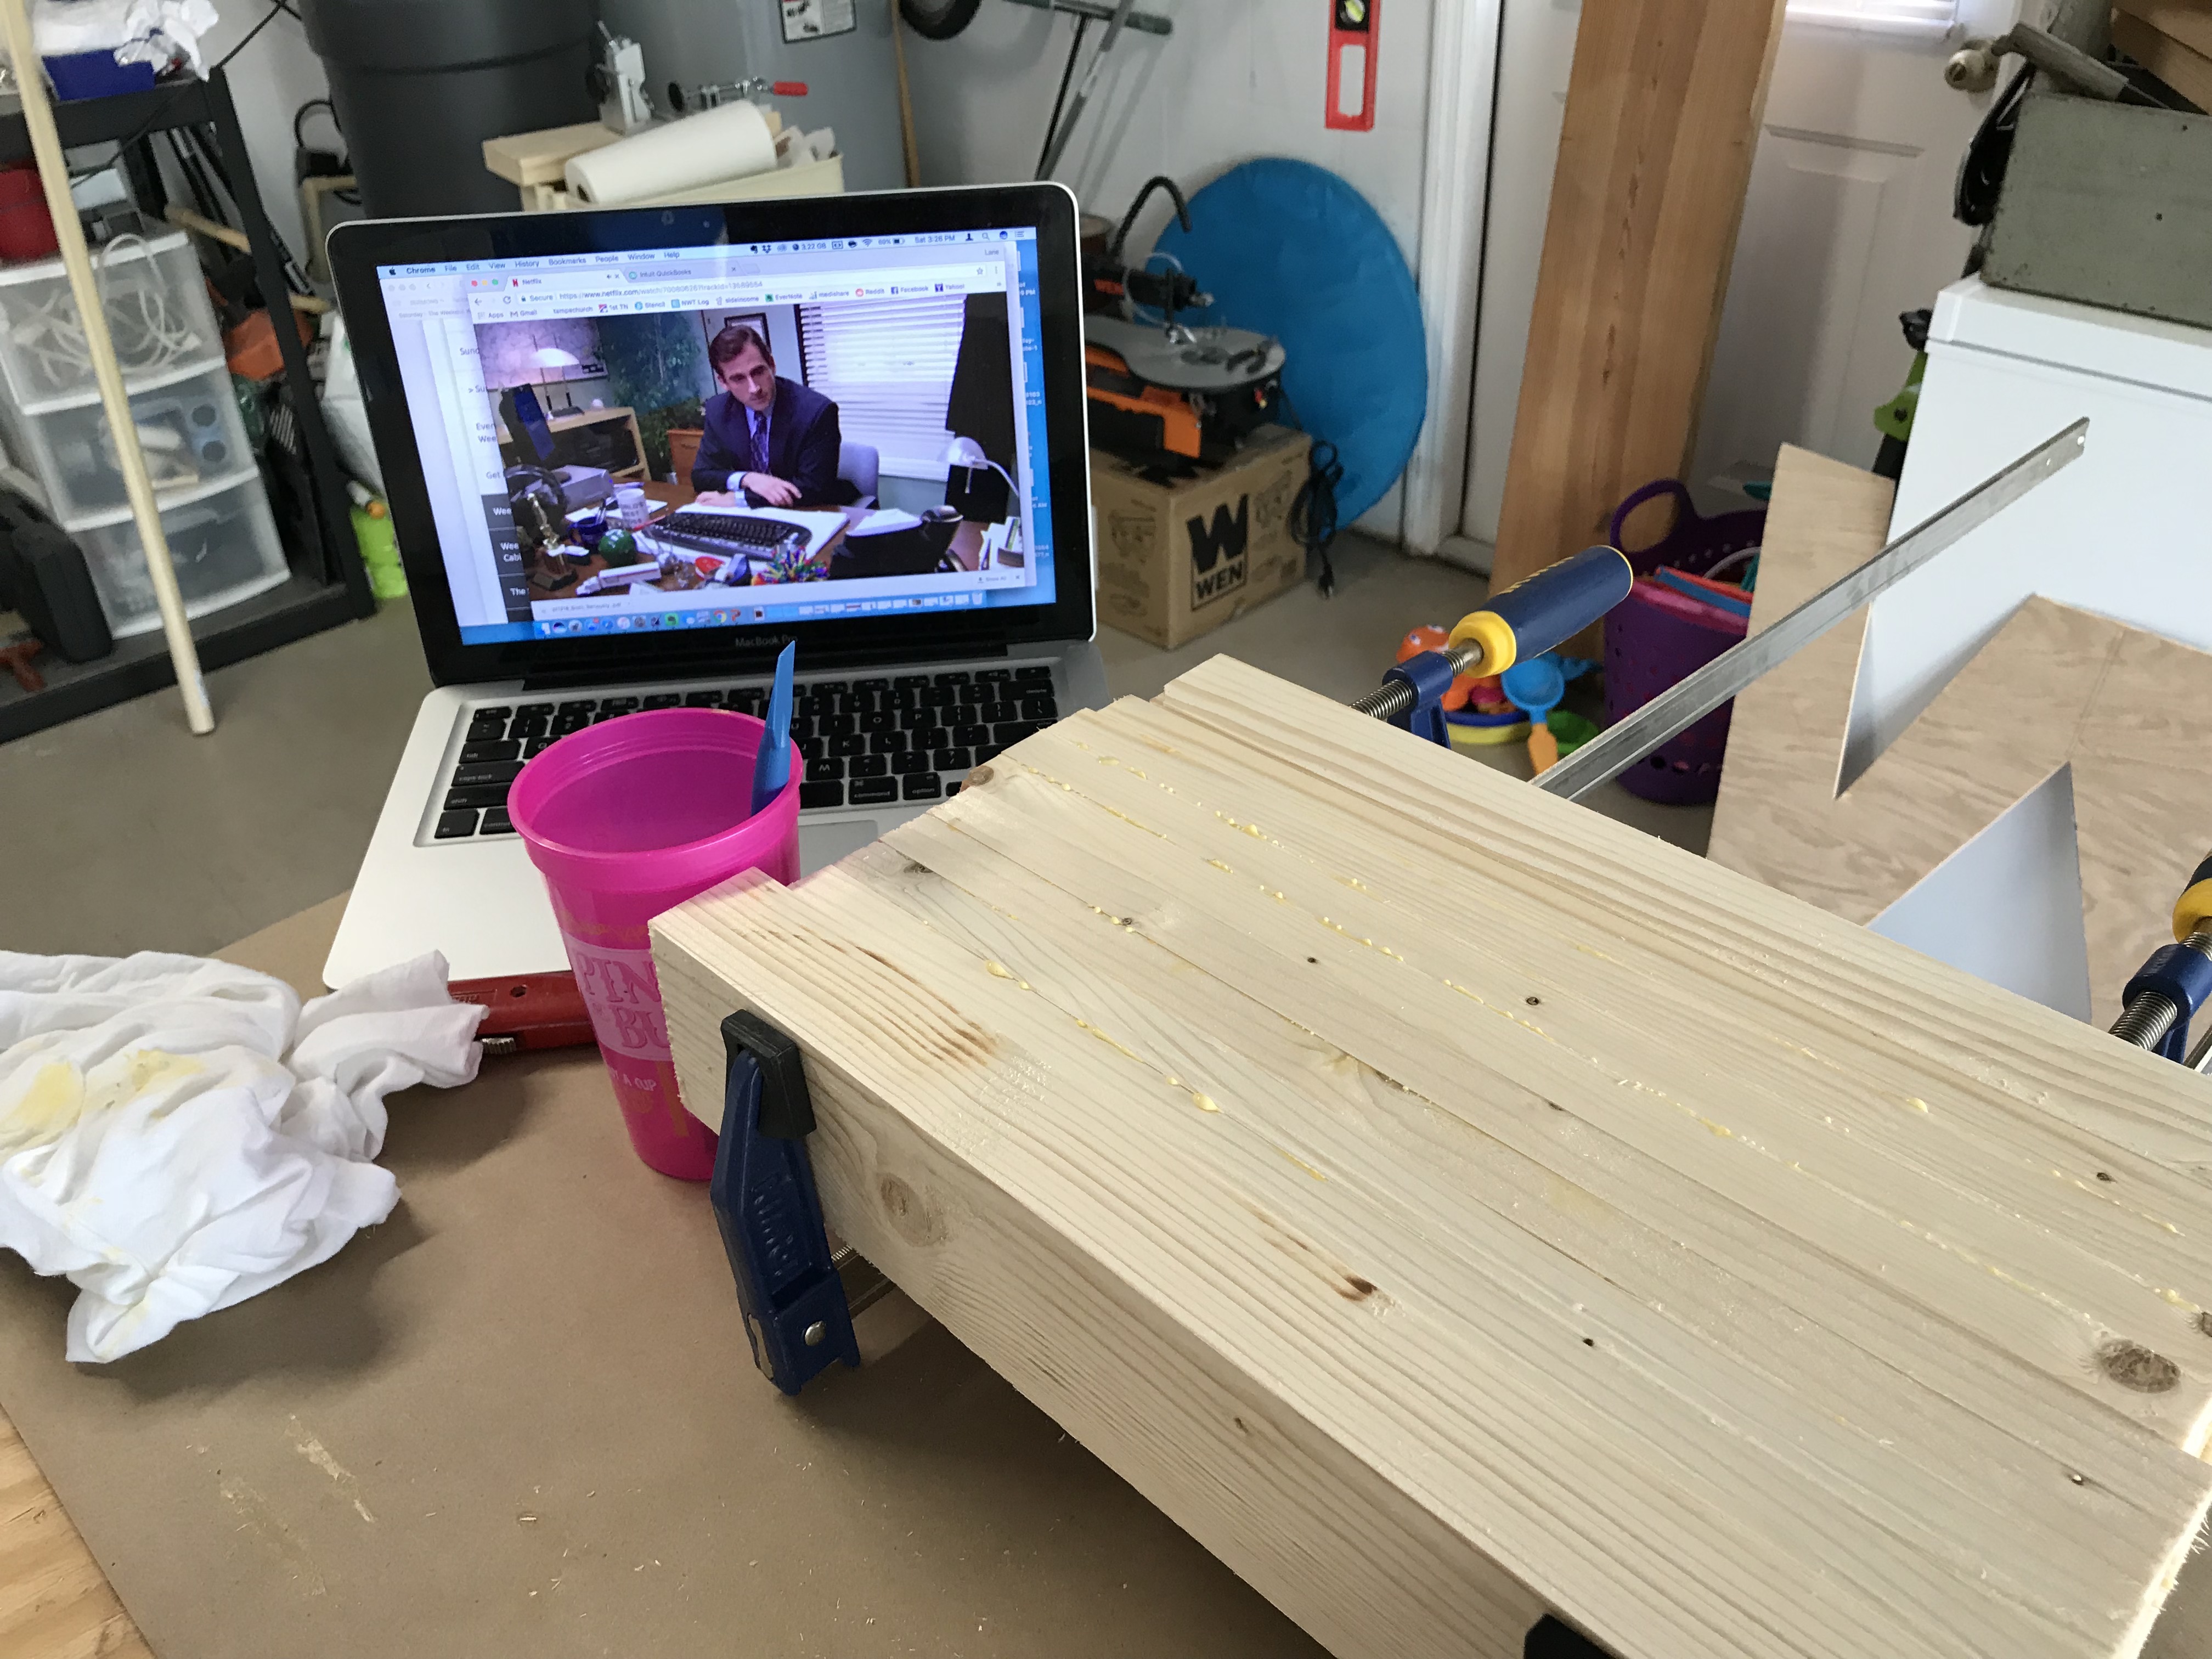
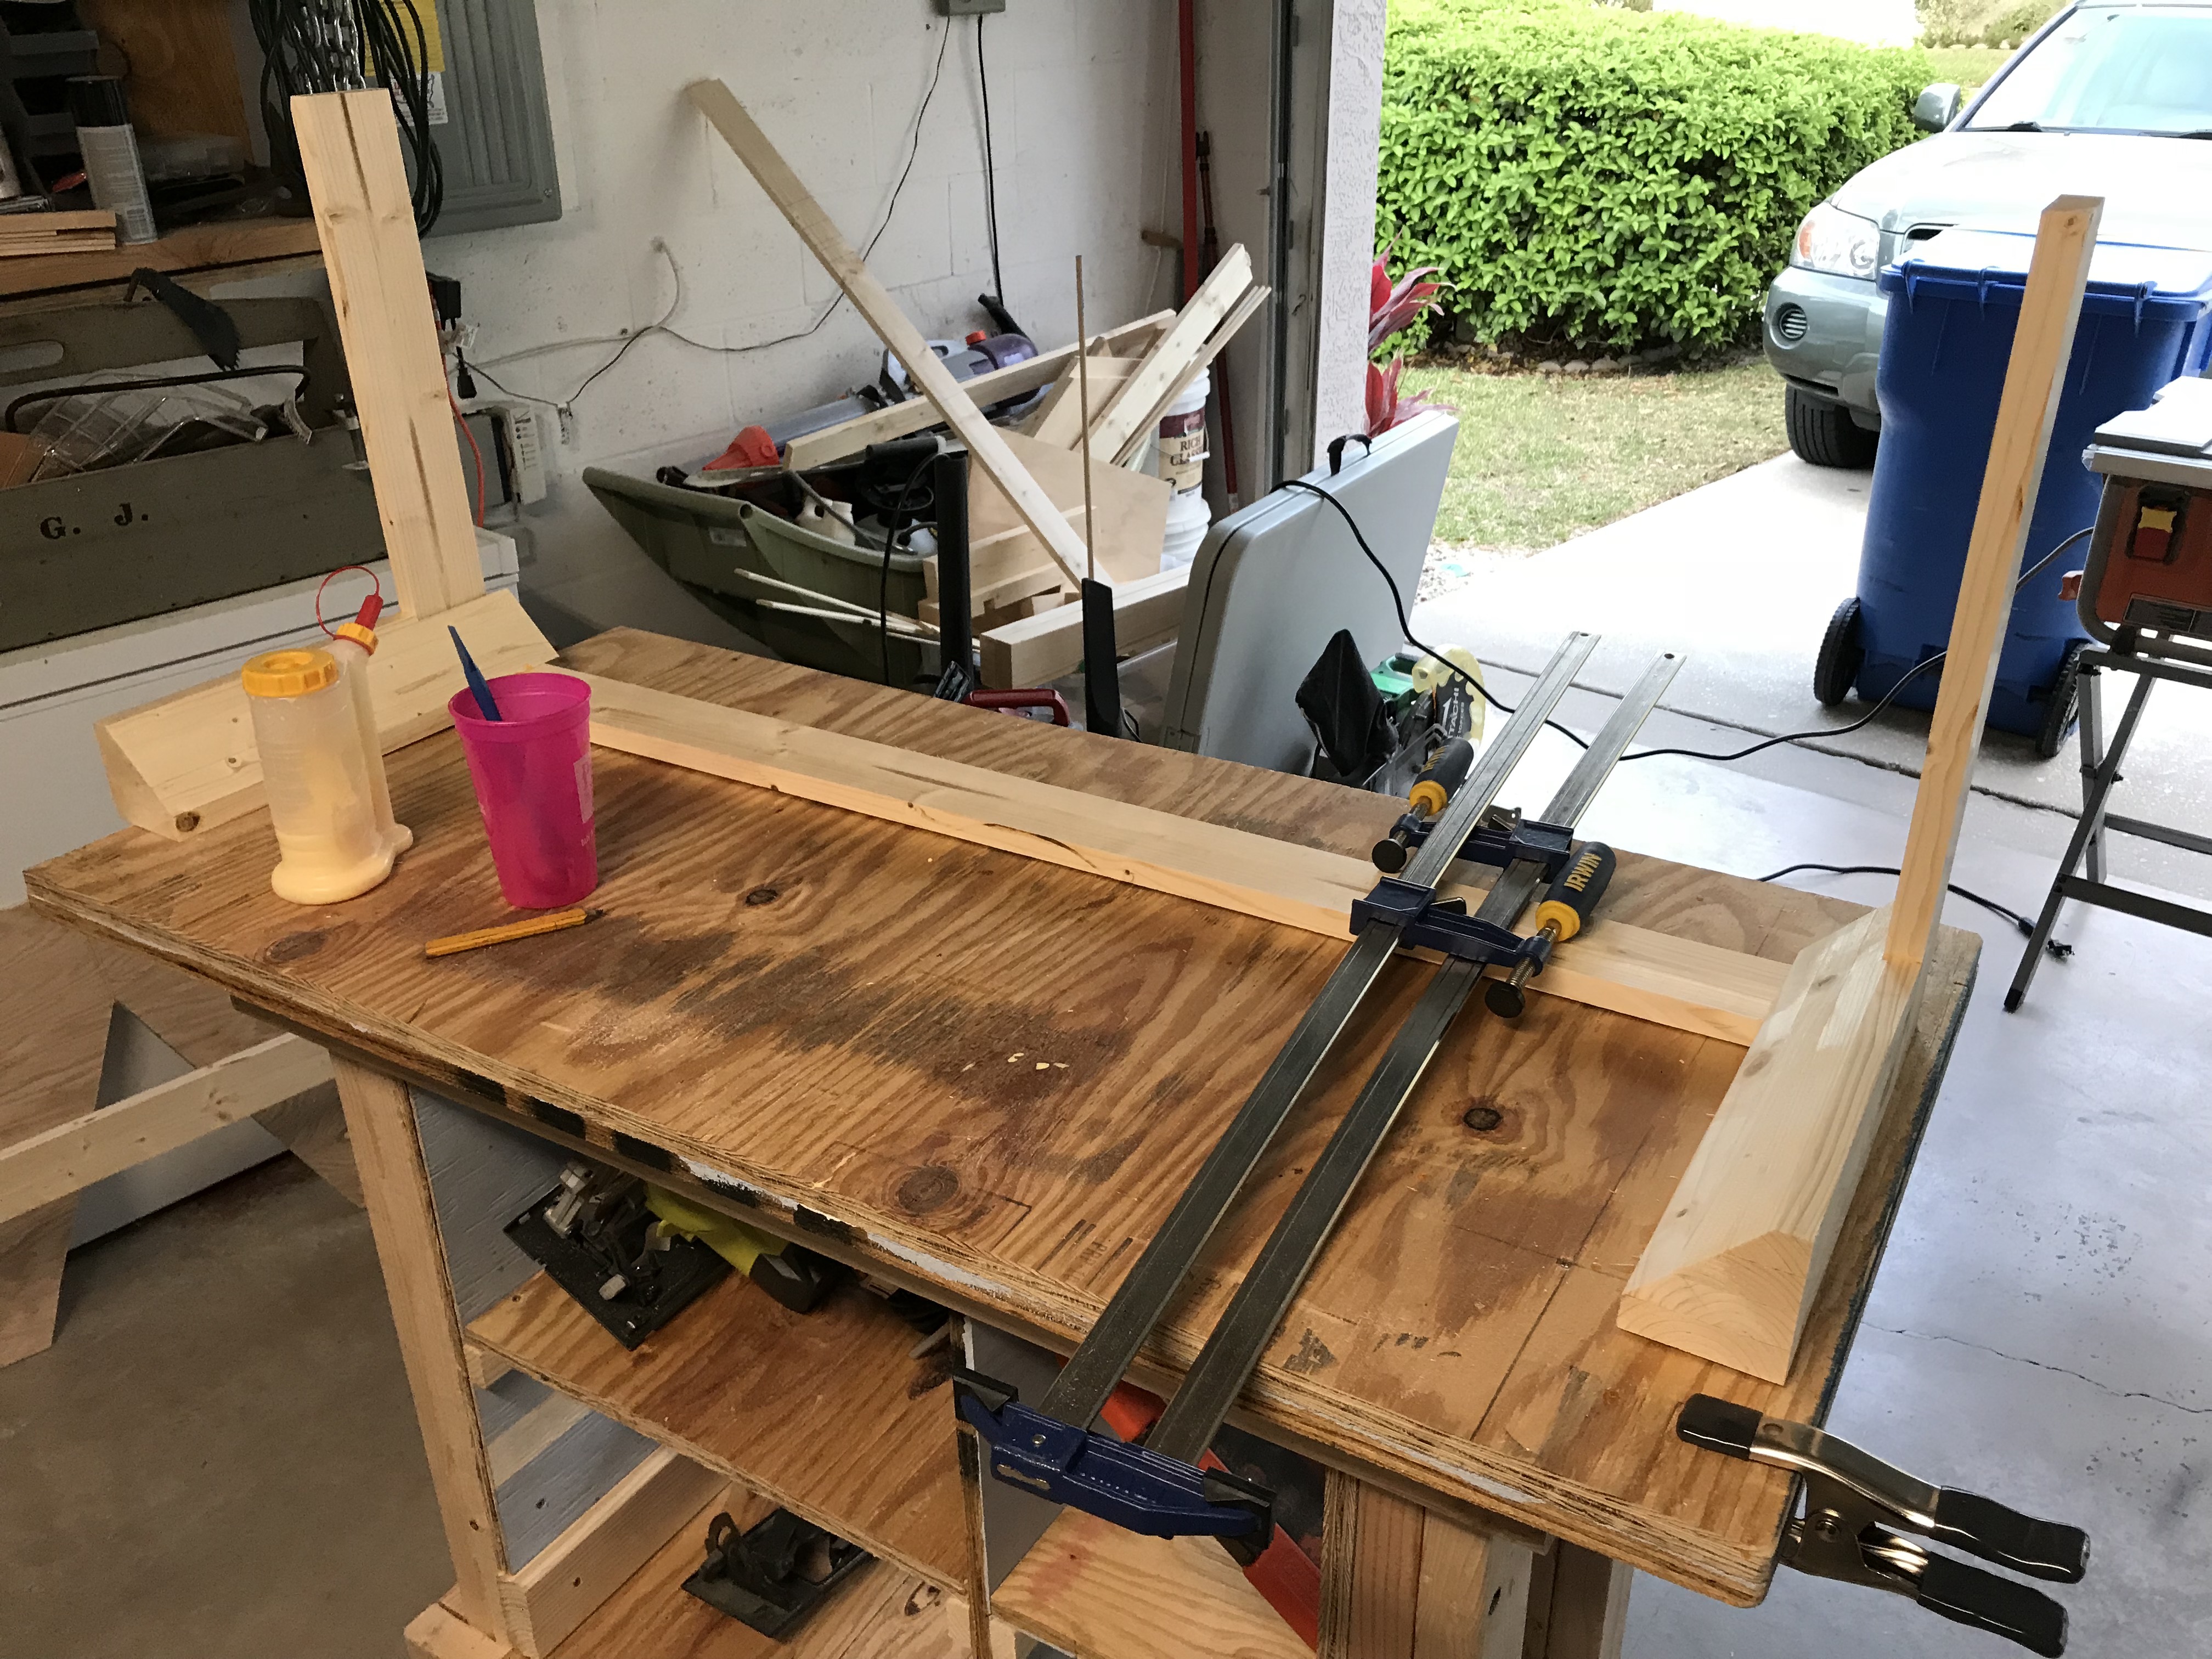
Gluing up the boards – since I don’t have a lot of clamps, I had to do two sets of legs together with my longer clamps.

Two other sets of legs being glued up.

All 4 legs glued up and ready to be shaped.
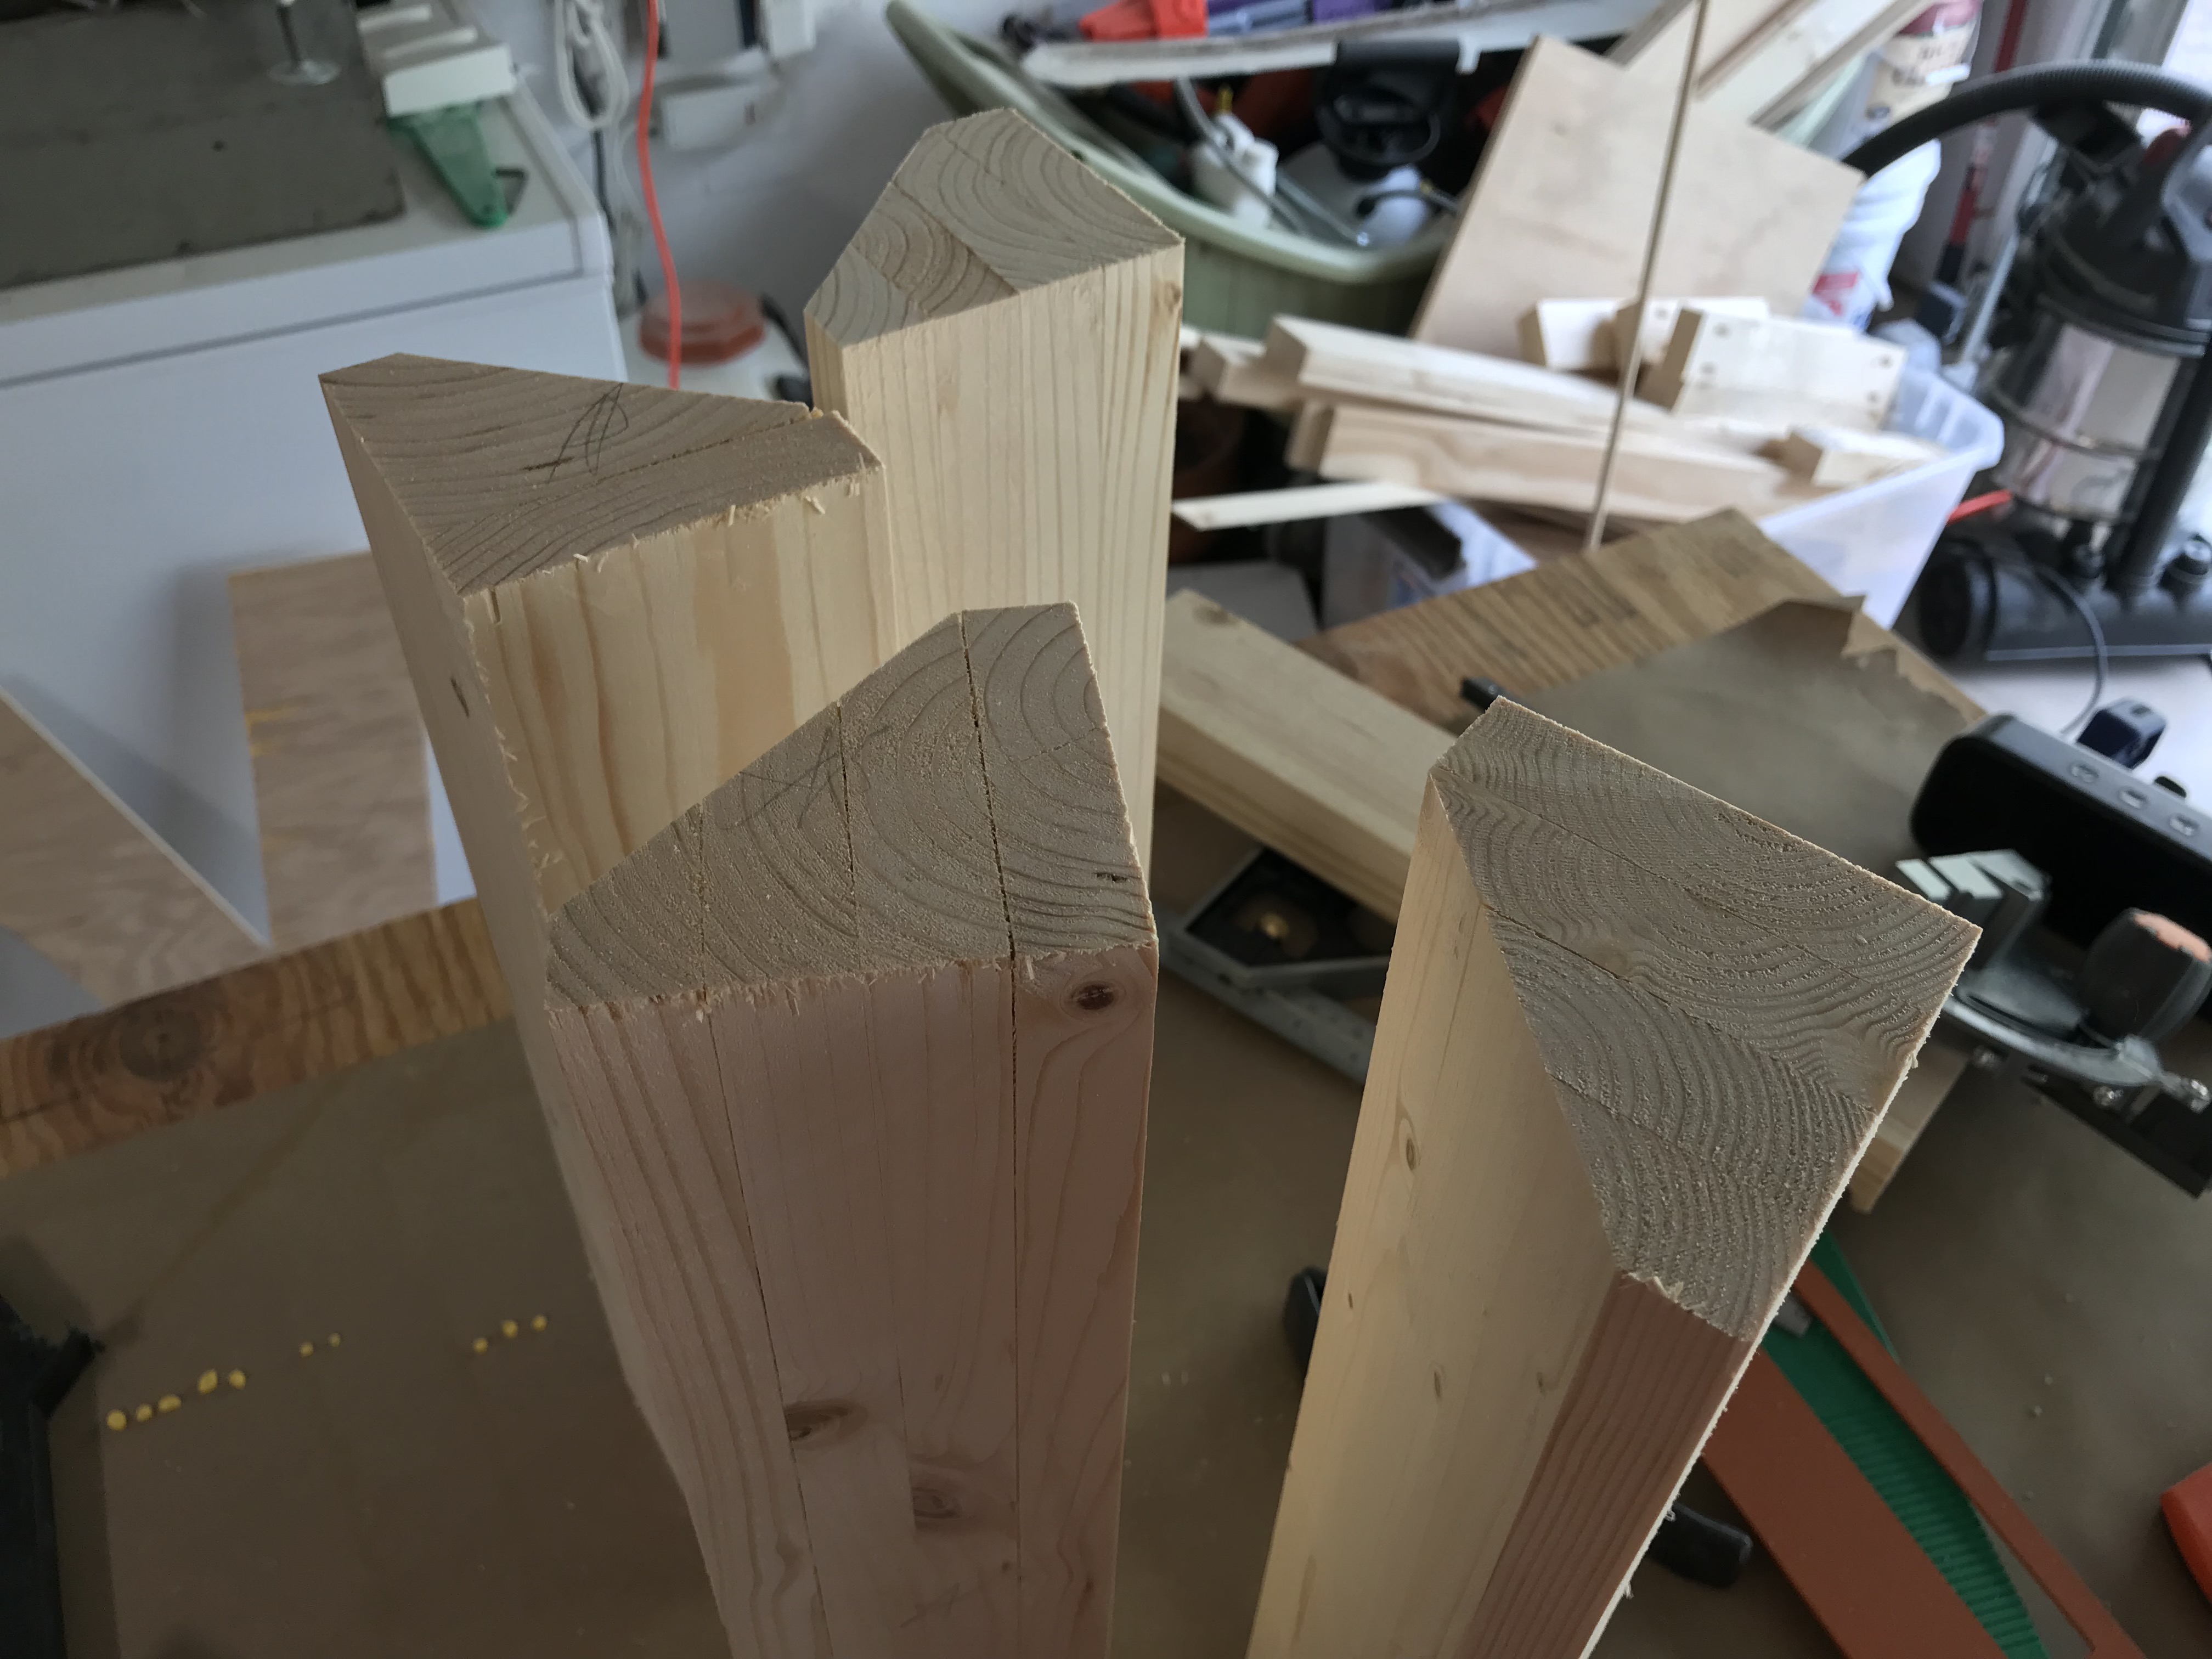
I ran the legs through the table saw at an angle to create an awesome looking bevel shape.
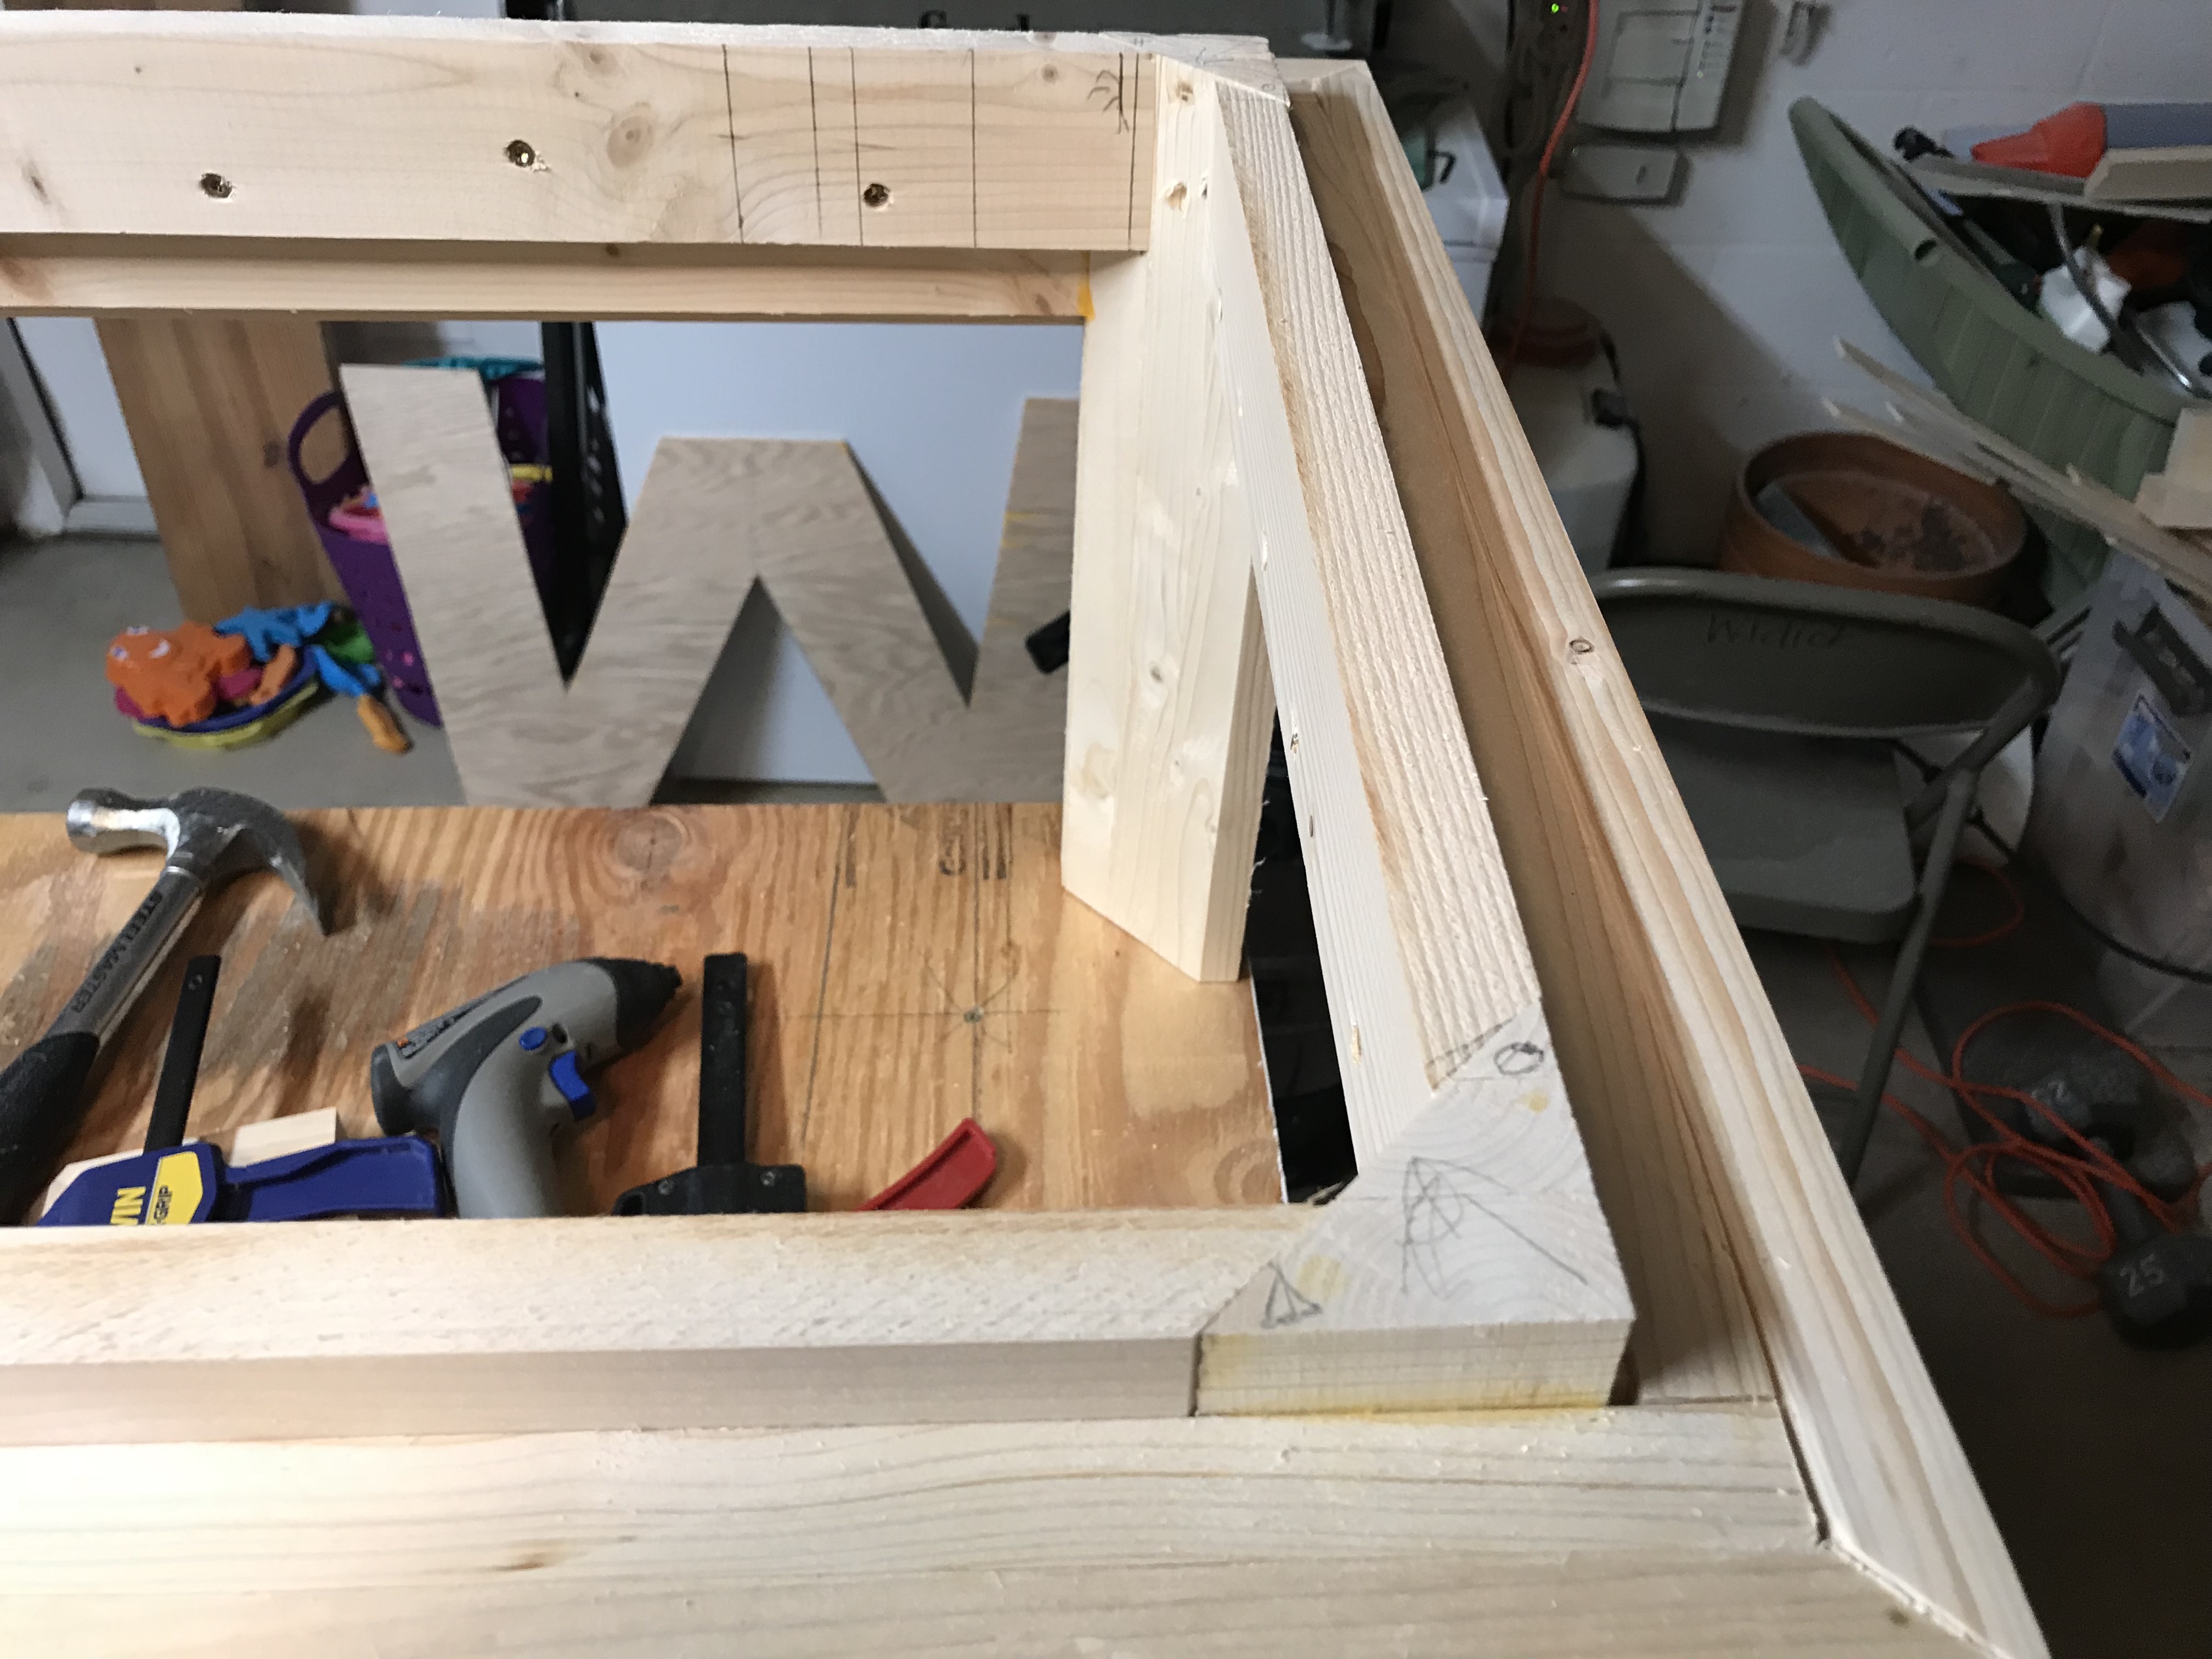
After that, I broke out my new dado blades. Dado blades help cut wide rabbets and dadoes much quicker than a regular saw blade. I used the dado blades here to cut a decorative top to the leg. Later on these will be where the frame goes.

Dado blades made quick work of the next step, and aren’t that difficult to figure out. The stack I have is thicker, but don’t fit in the throat insert for my table saw. I need to make my own to use the whole stack.
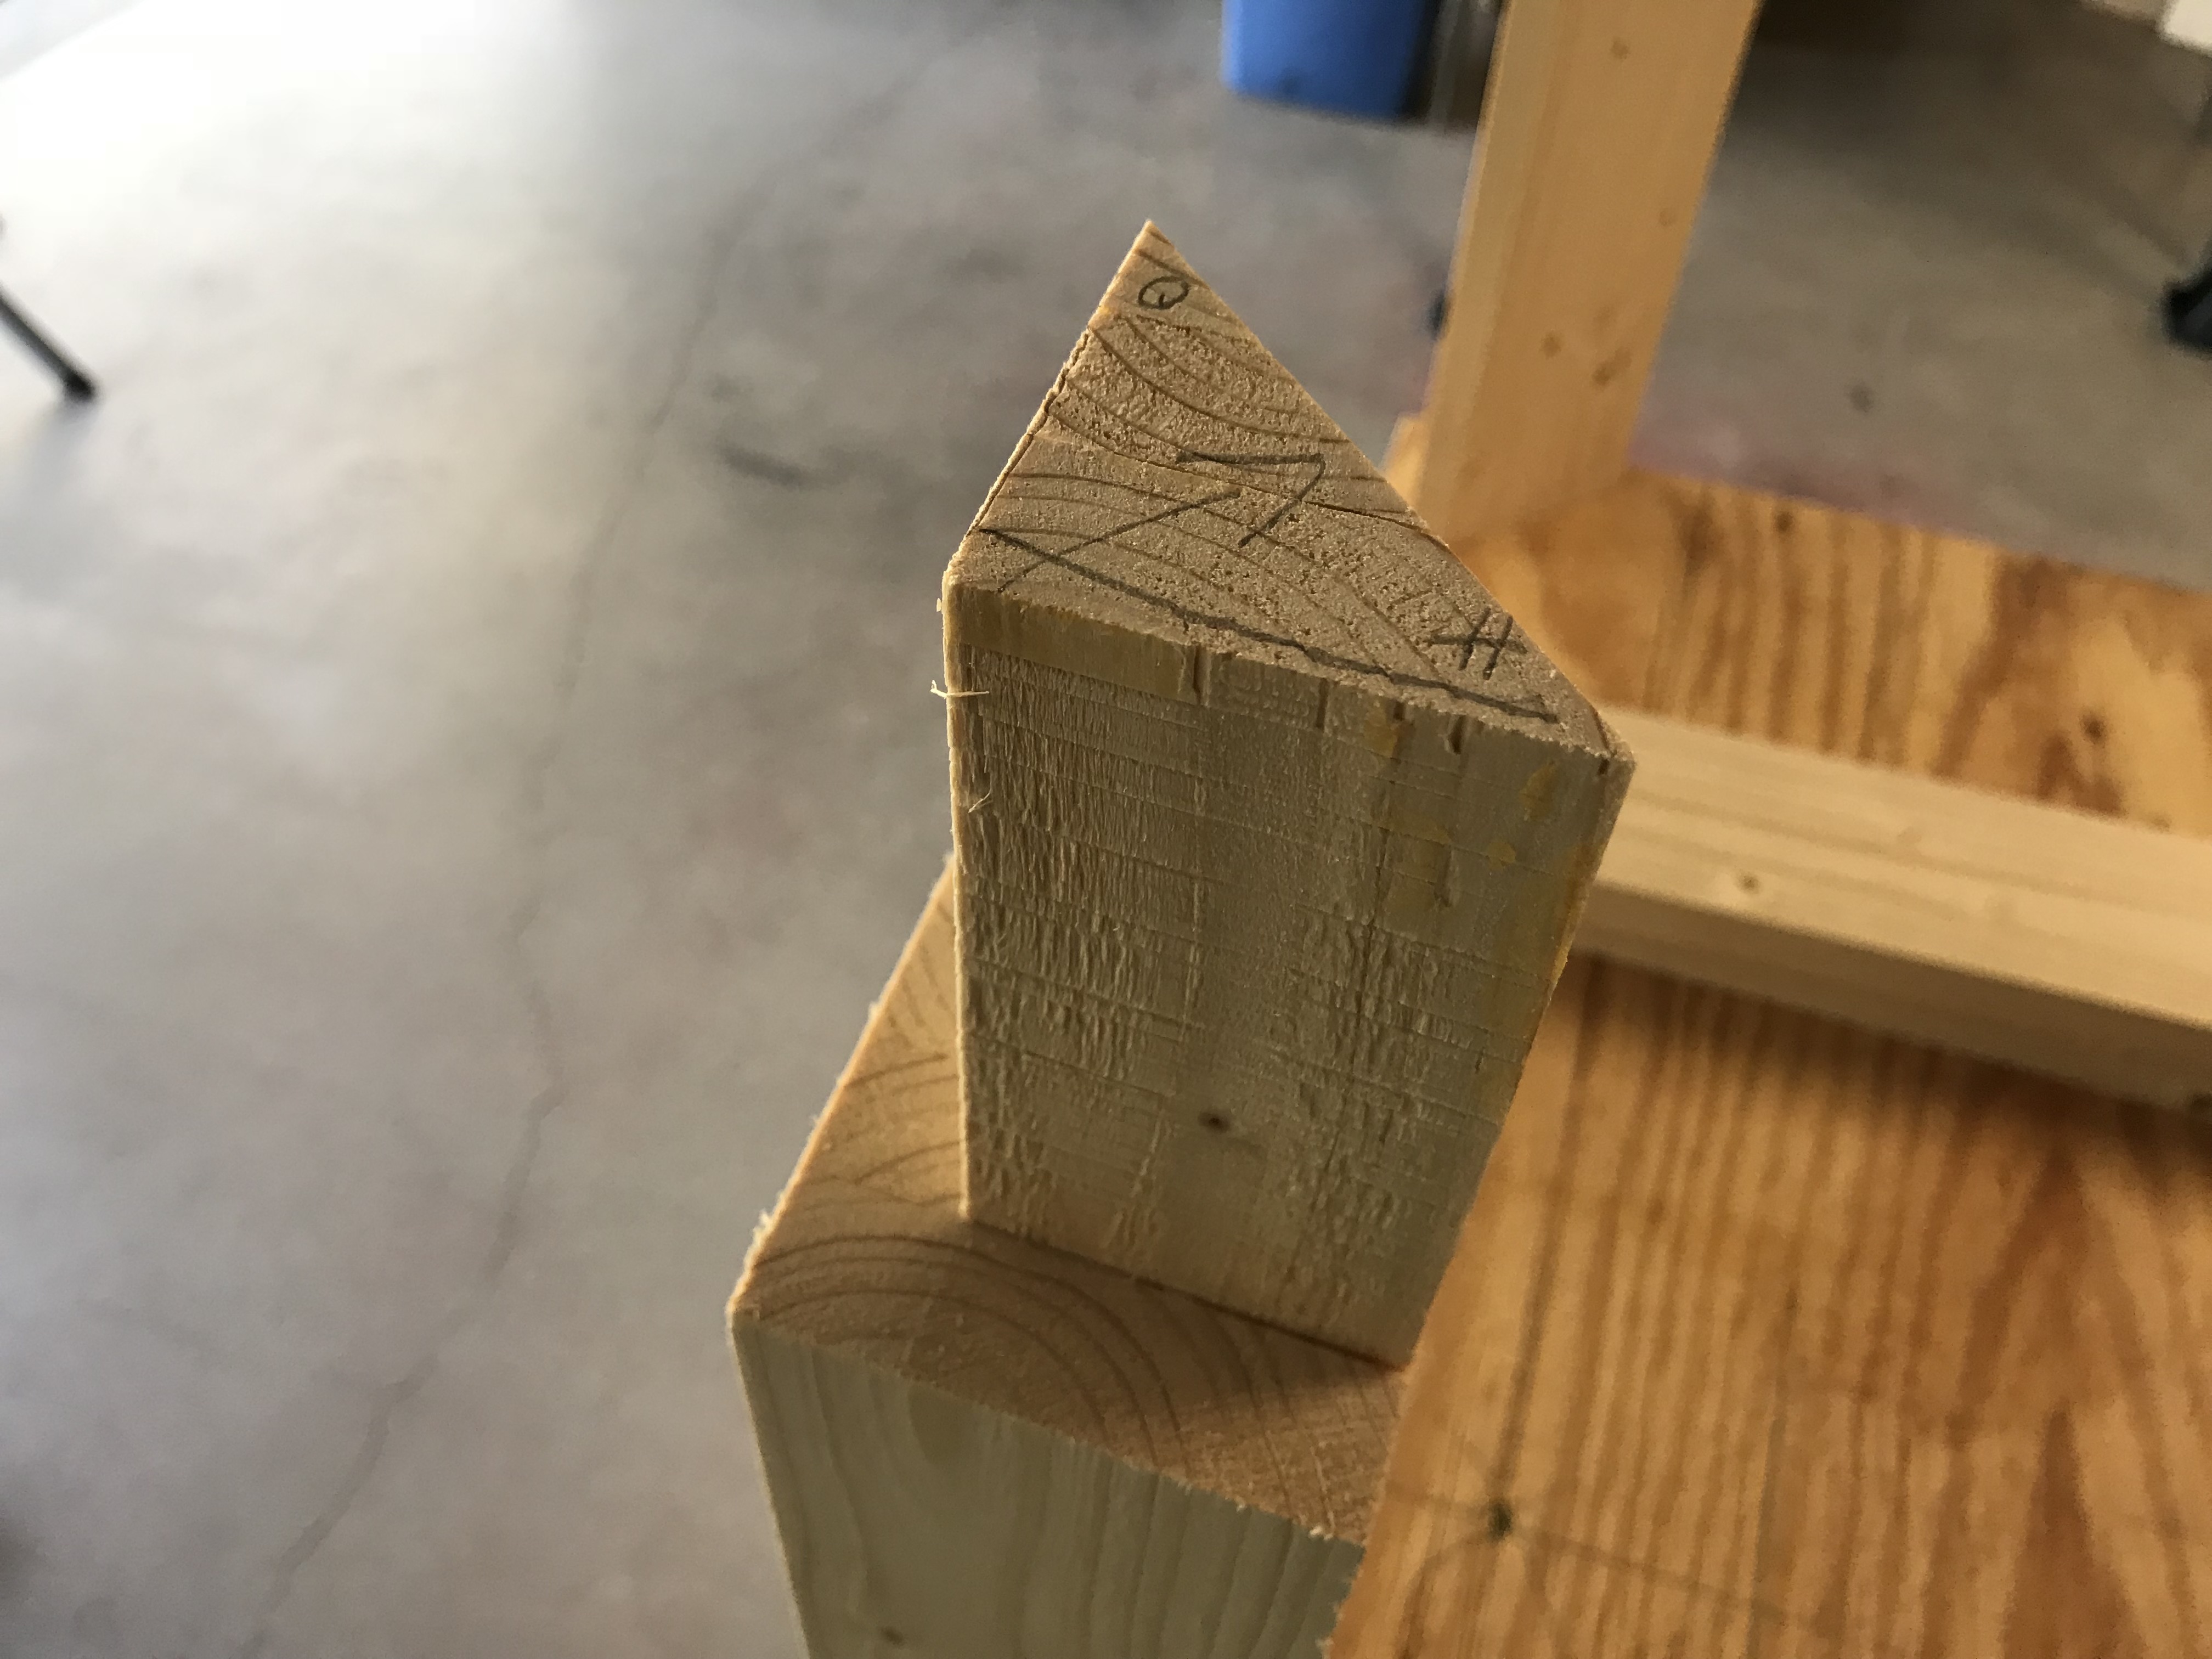
The result of the use of the dado blades.

More of the shaping from the dado blades.
Next, I cut the frame pieces. The plans I was using called for just a simple frame, but I wrapped them to have a mitered edge, which makes the table look more symmetrical. This part took me quite a bit of time, because I messed up one of the cuts, but I finally figured it out and got it put together.
Putting the side frame pieces on to the legs.
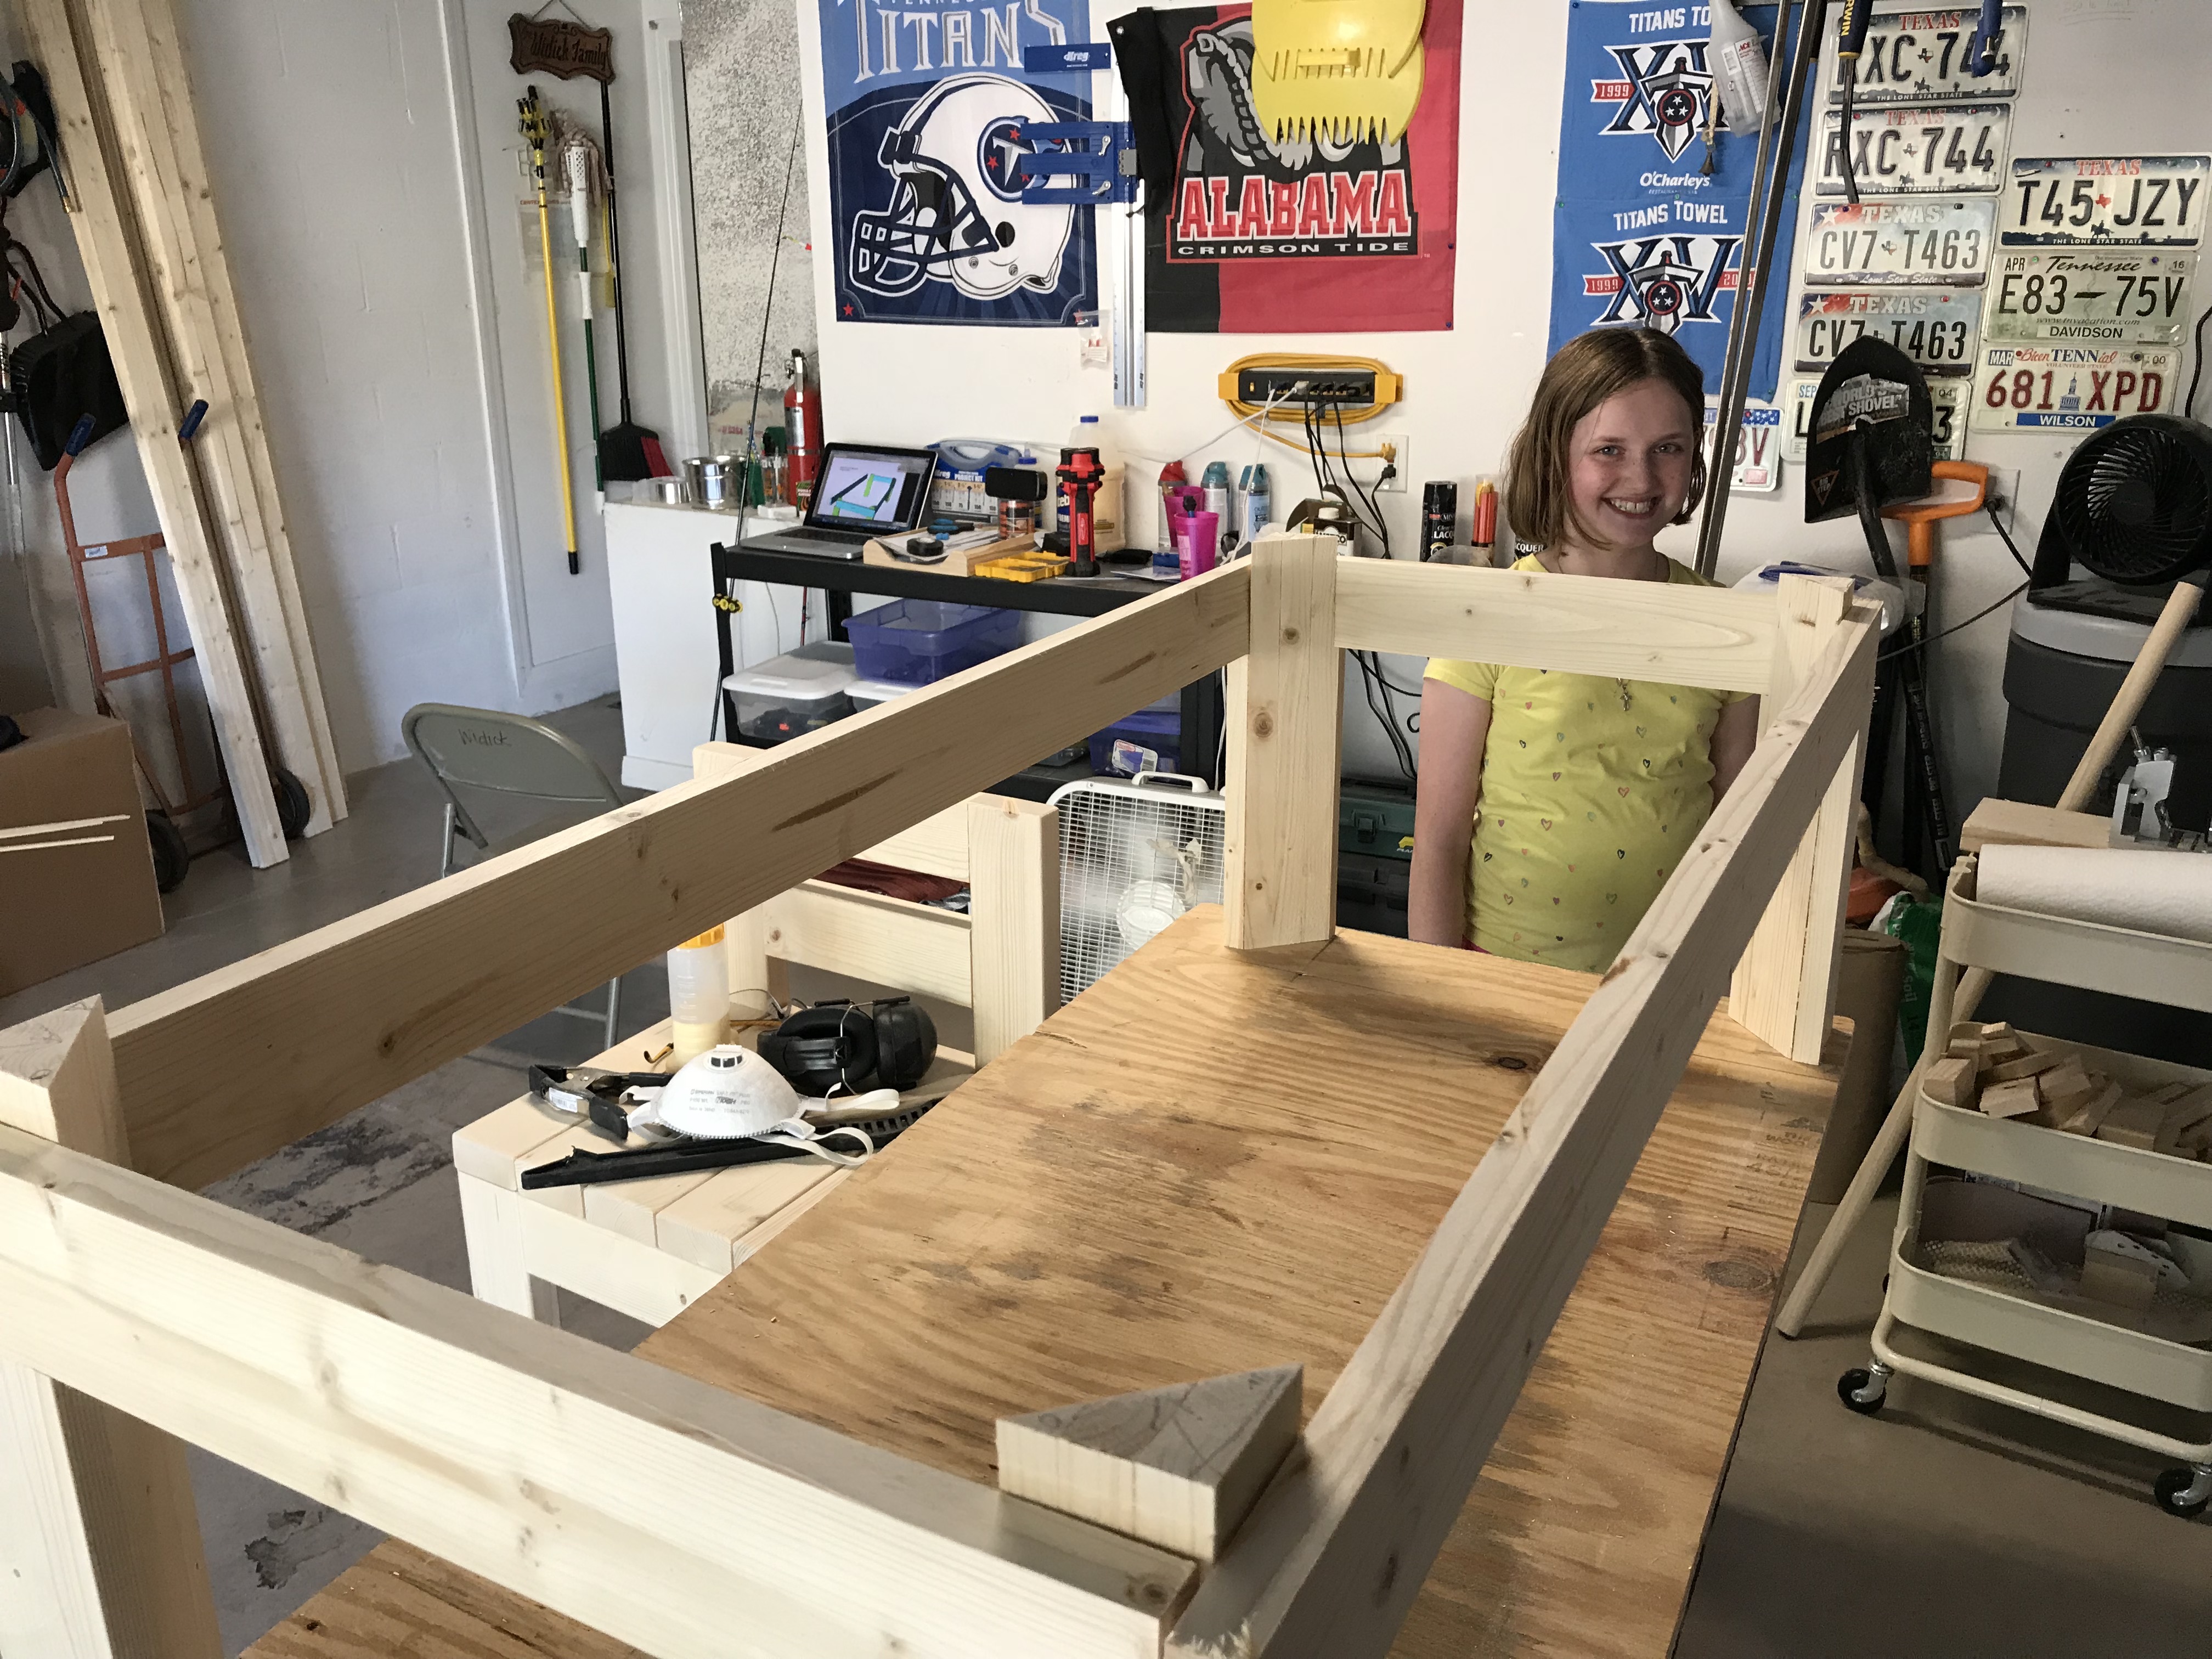
A dry run of the frame pieces. Cute daughter tax paid in this picture!
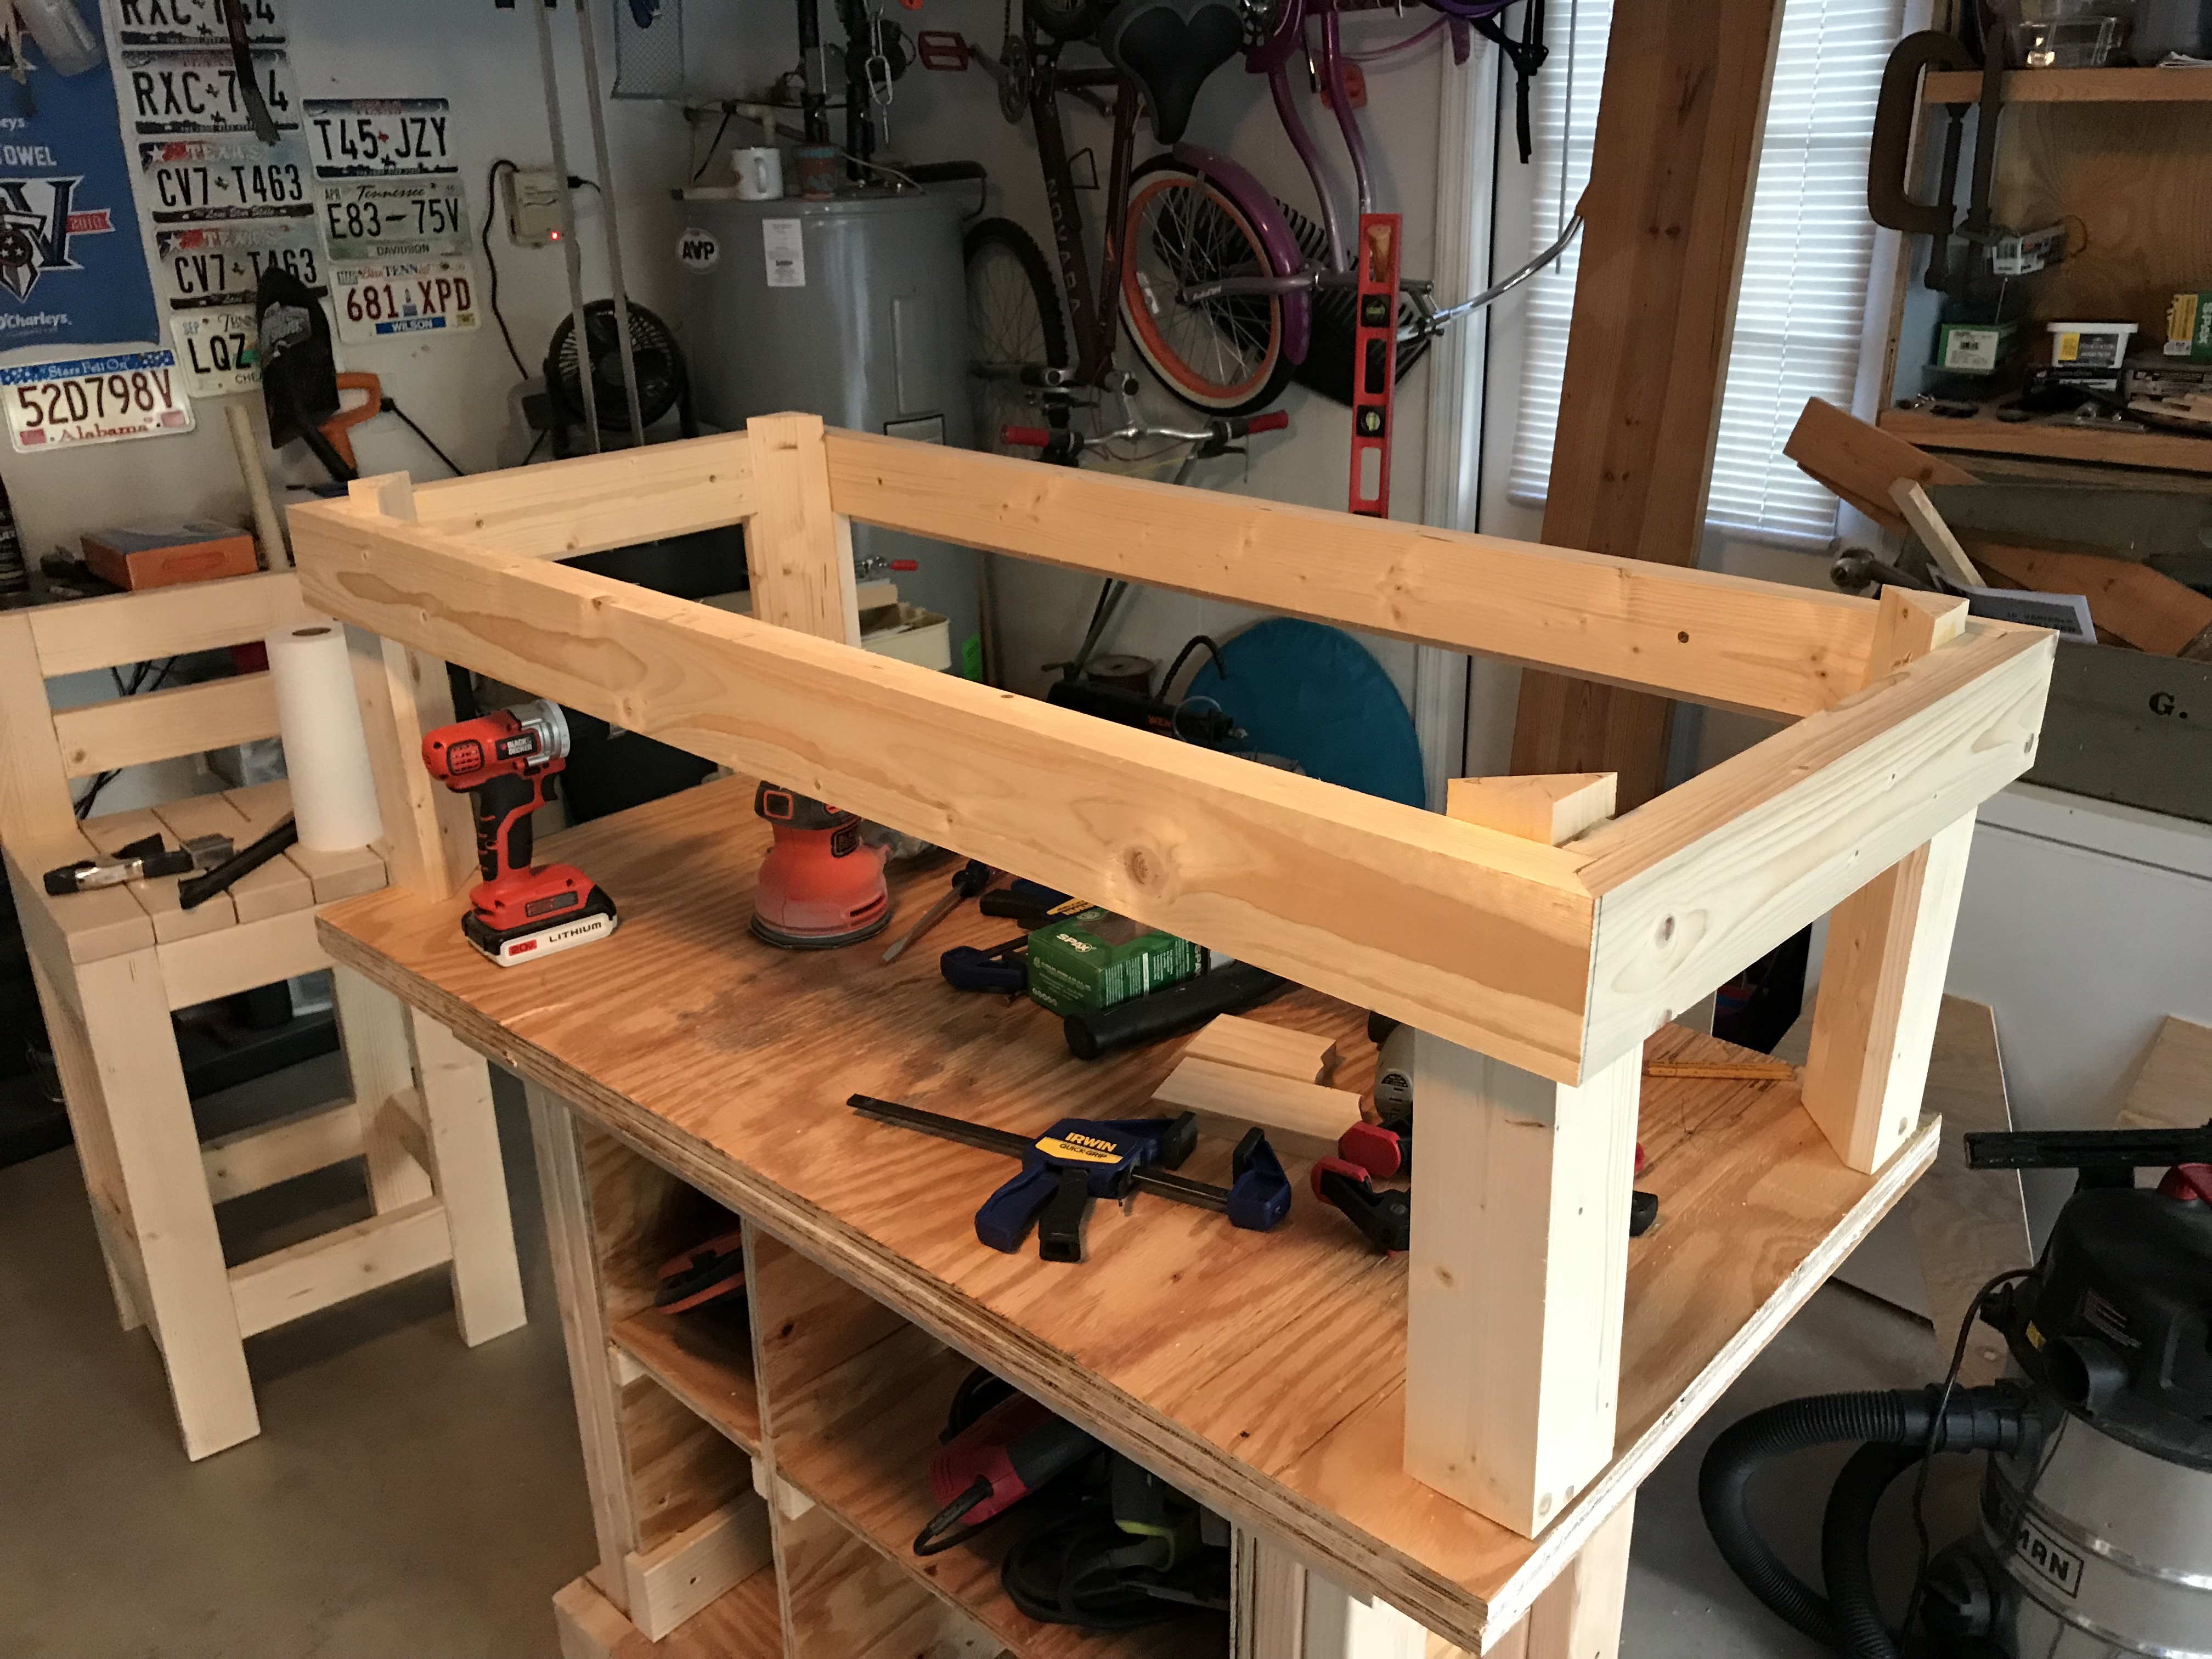
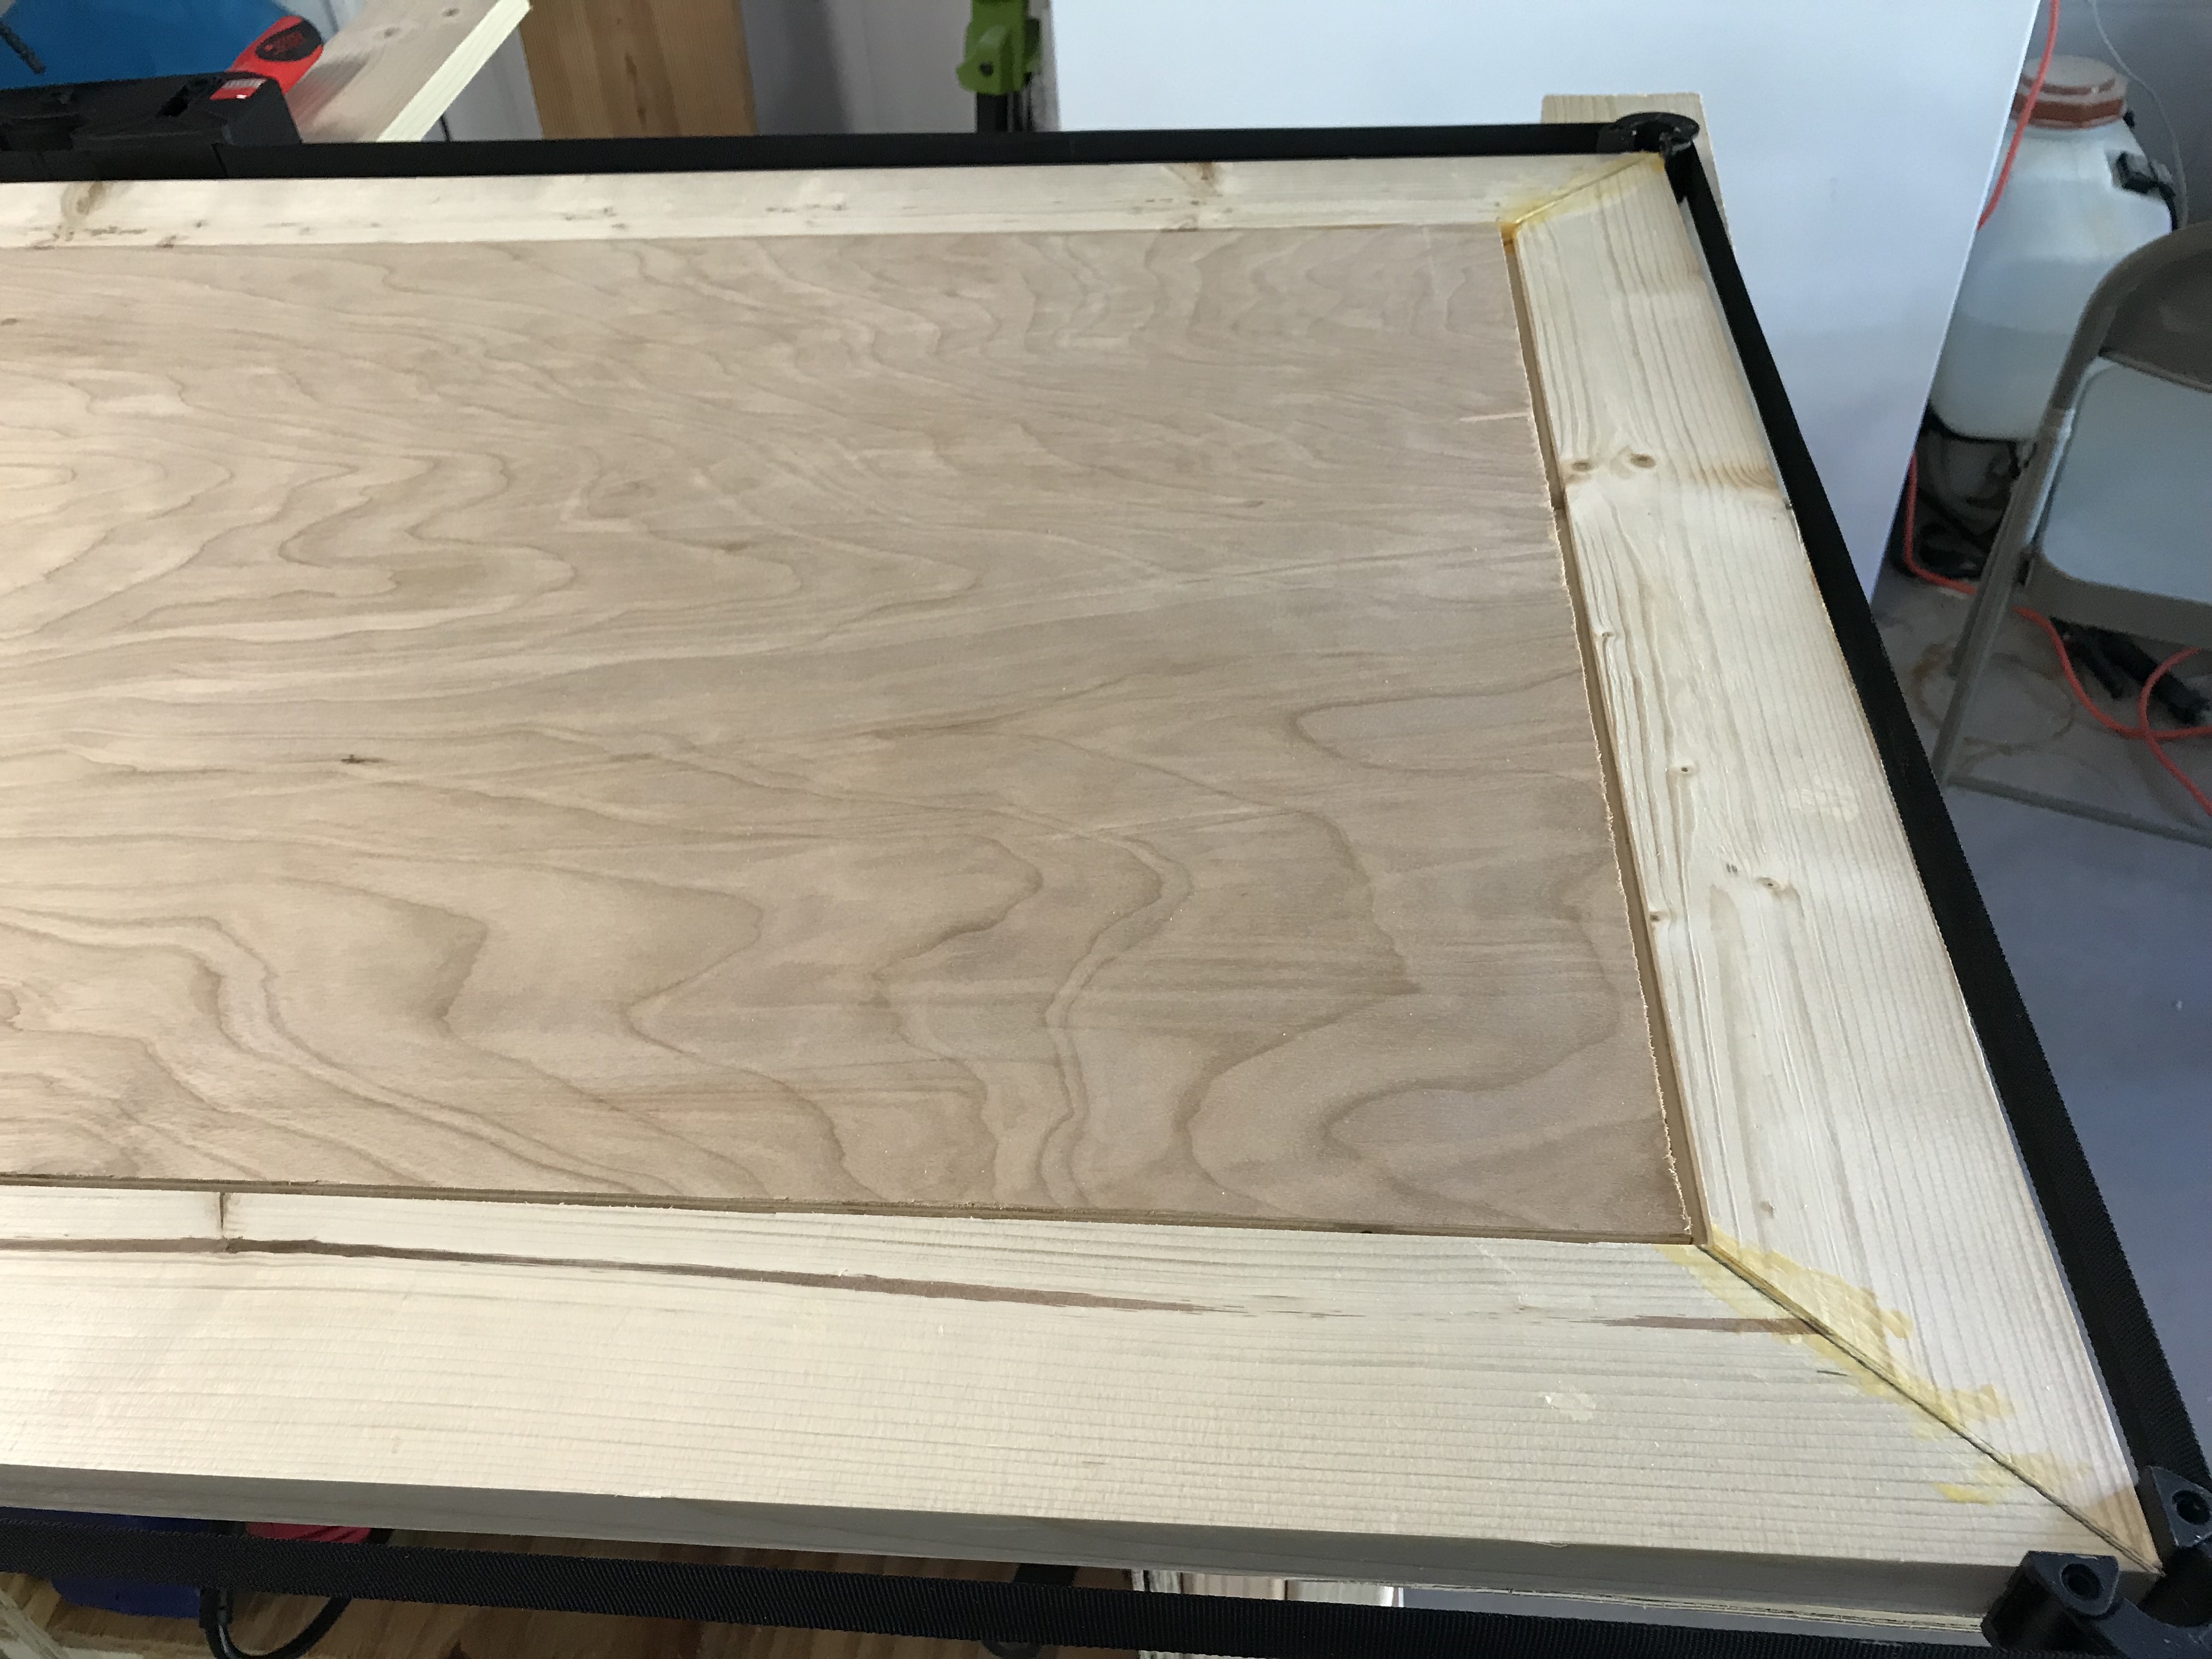
Adding a decorative wrap around the frame pieces. These pieces had mitered corners.
Check out the miters! In truth the inside frame pieces and the outside frame pieces weren’t necessary. But I messed up on the inside ones, and covered them up with the outside boards. Worked out well!
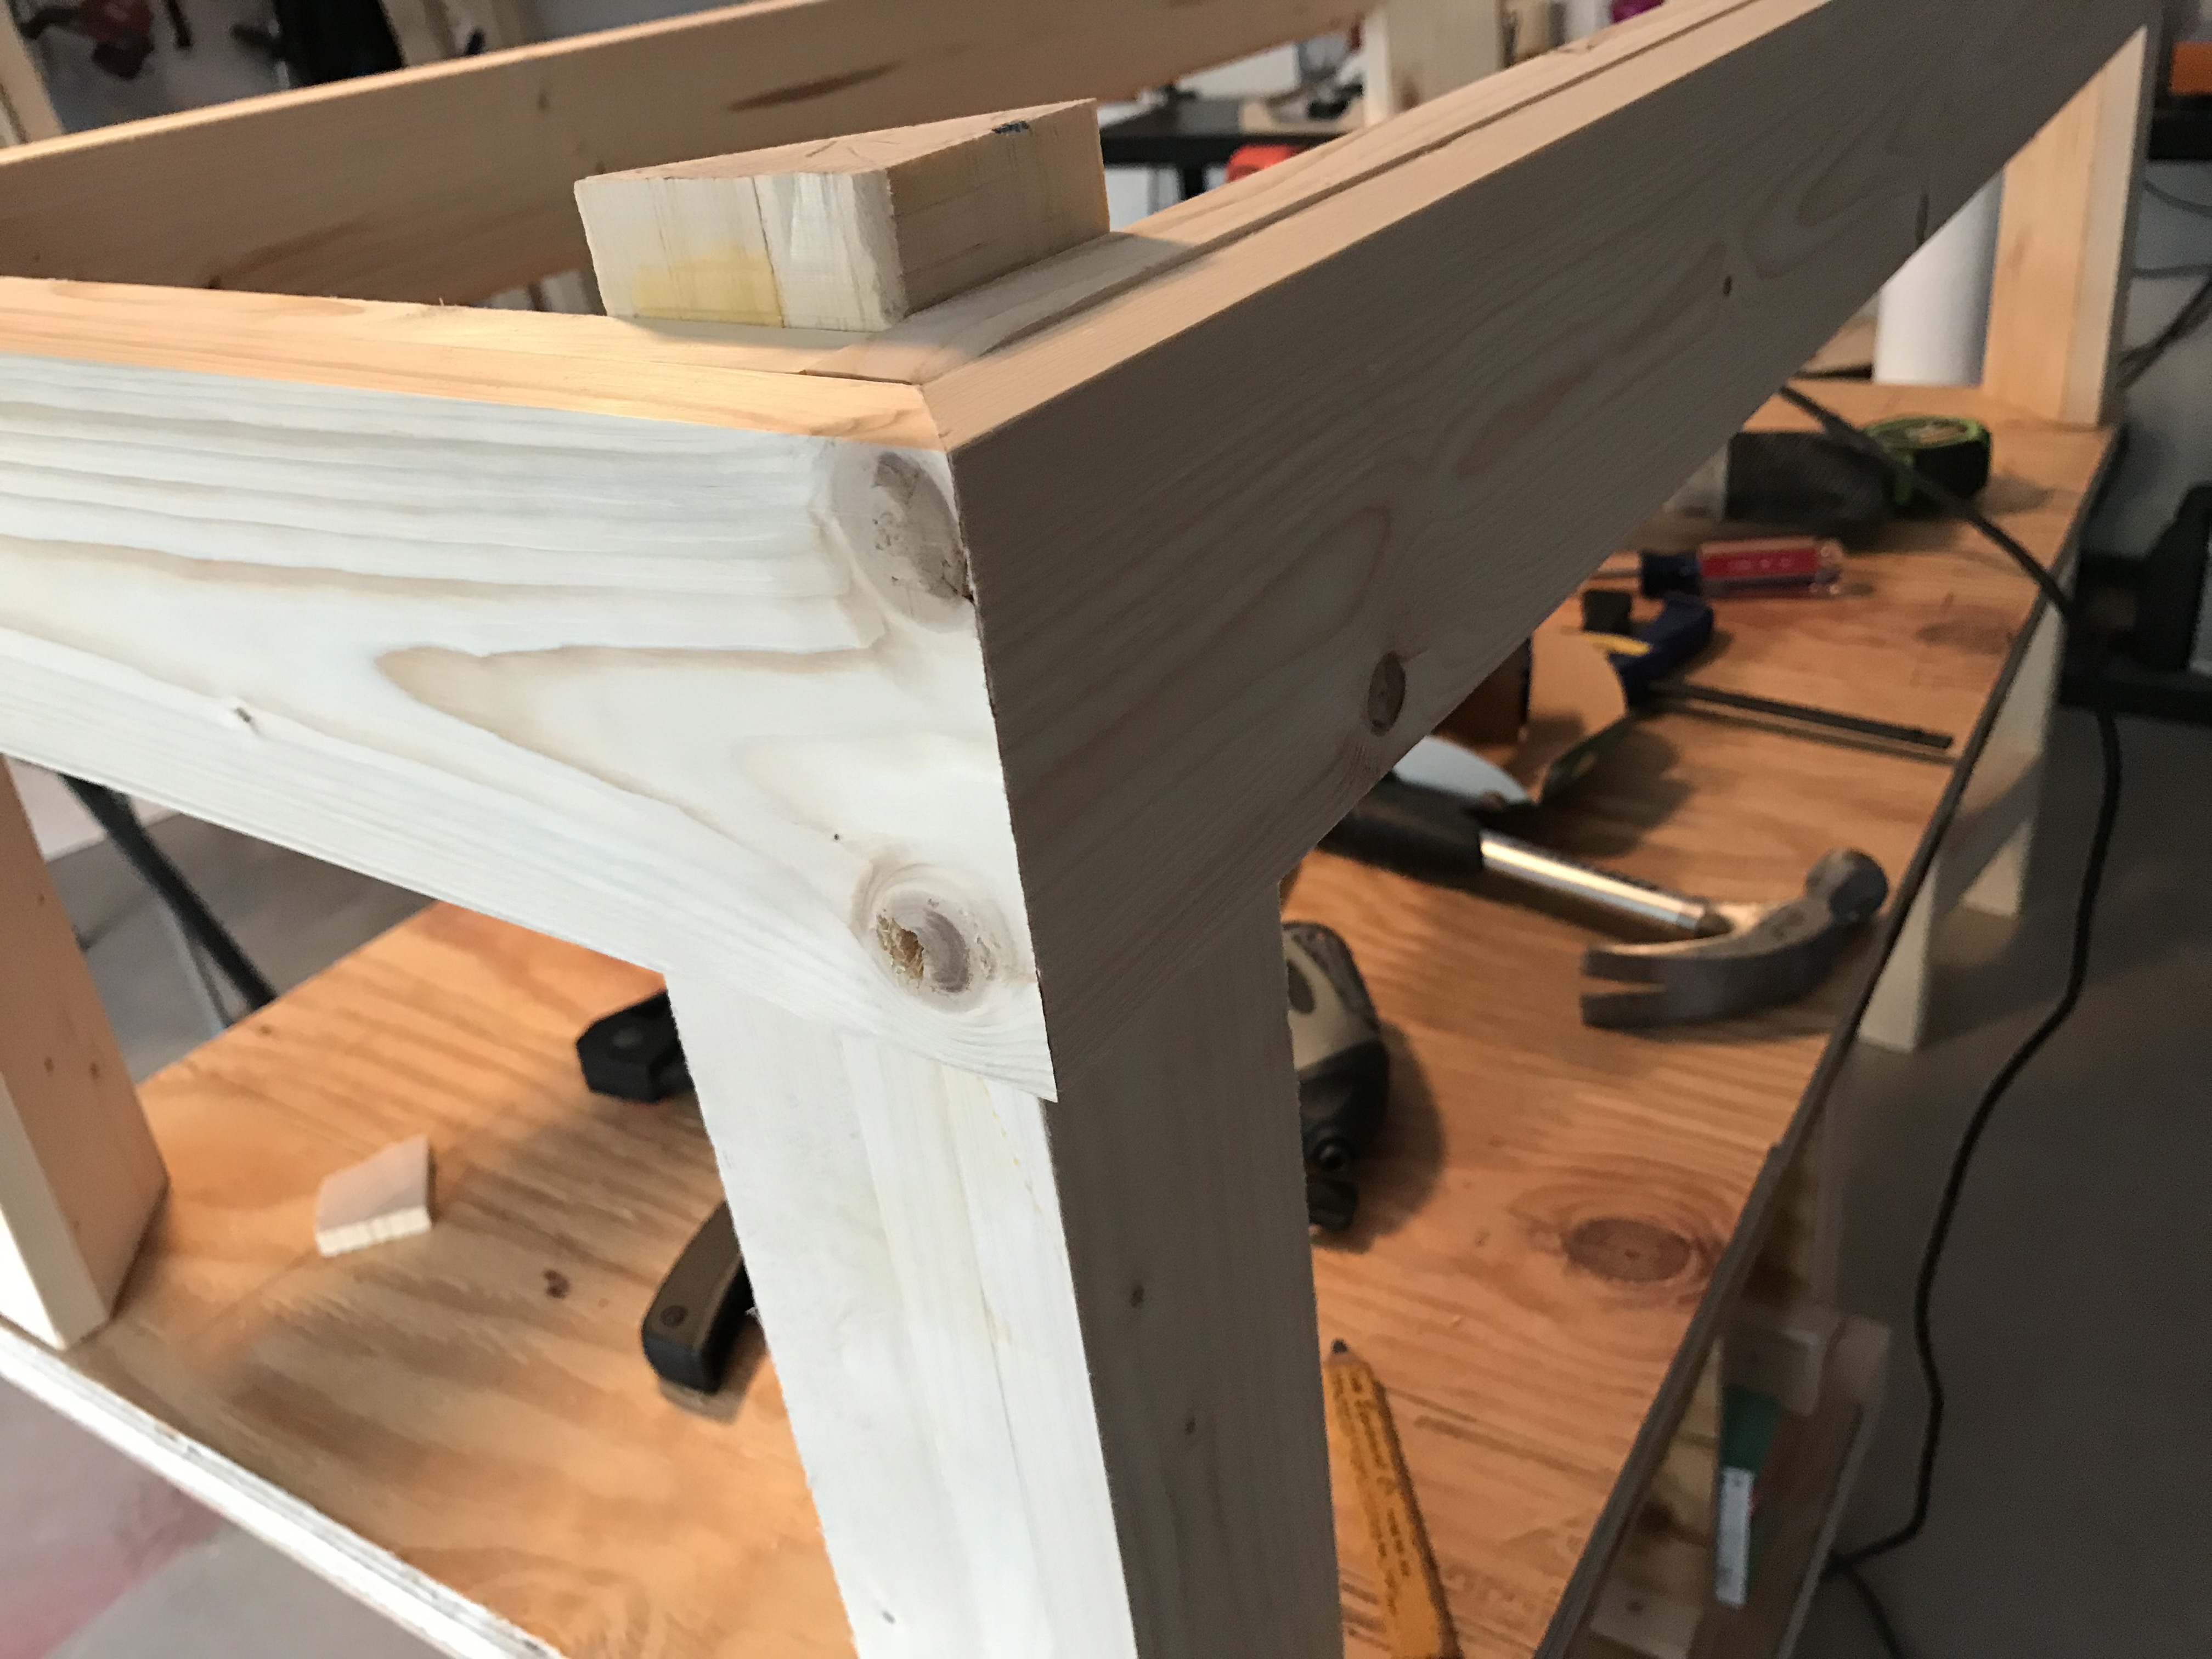
Closer shot of the frame pieces. You’ll also see the shorter frame pieces connecting the spots cut out by the dados.

The bottom of the table, completely assembled.
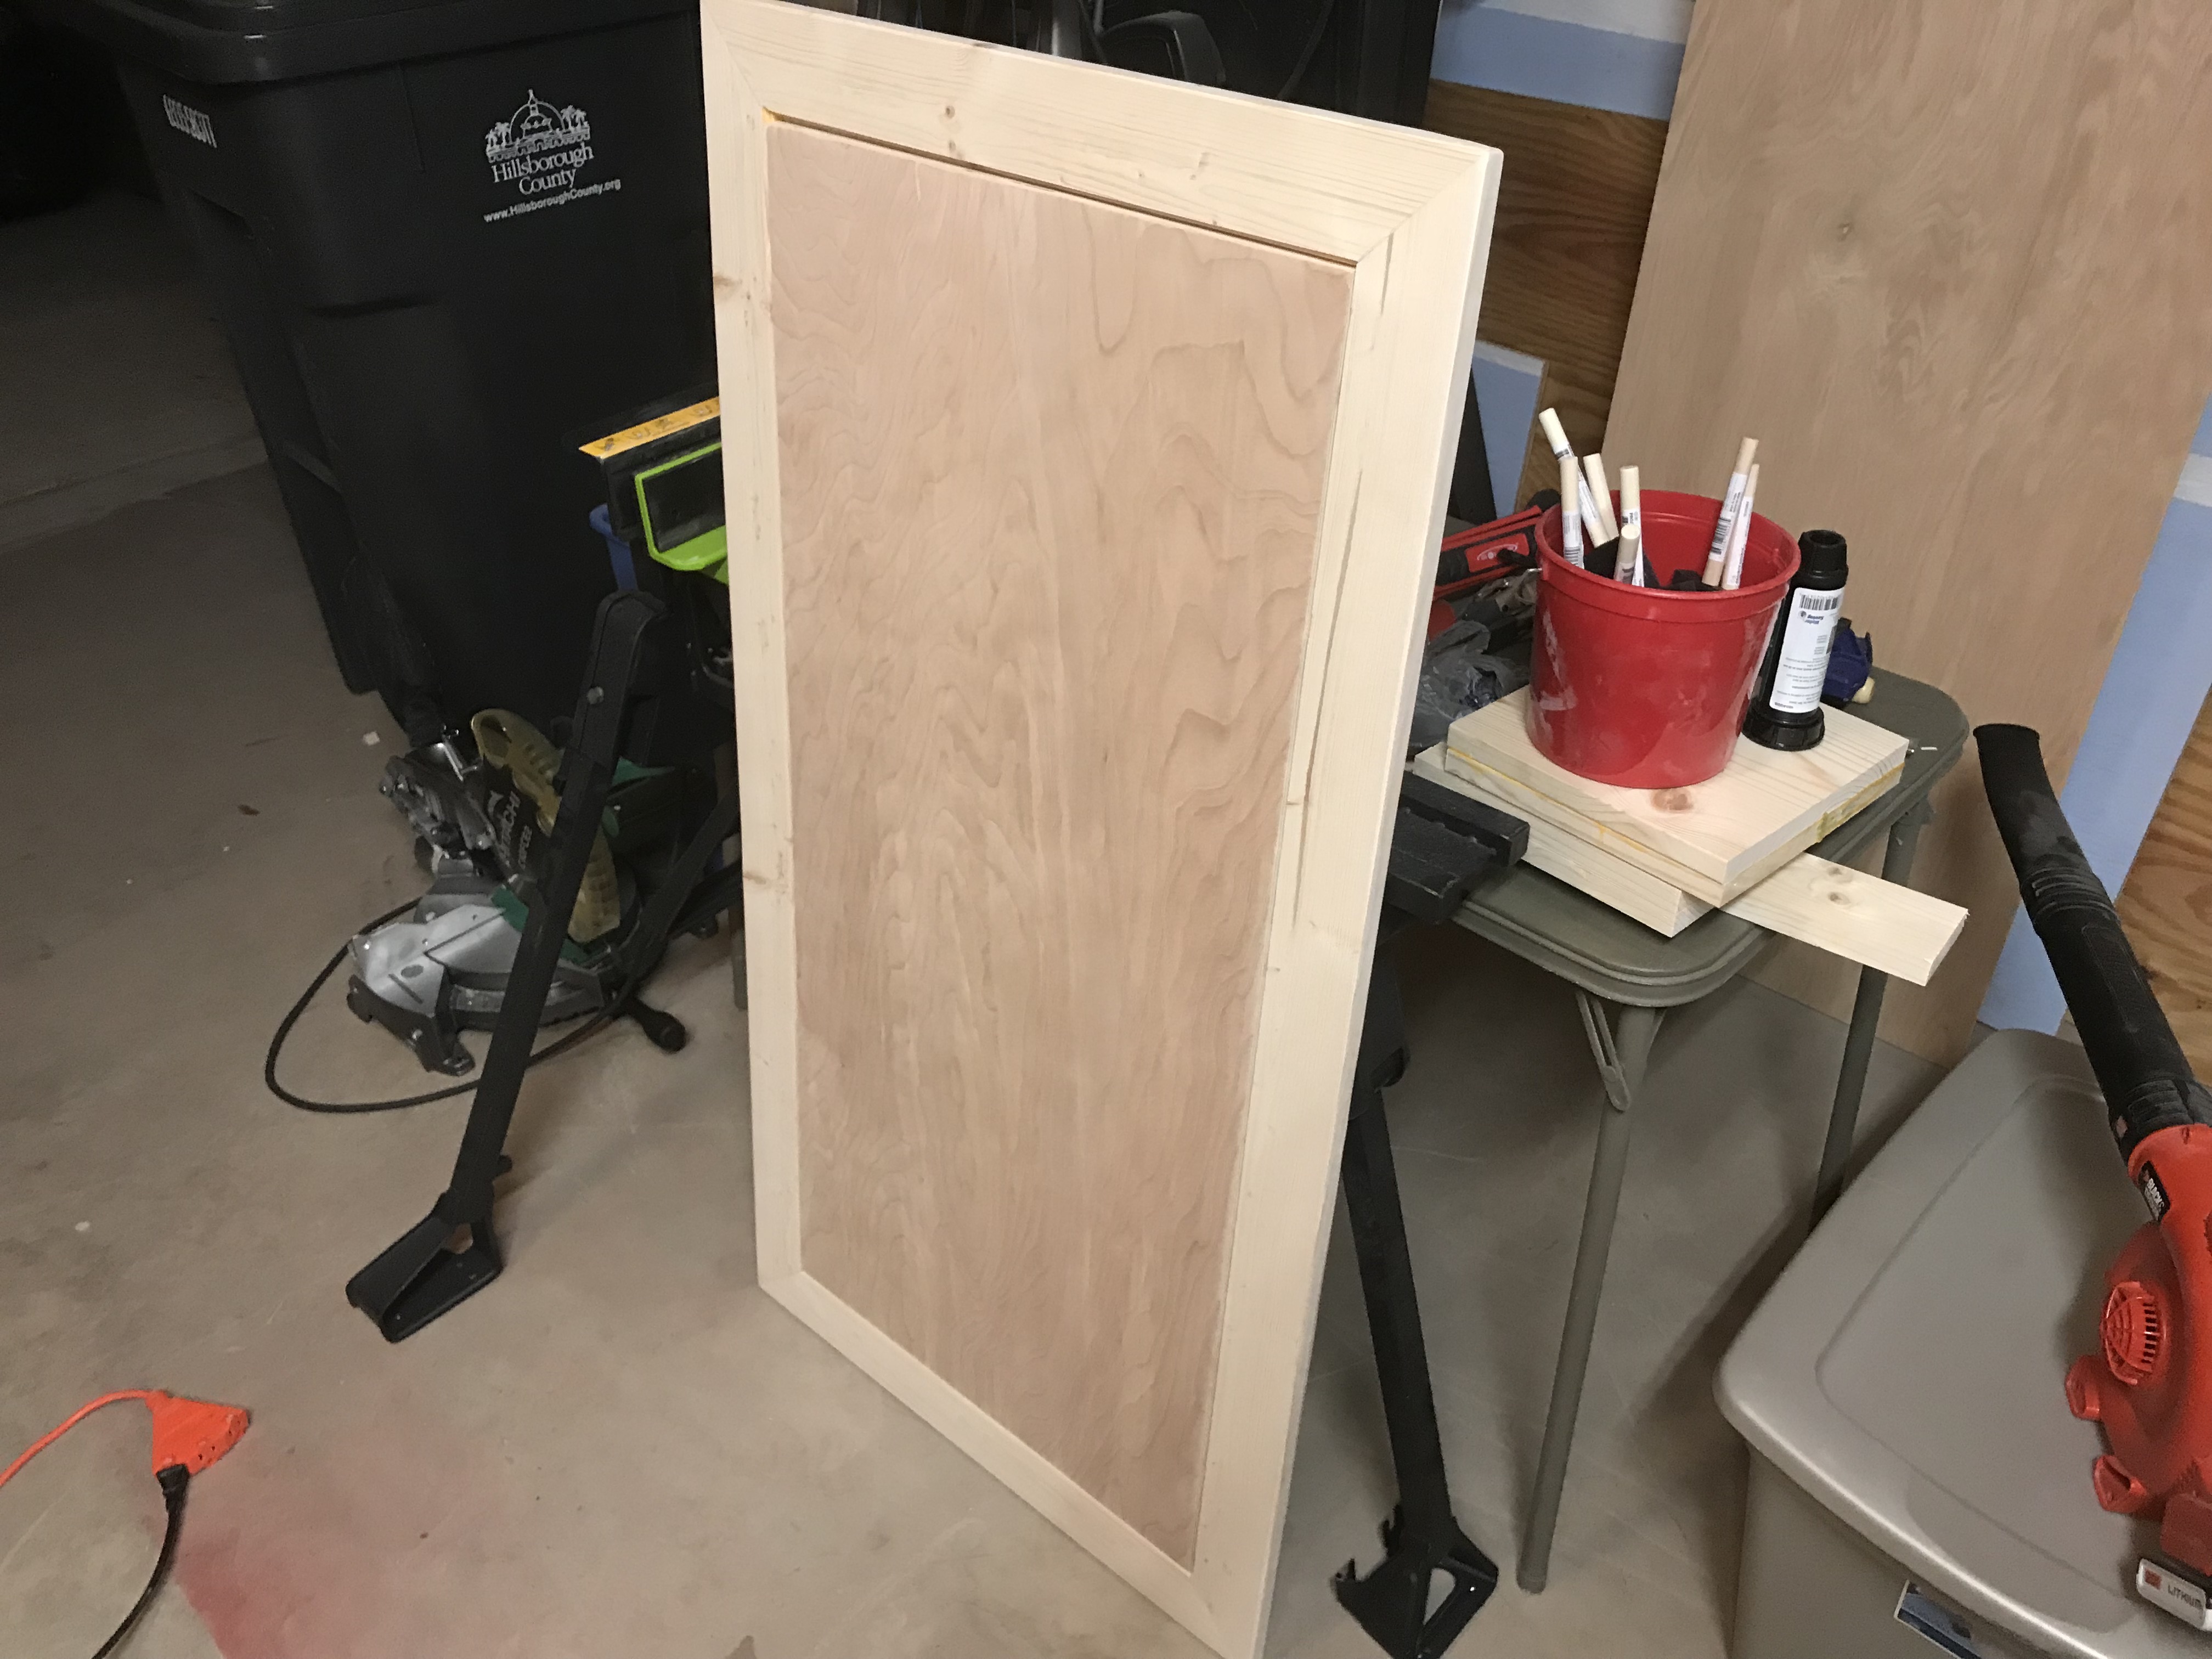
Heading into the final phase, I had to do the table top. In essence, it’s a large picture frame with a sheet of 1/2″ birch plywood as the “picture.” I cut a large rabbet, and then added a shadow line to it, which is a neat feature that adds some depth to the piece.
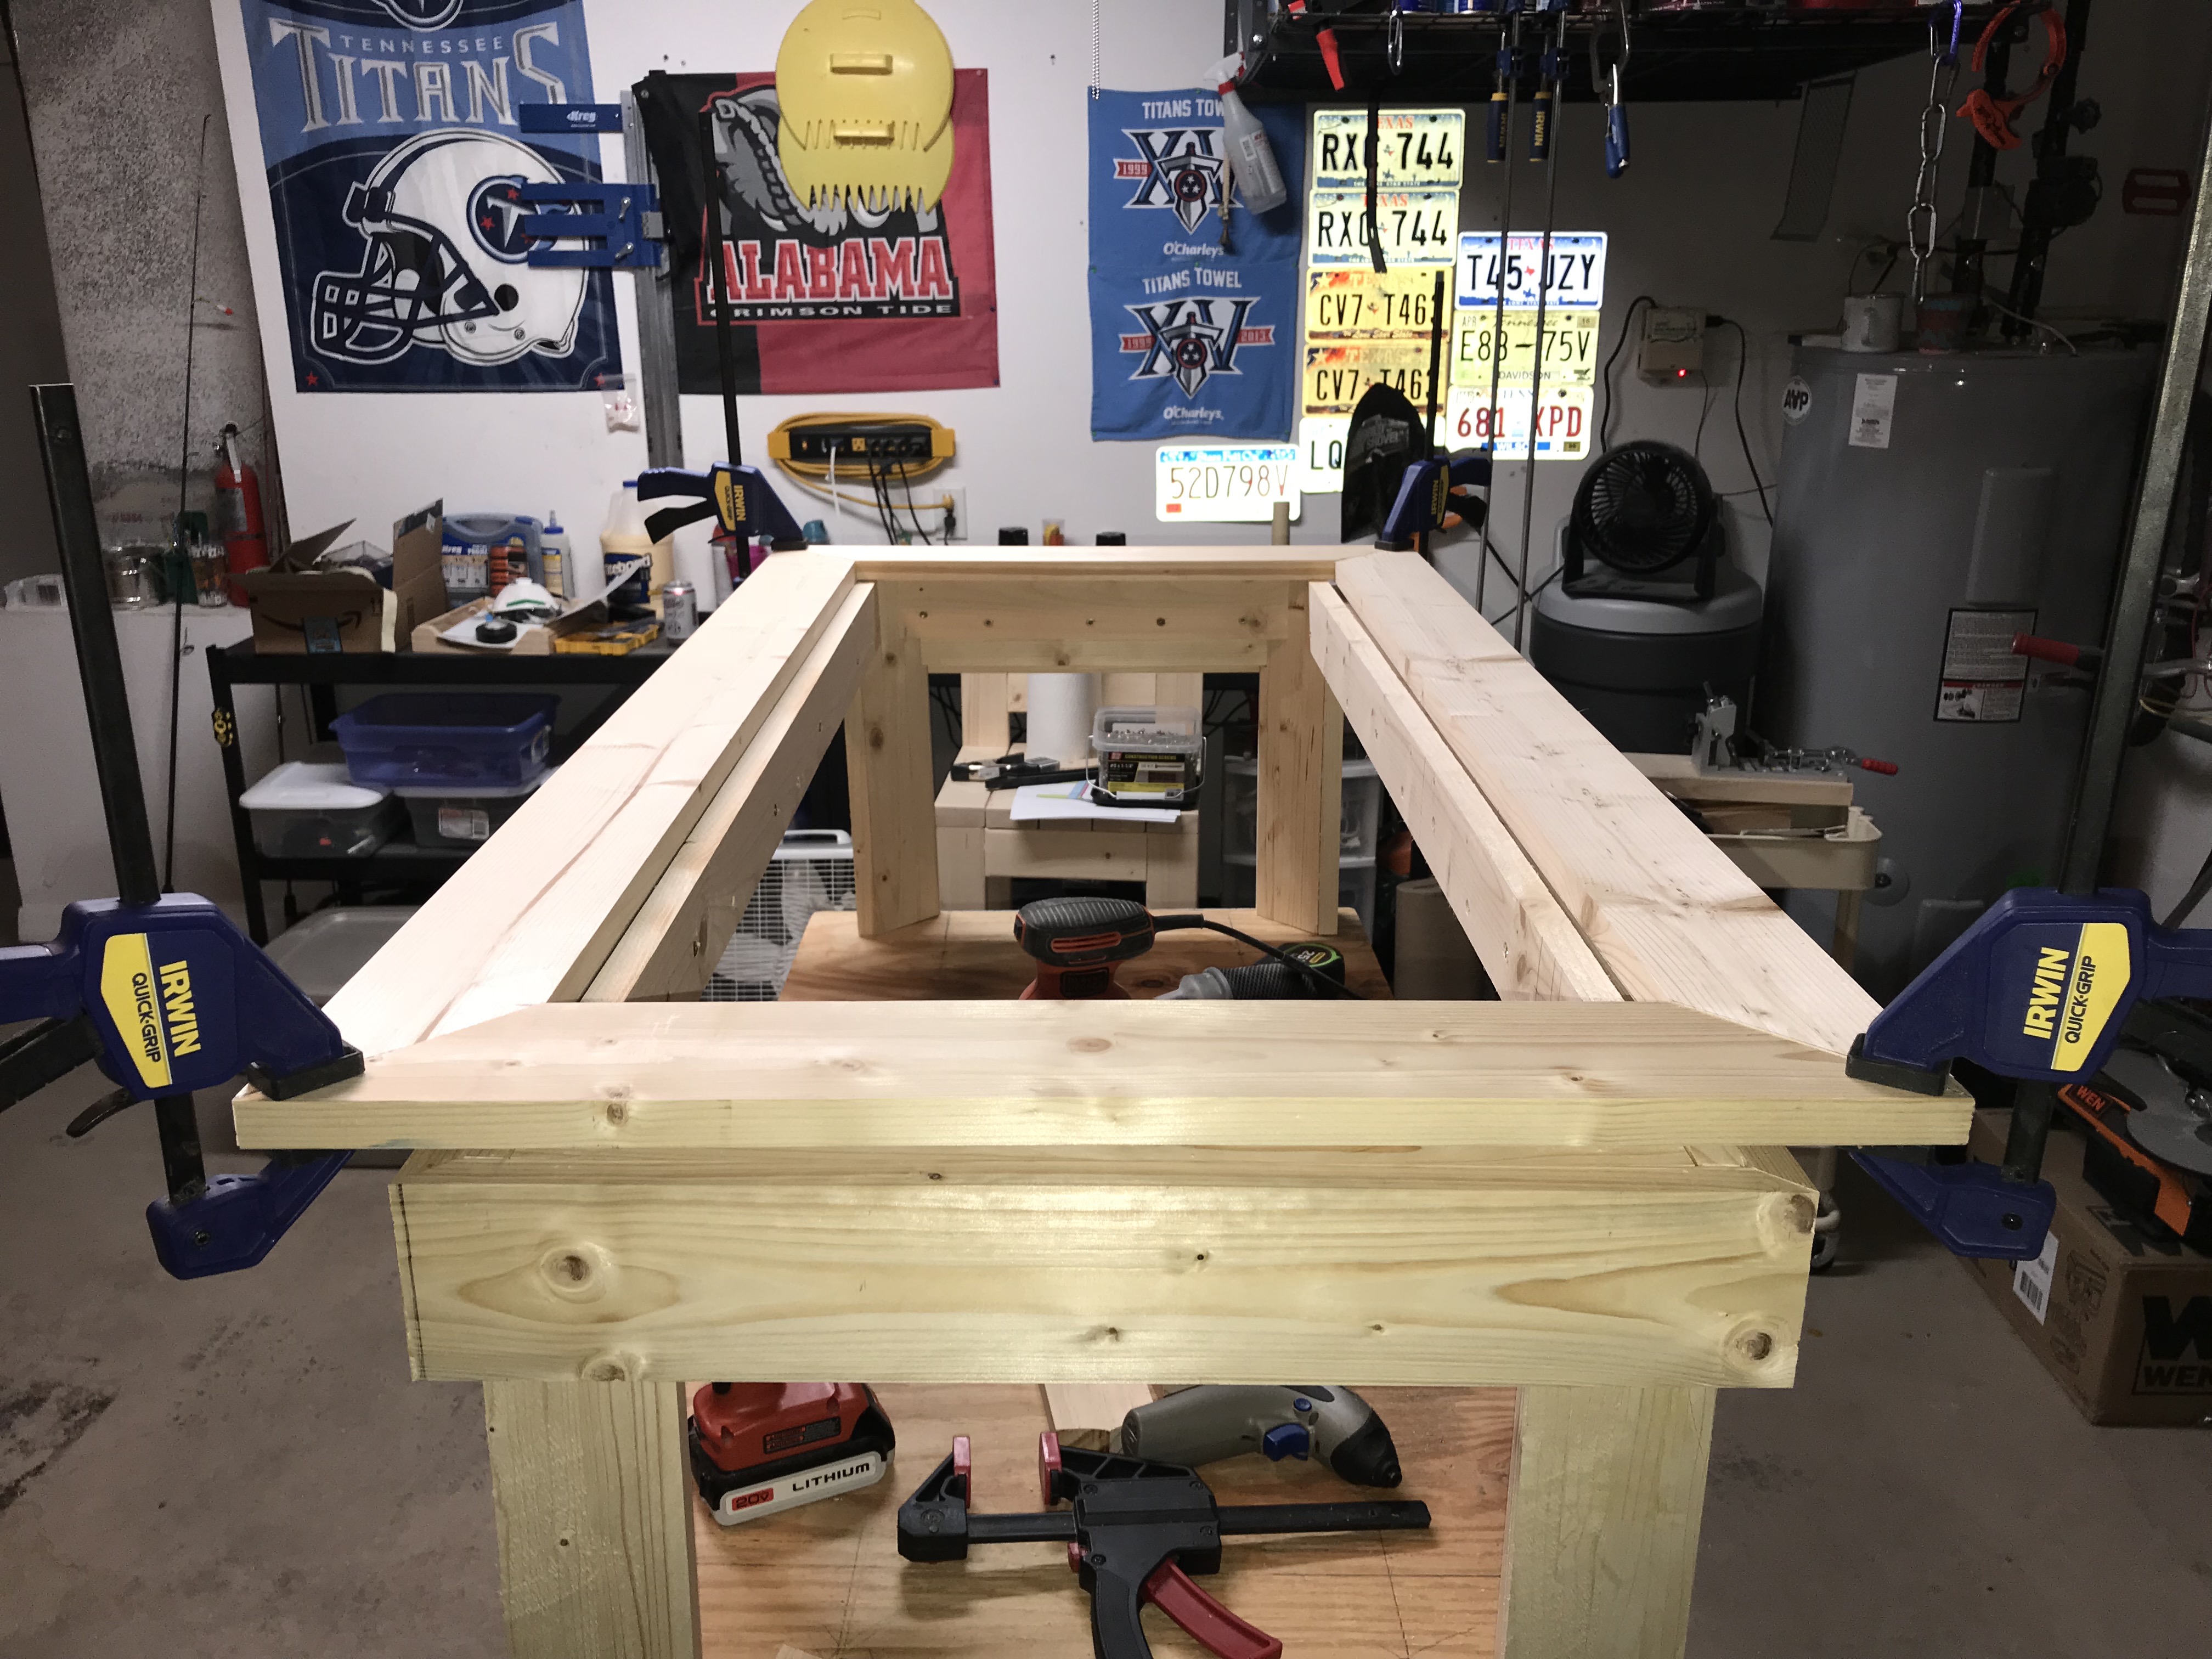
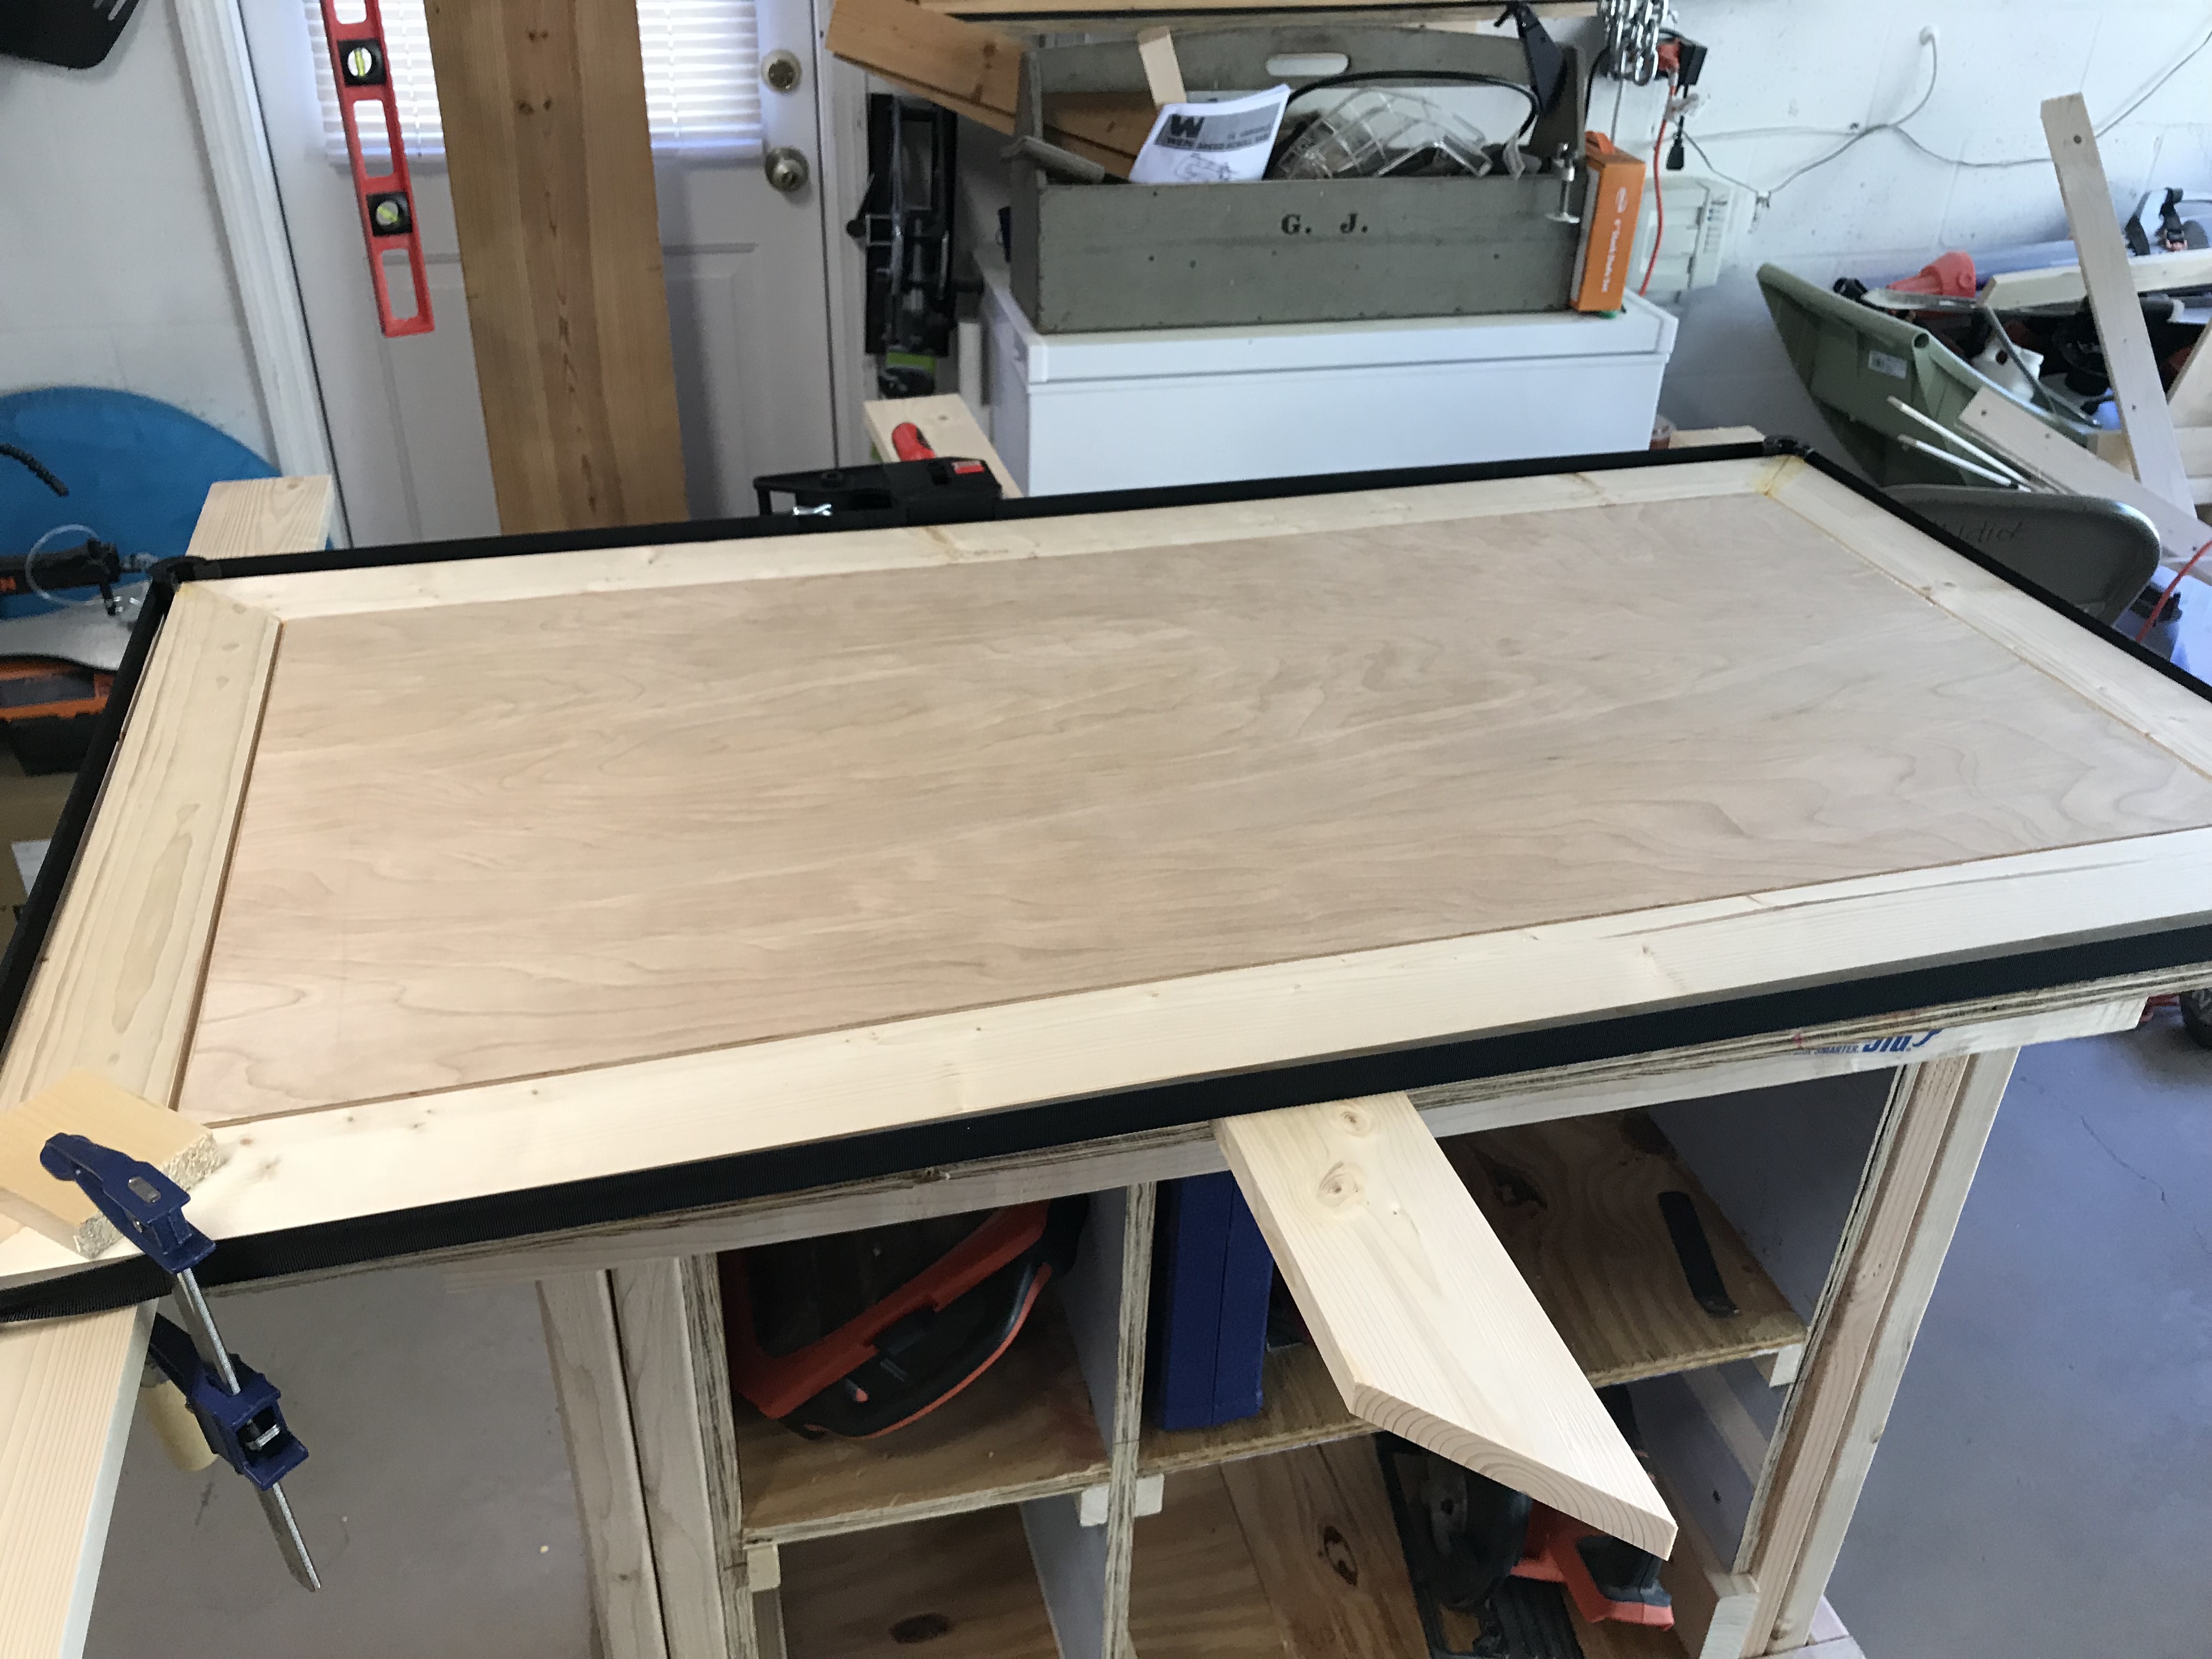
Using the strap clamp was not easy. I had a lot of frustration with it. But it did work well.

The frame for the top. I did a dry run with the strap clamp before I glued it up.
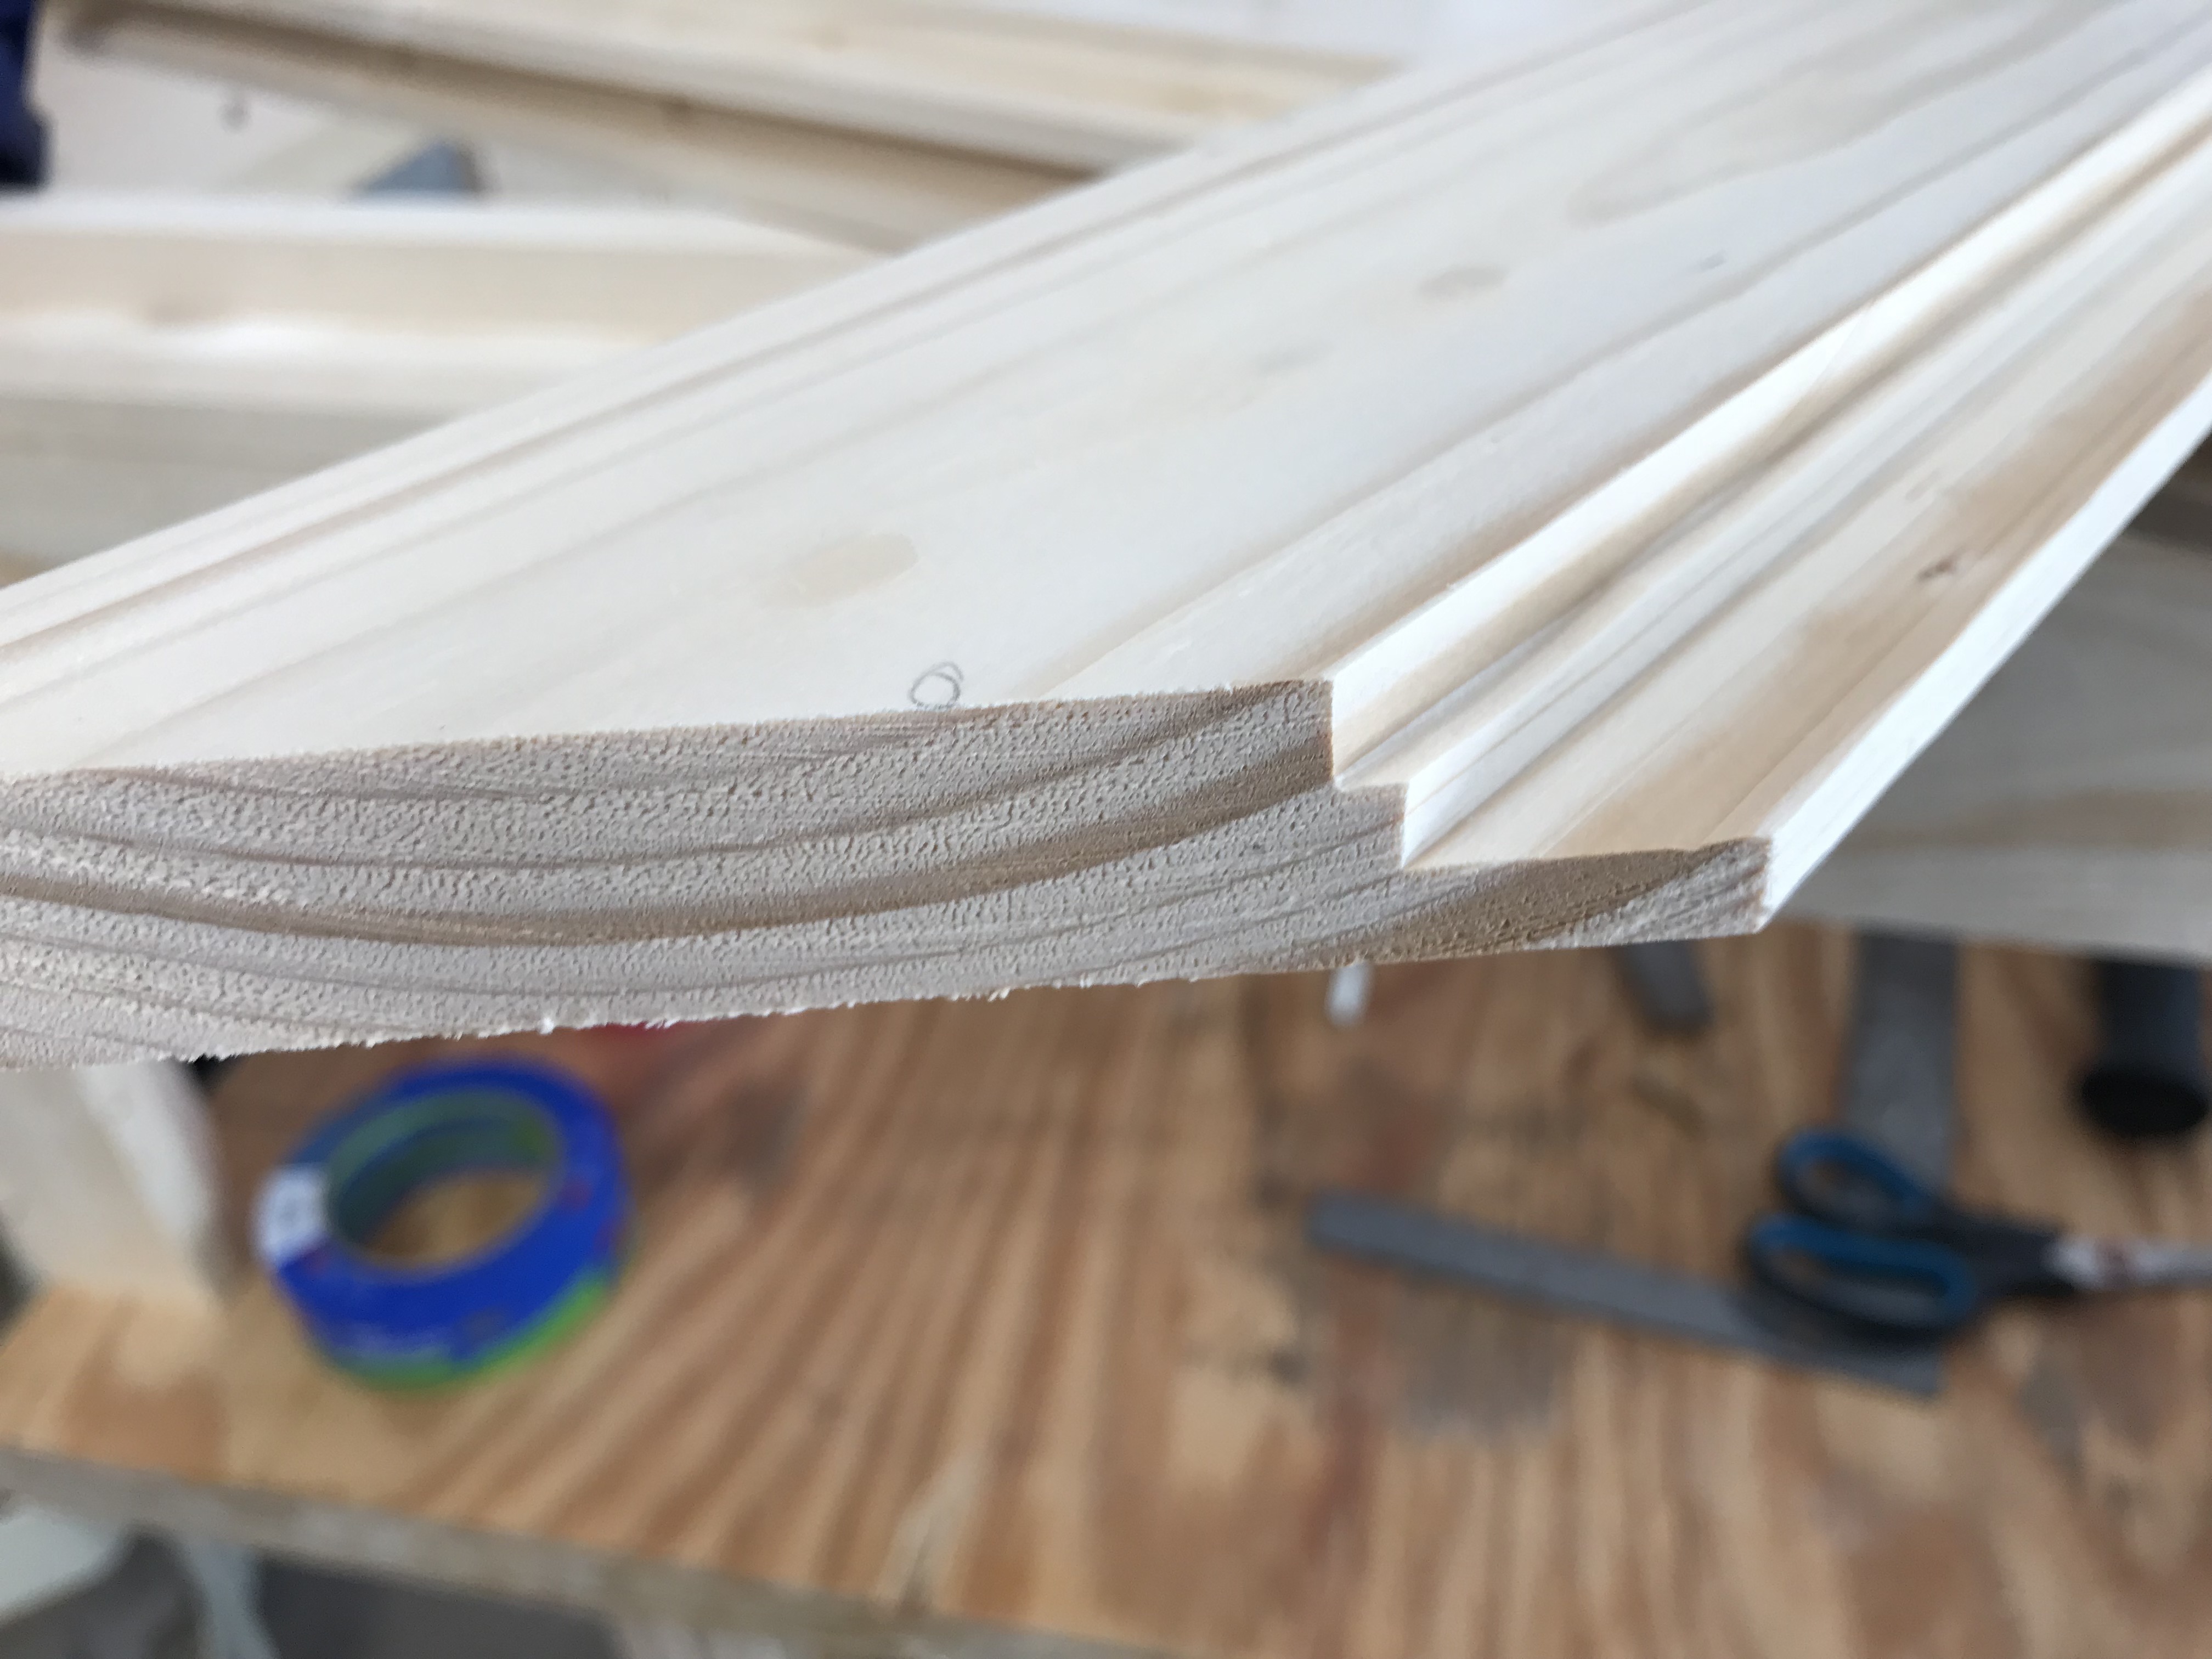
On all of the miter frame pieces, I cut a large rabbet for the table top to sit down in, and then the smaller rabbet is called a shadow line.
The frame glued up.

Trimming up the plywood for the insert. The tape is to minimize chipping.
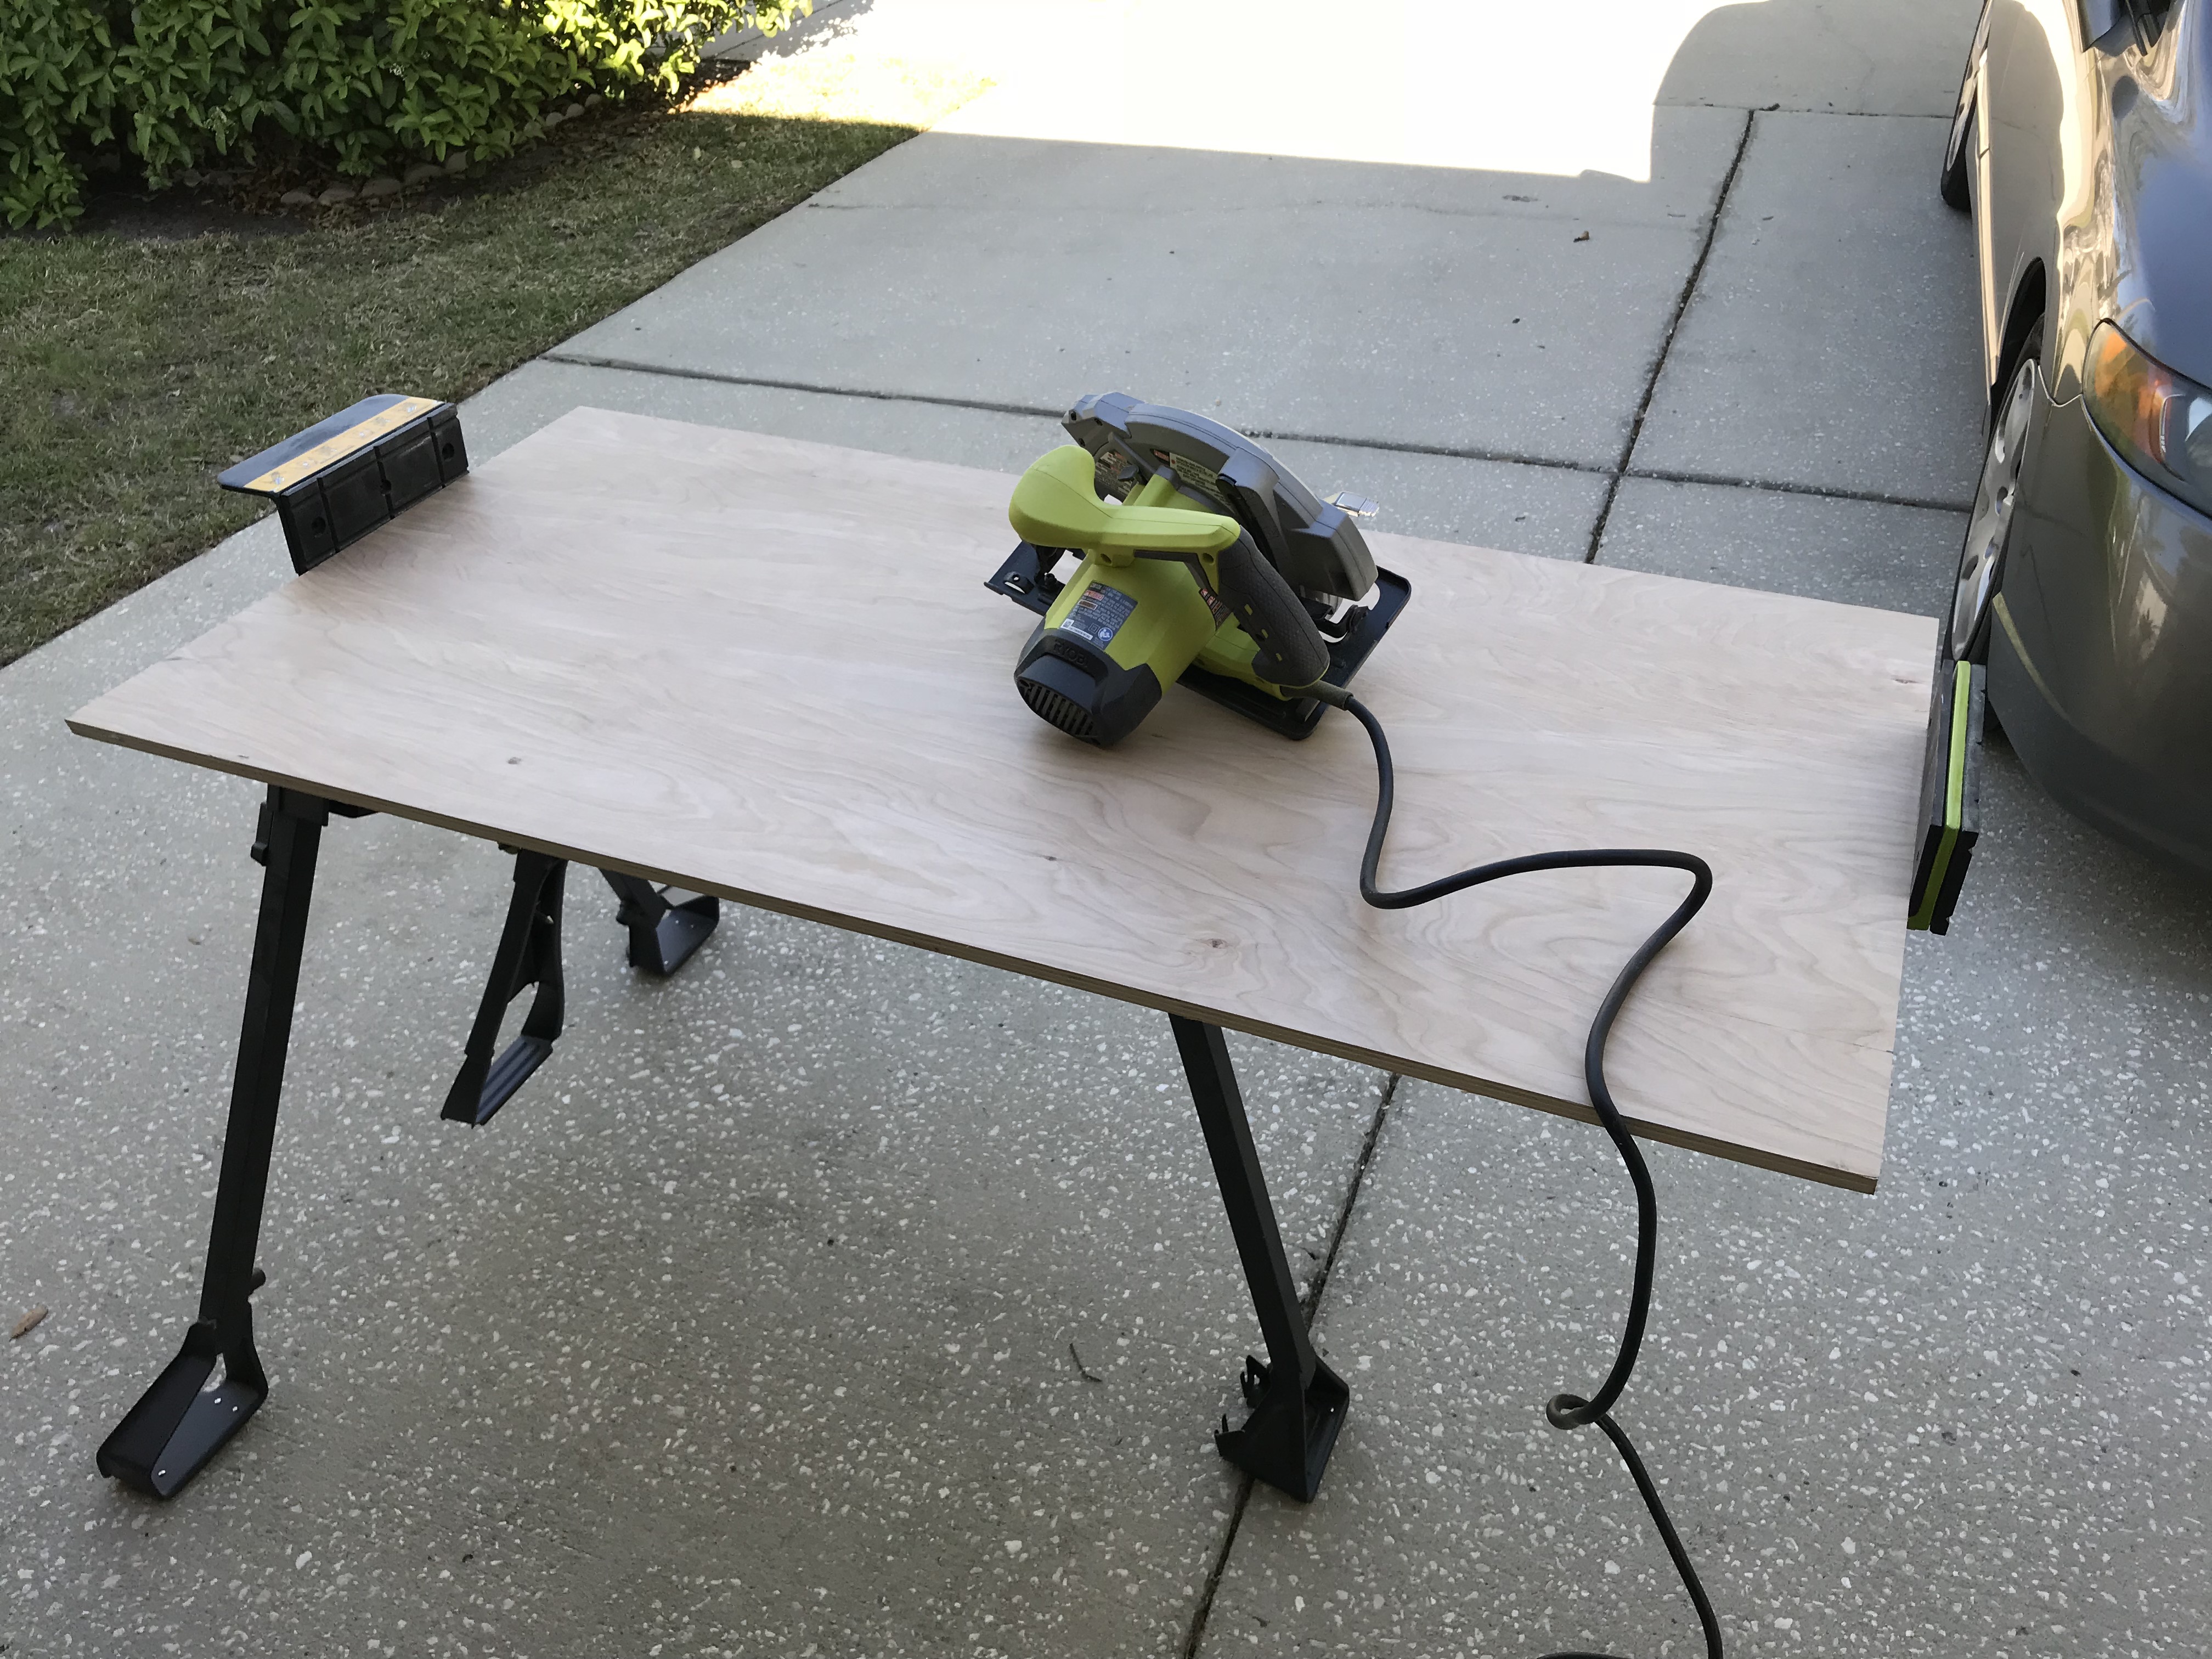
Using my Jawhorse for the cut.
After putting some support pieces on the bottom frame, I flipped the table top upside down, lined everything up, and put the table together.

Using the support pieces, I screwed the top onto the bottom while the table was flipped upside down.
The plywood has been glued and screwed.
The process of gluing in the table top.

I finished the piece by using Danish Oil. I put down a coat of natural wood color, and then put two coats of dark walnut color. After letting that thoroughly dry for about 3 days, I applied a spray polyurethane, about 4 coats of it.

Finally putting coats of the Danish Oil finish on to the table.


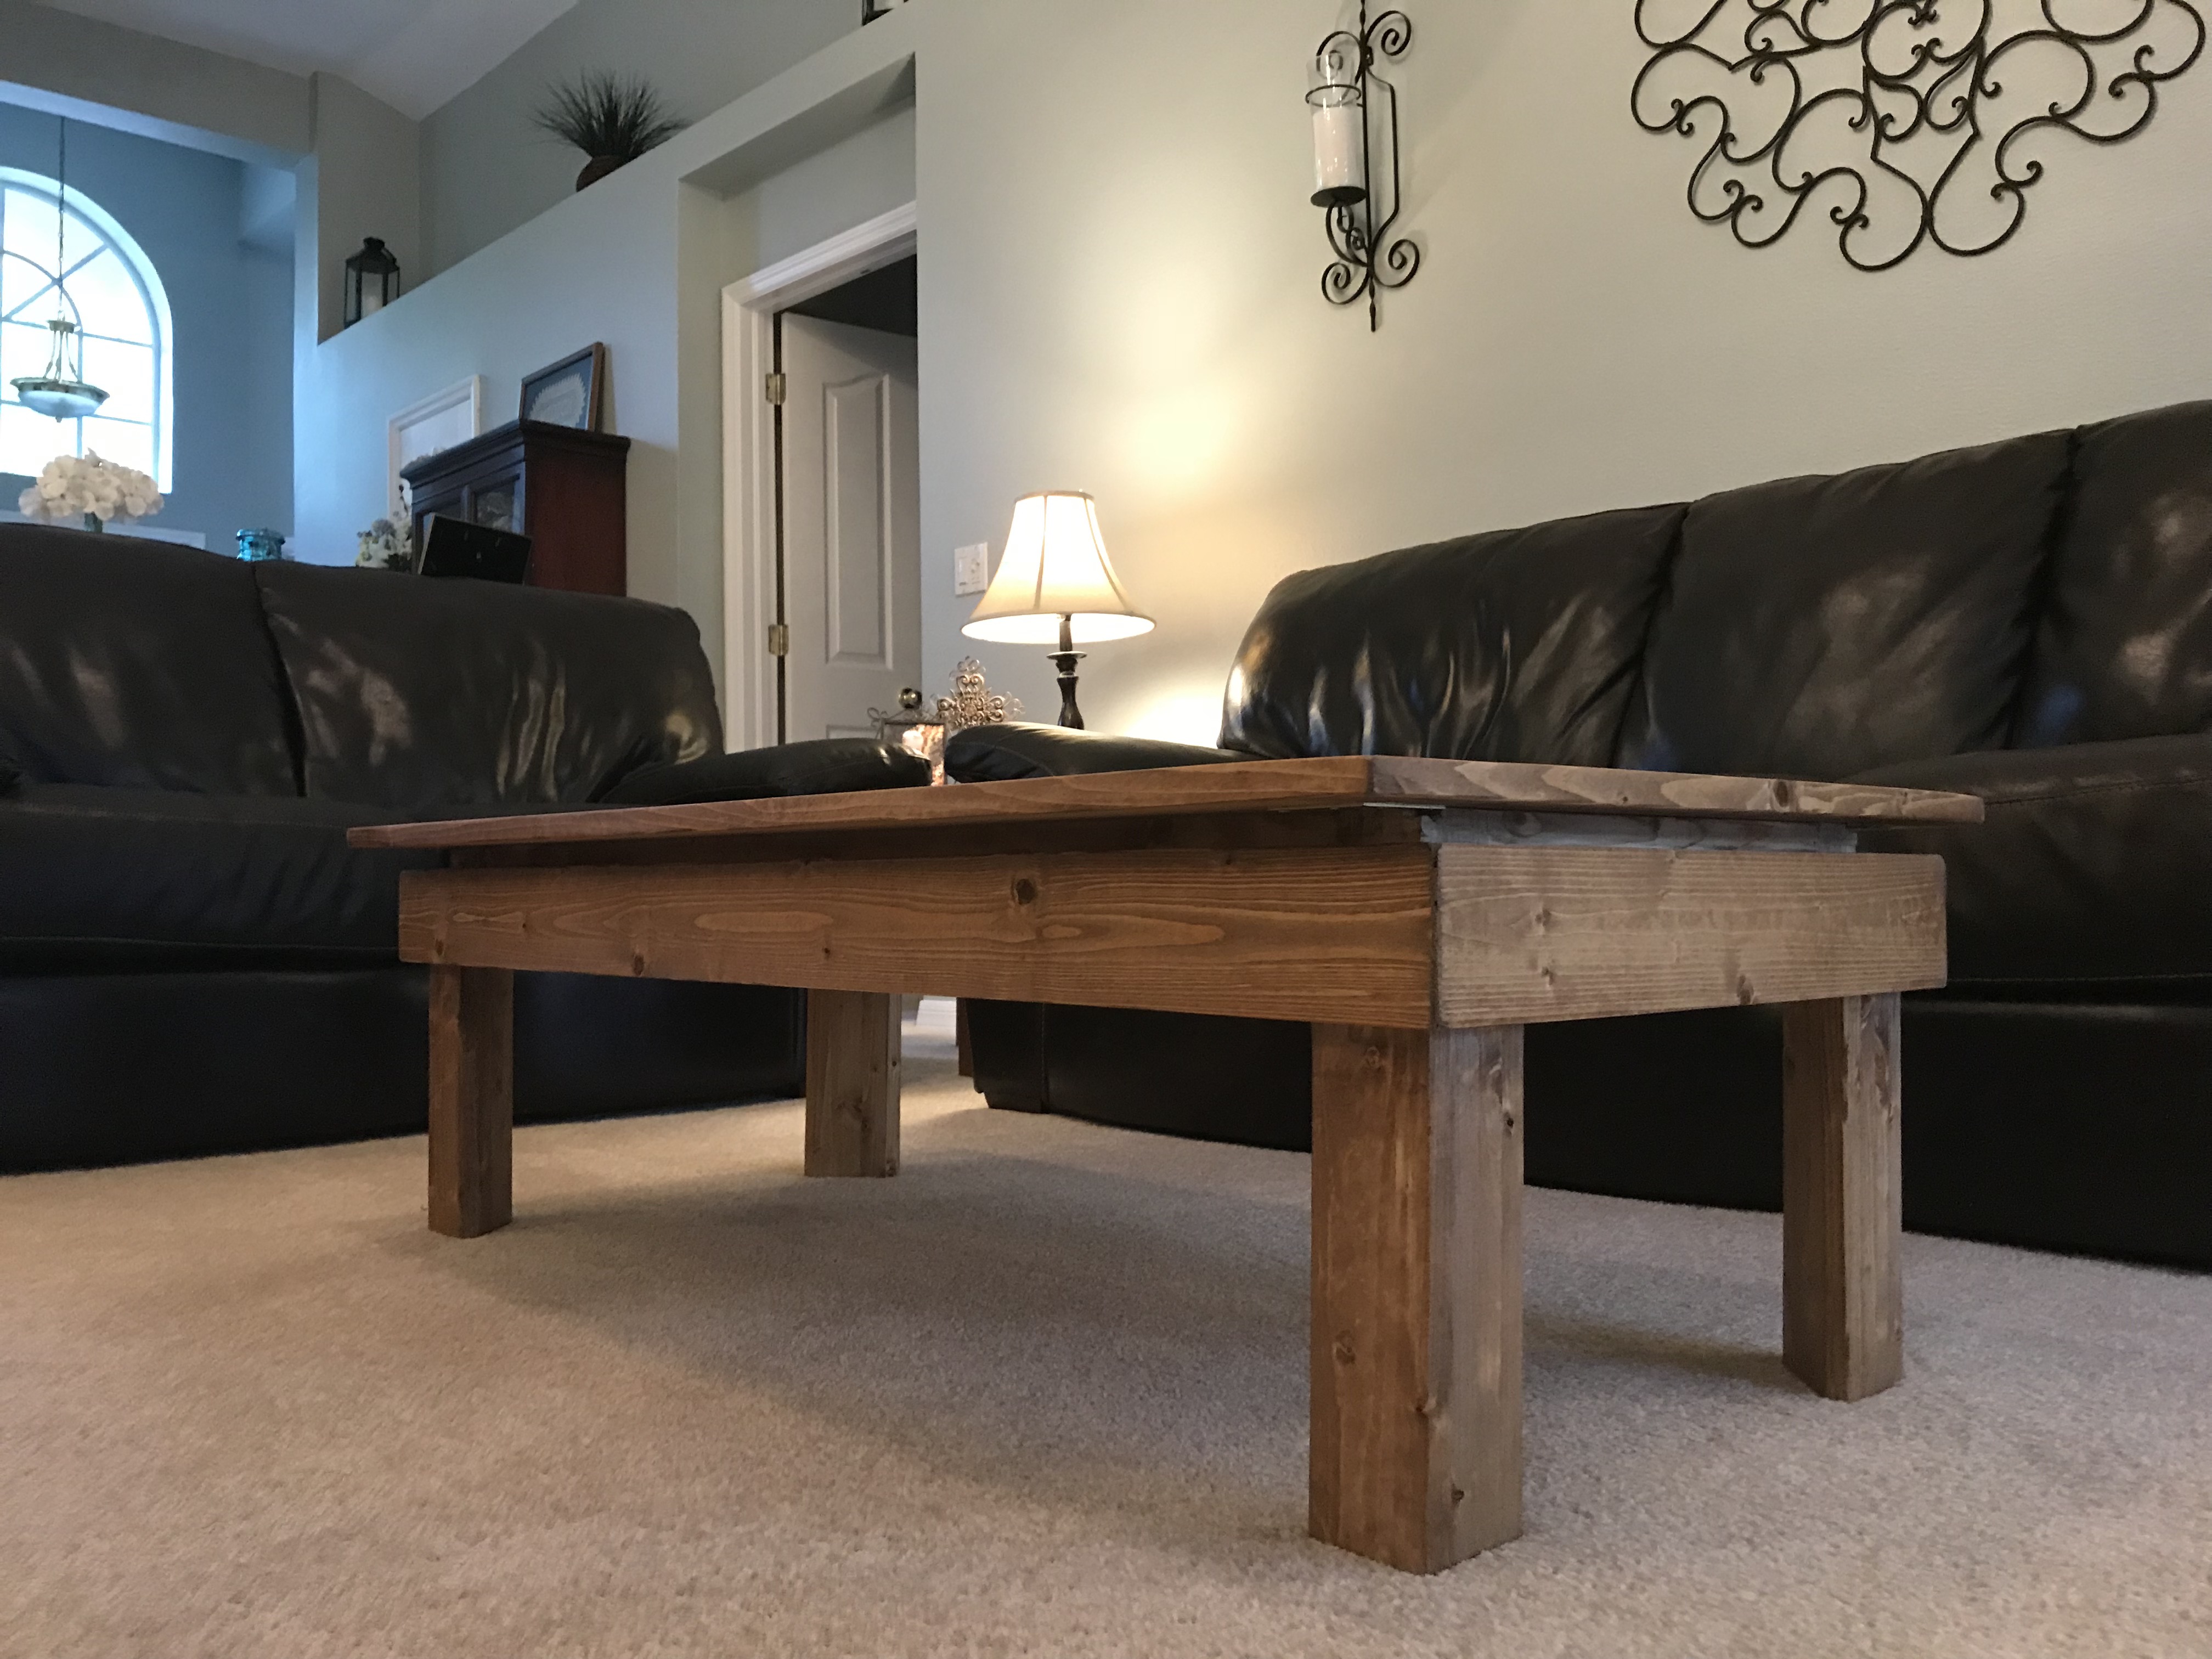
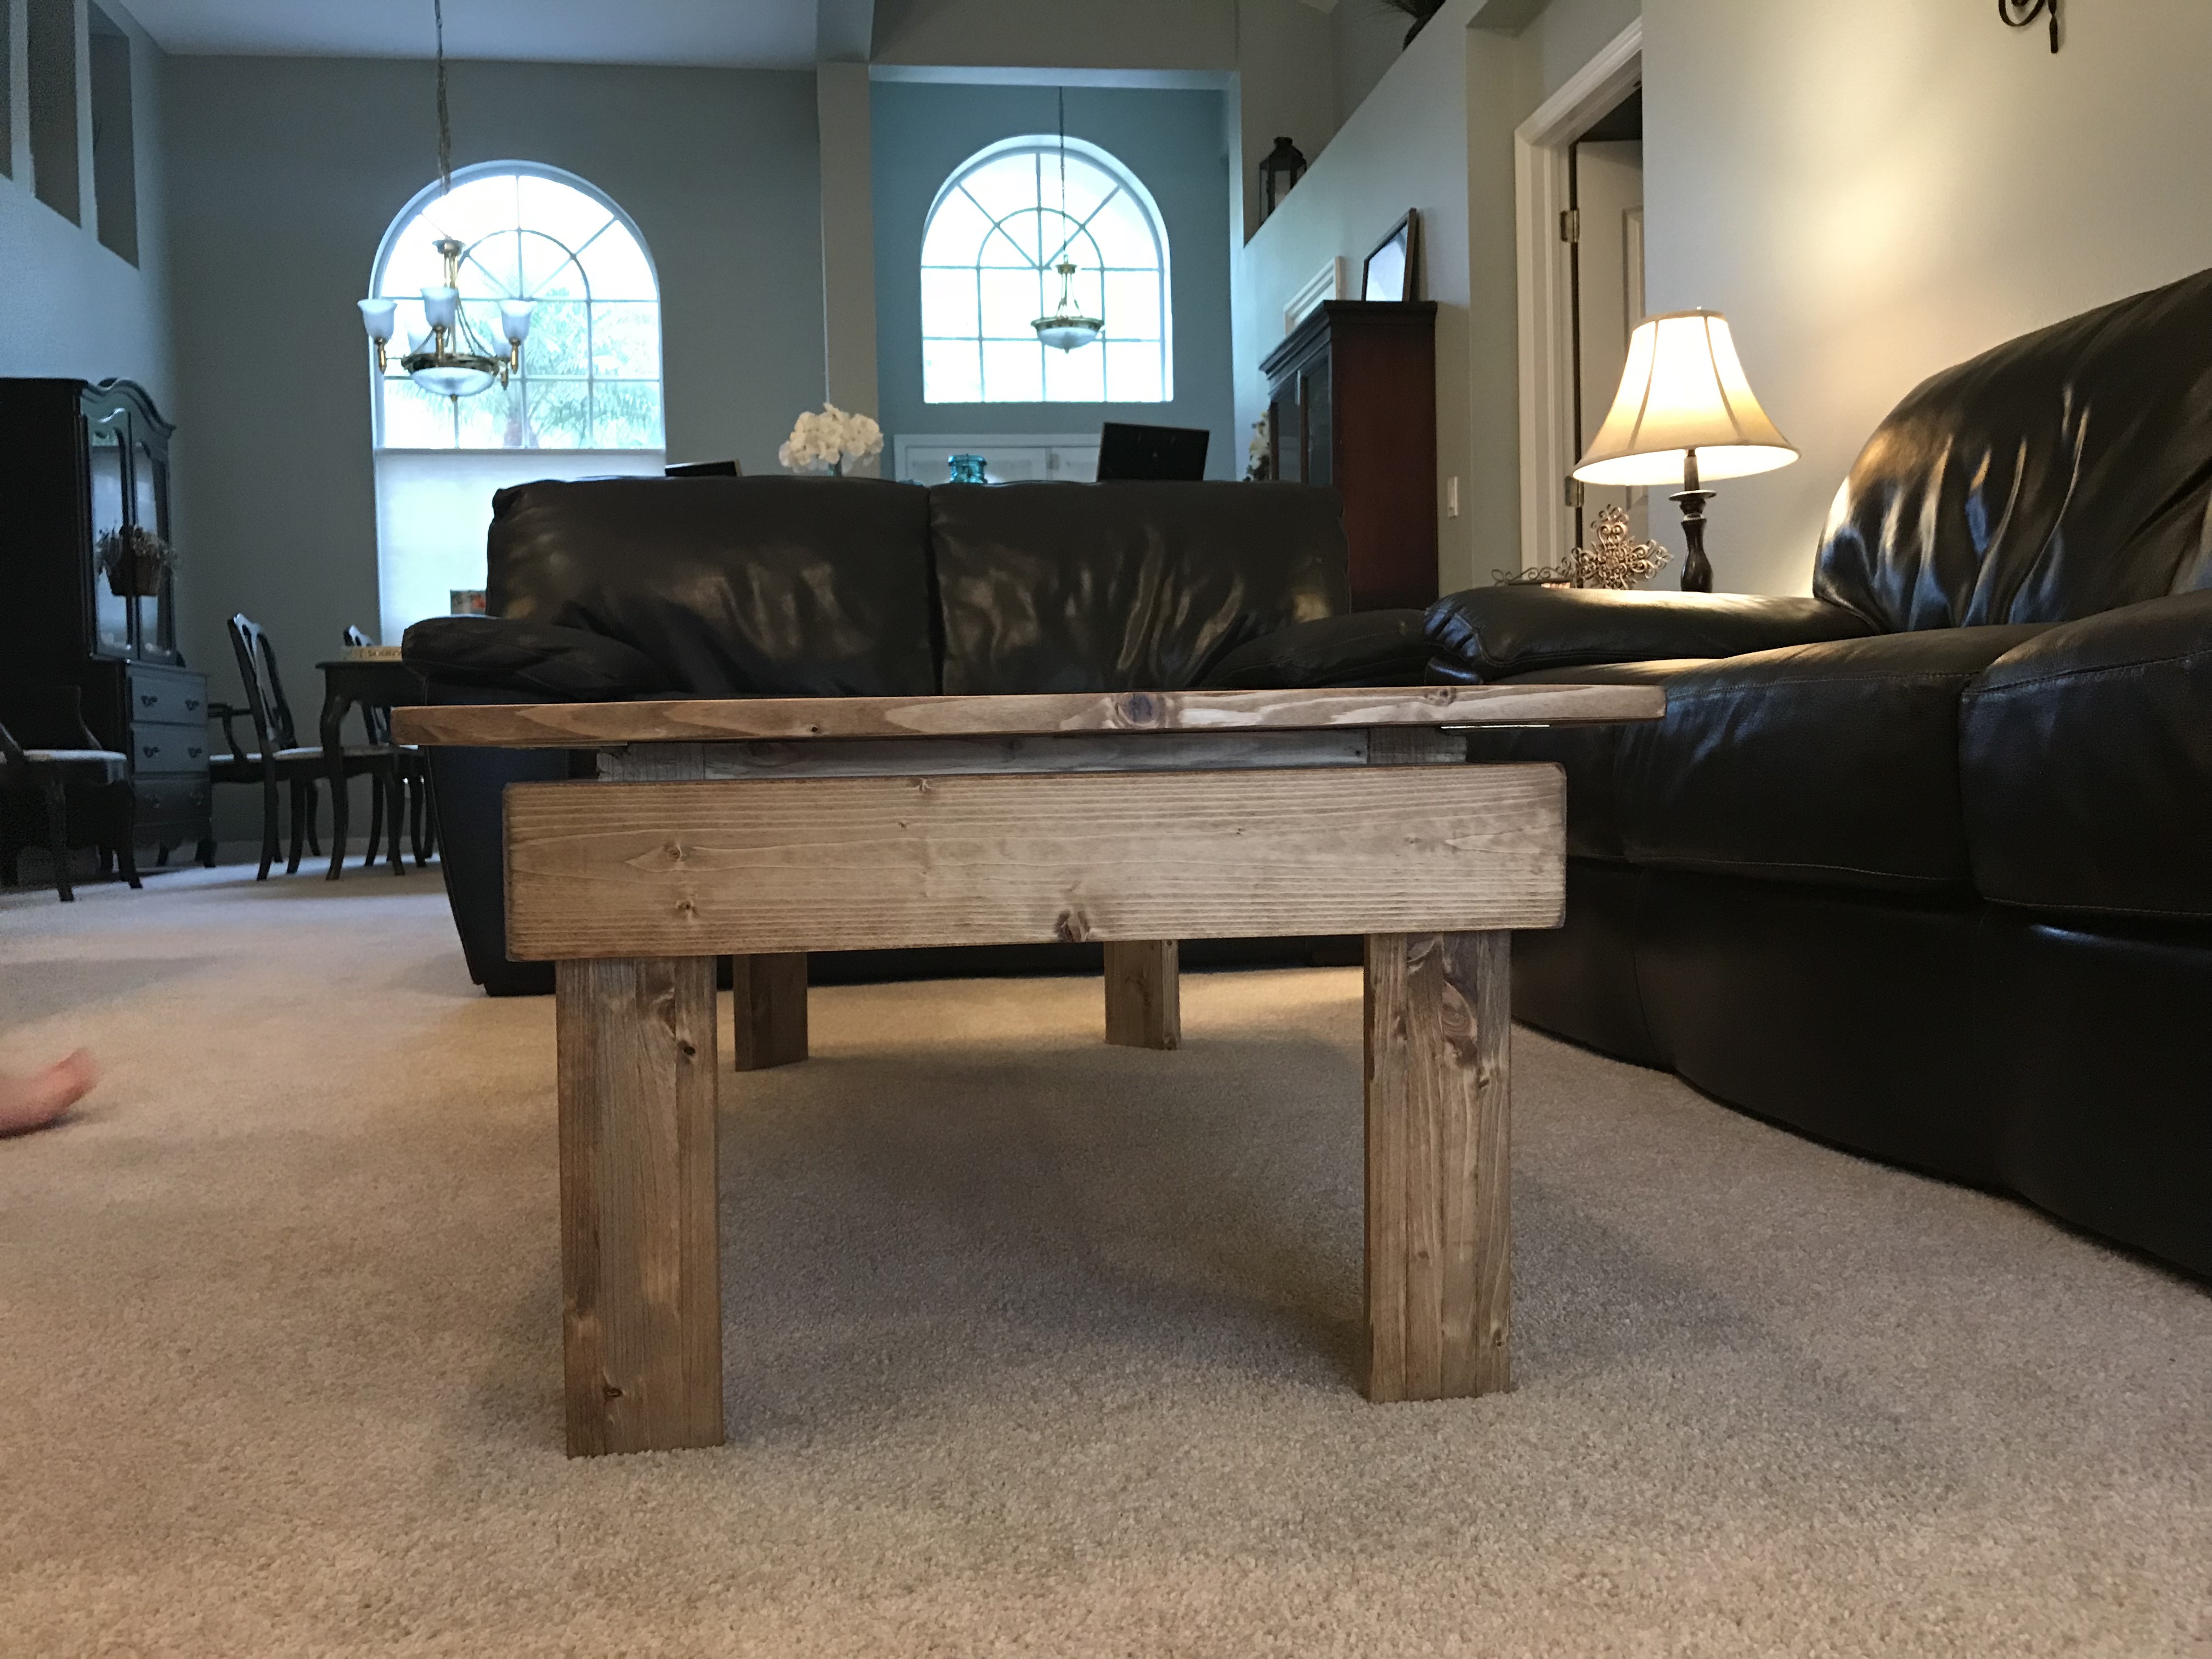
I’m really proud of this piece. I had a lot of struggles with it. I think it looks really good inside our living room area.
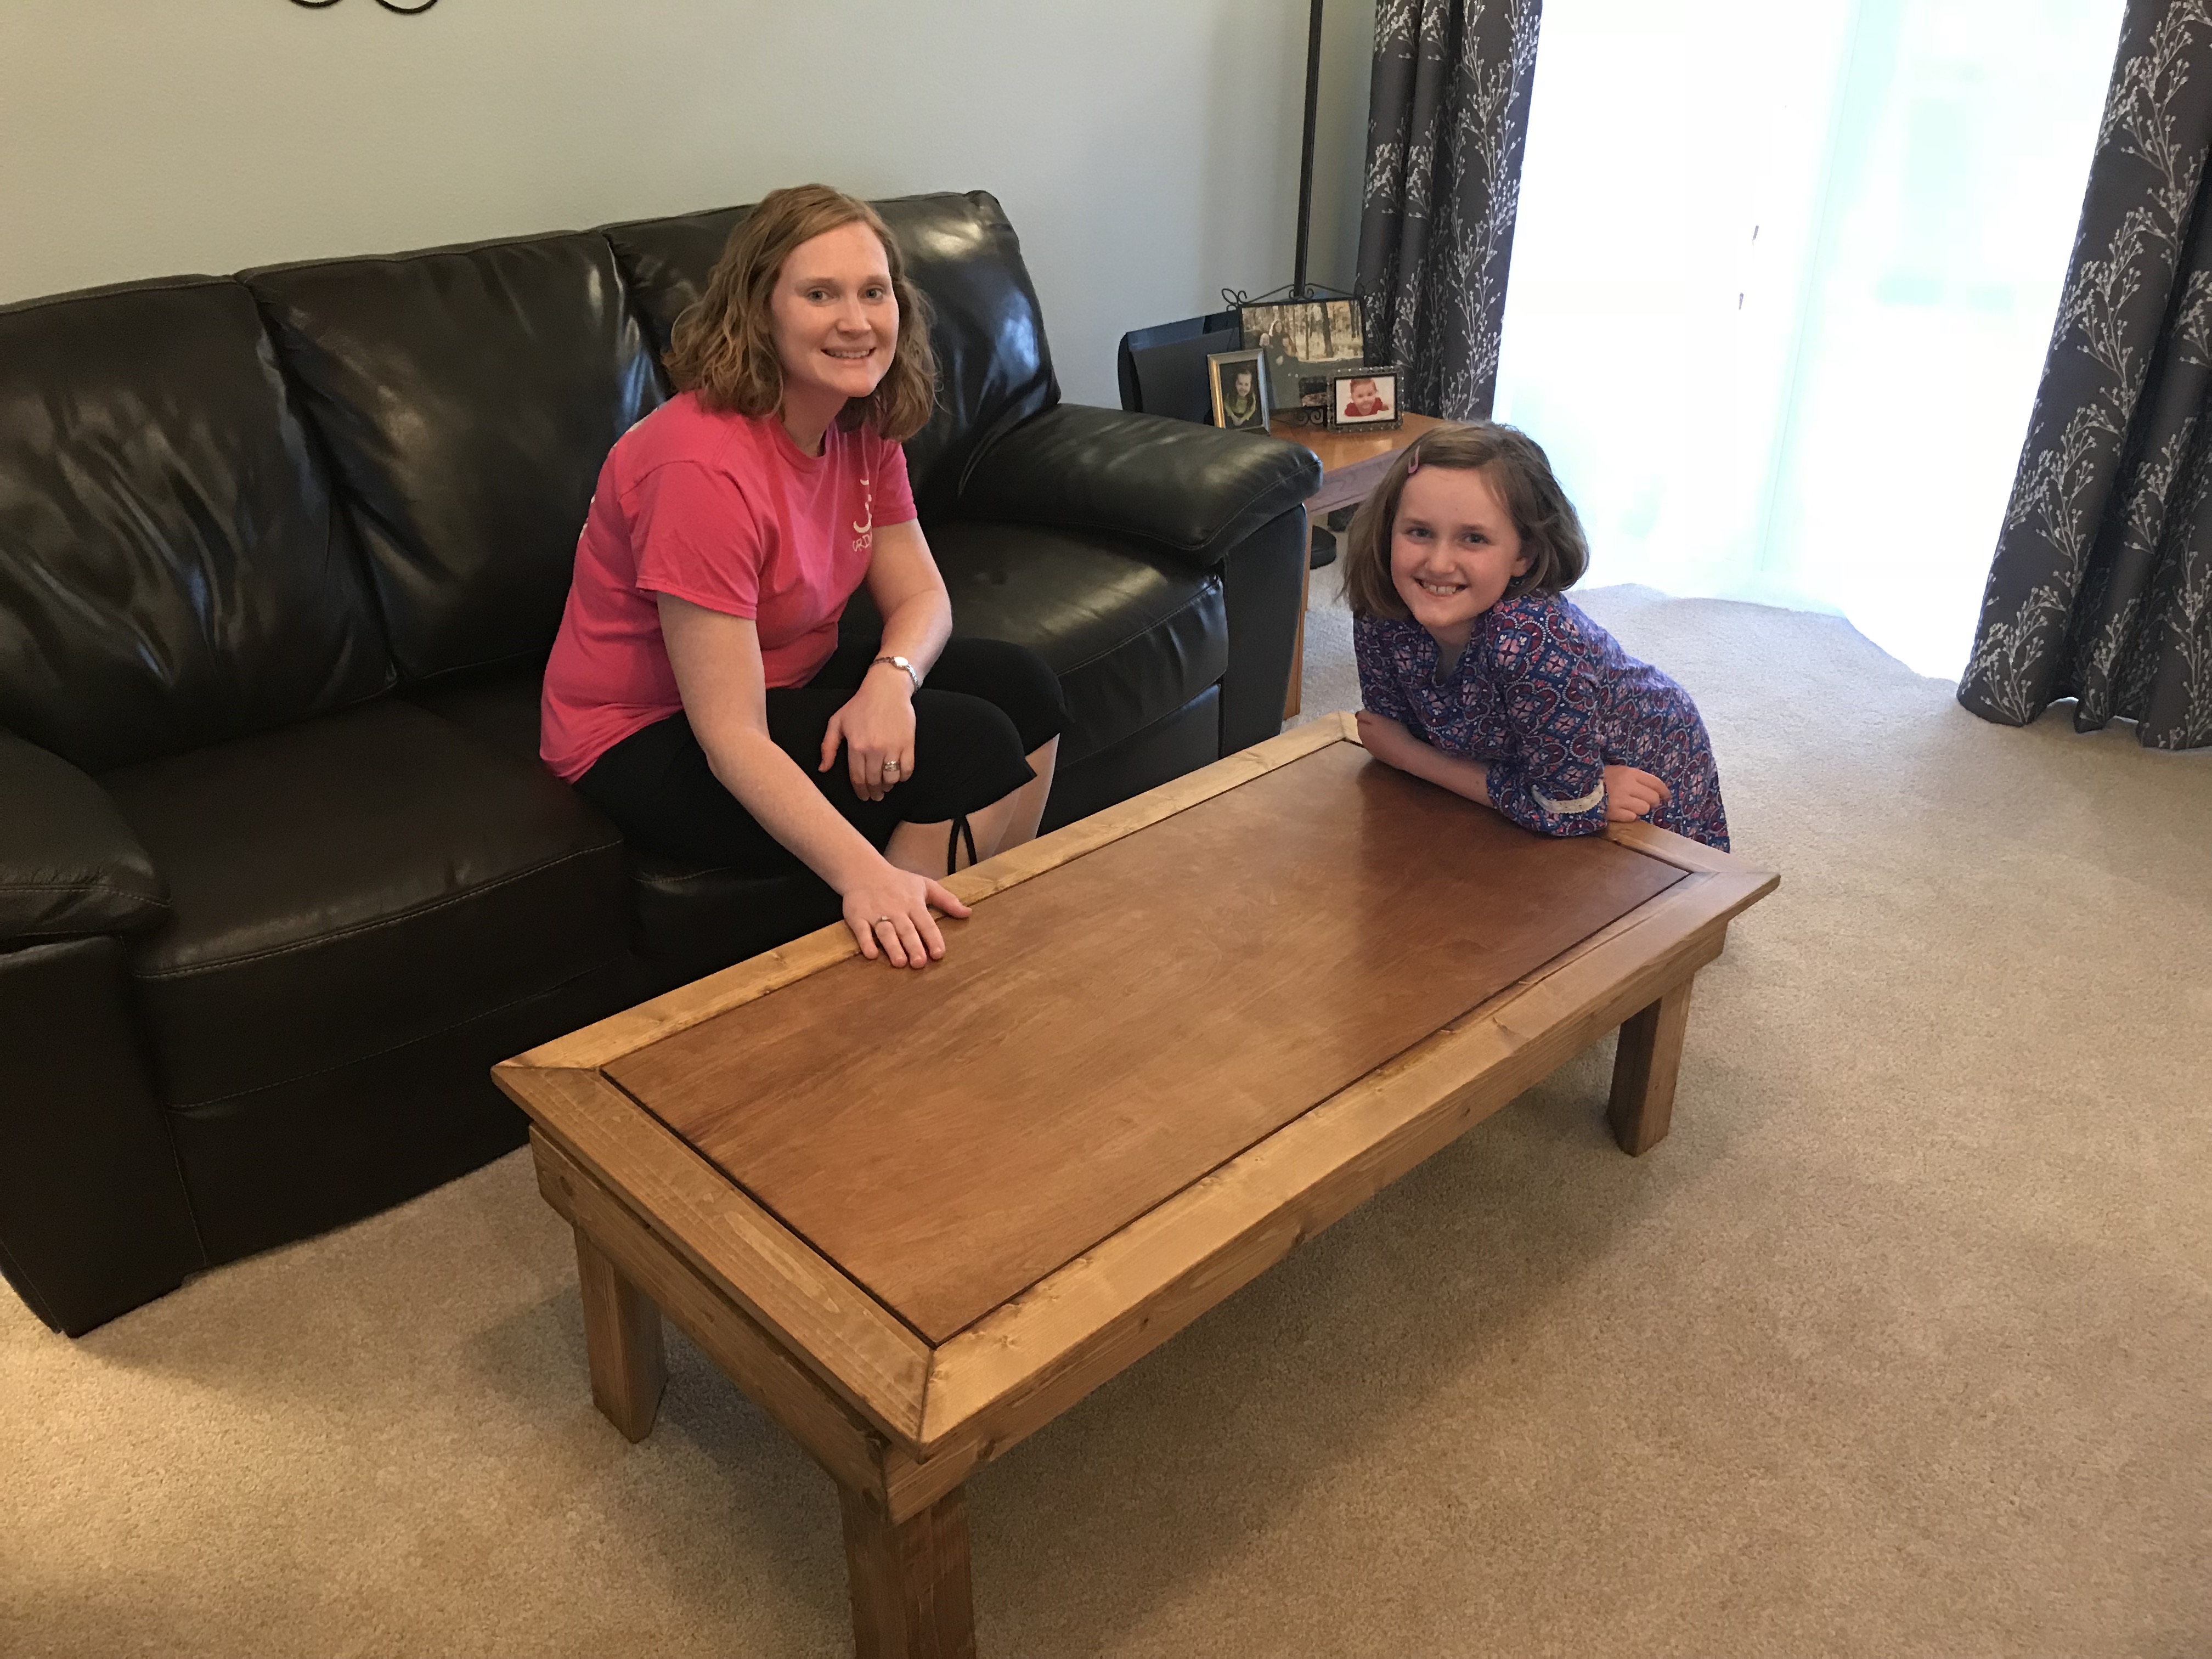
The family loves the new table!


Once again, I’d like to thank Steve Ramsey for doing such a great job teaching on his Weekend Woodworker course. I would have never had the ability to do this without his teaching.
