

I’ve been taking part of an online woodworking course called the Weekend Woodworker led by Steve Ramsey. It has been great fun, and I’m learning how to do a ton of awesome things.
For my 4th and 5th projects of the year – one of them was part of the course, and one of them was not.
First up, a paper holder. I know, it doesn’t sound awesome and amazing – but it taught me some great skills on the table saw, and even led to a “mini-project” where I learned how to make a pushstick designed by woodworker Matthias Wandel:

The paper holder took just a few small cuts on one 1×4 board, and a piece of plywood:
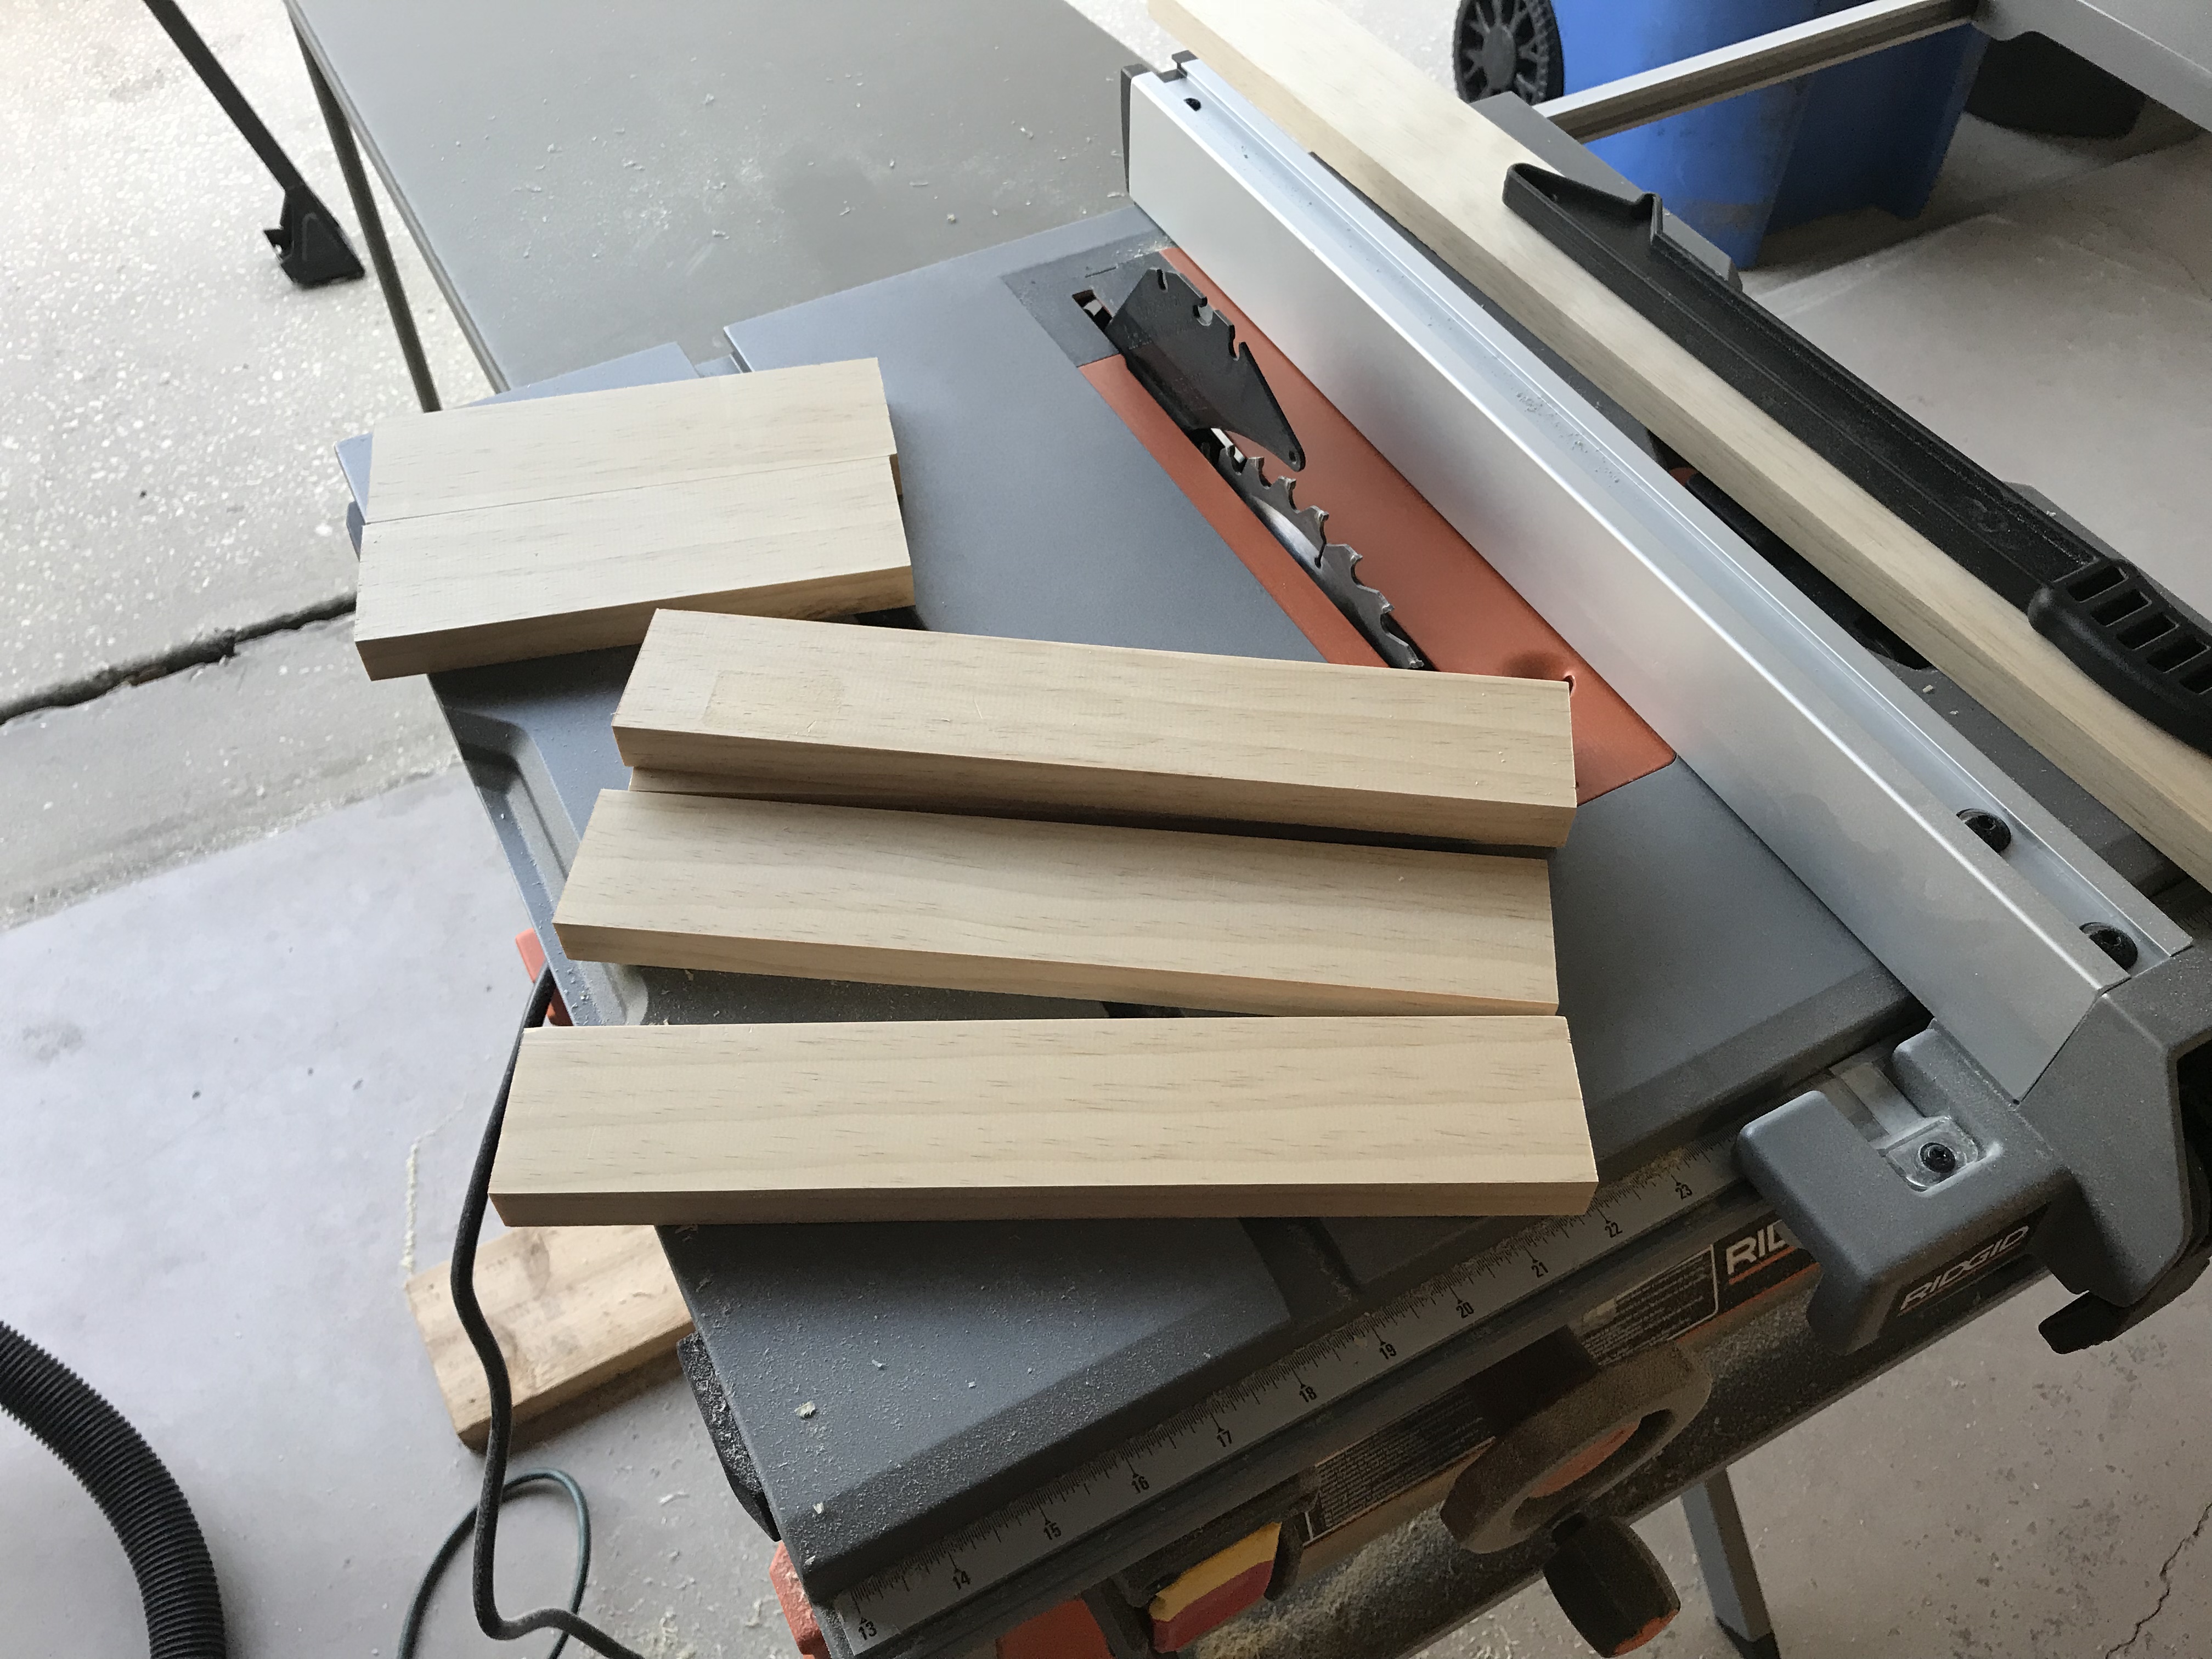
First up was learning to cut some rabbets on the boards:

I had to cut an opening in the front piece for being able to grab the papers out of the holder:

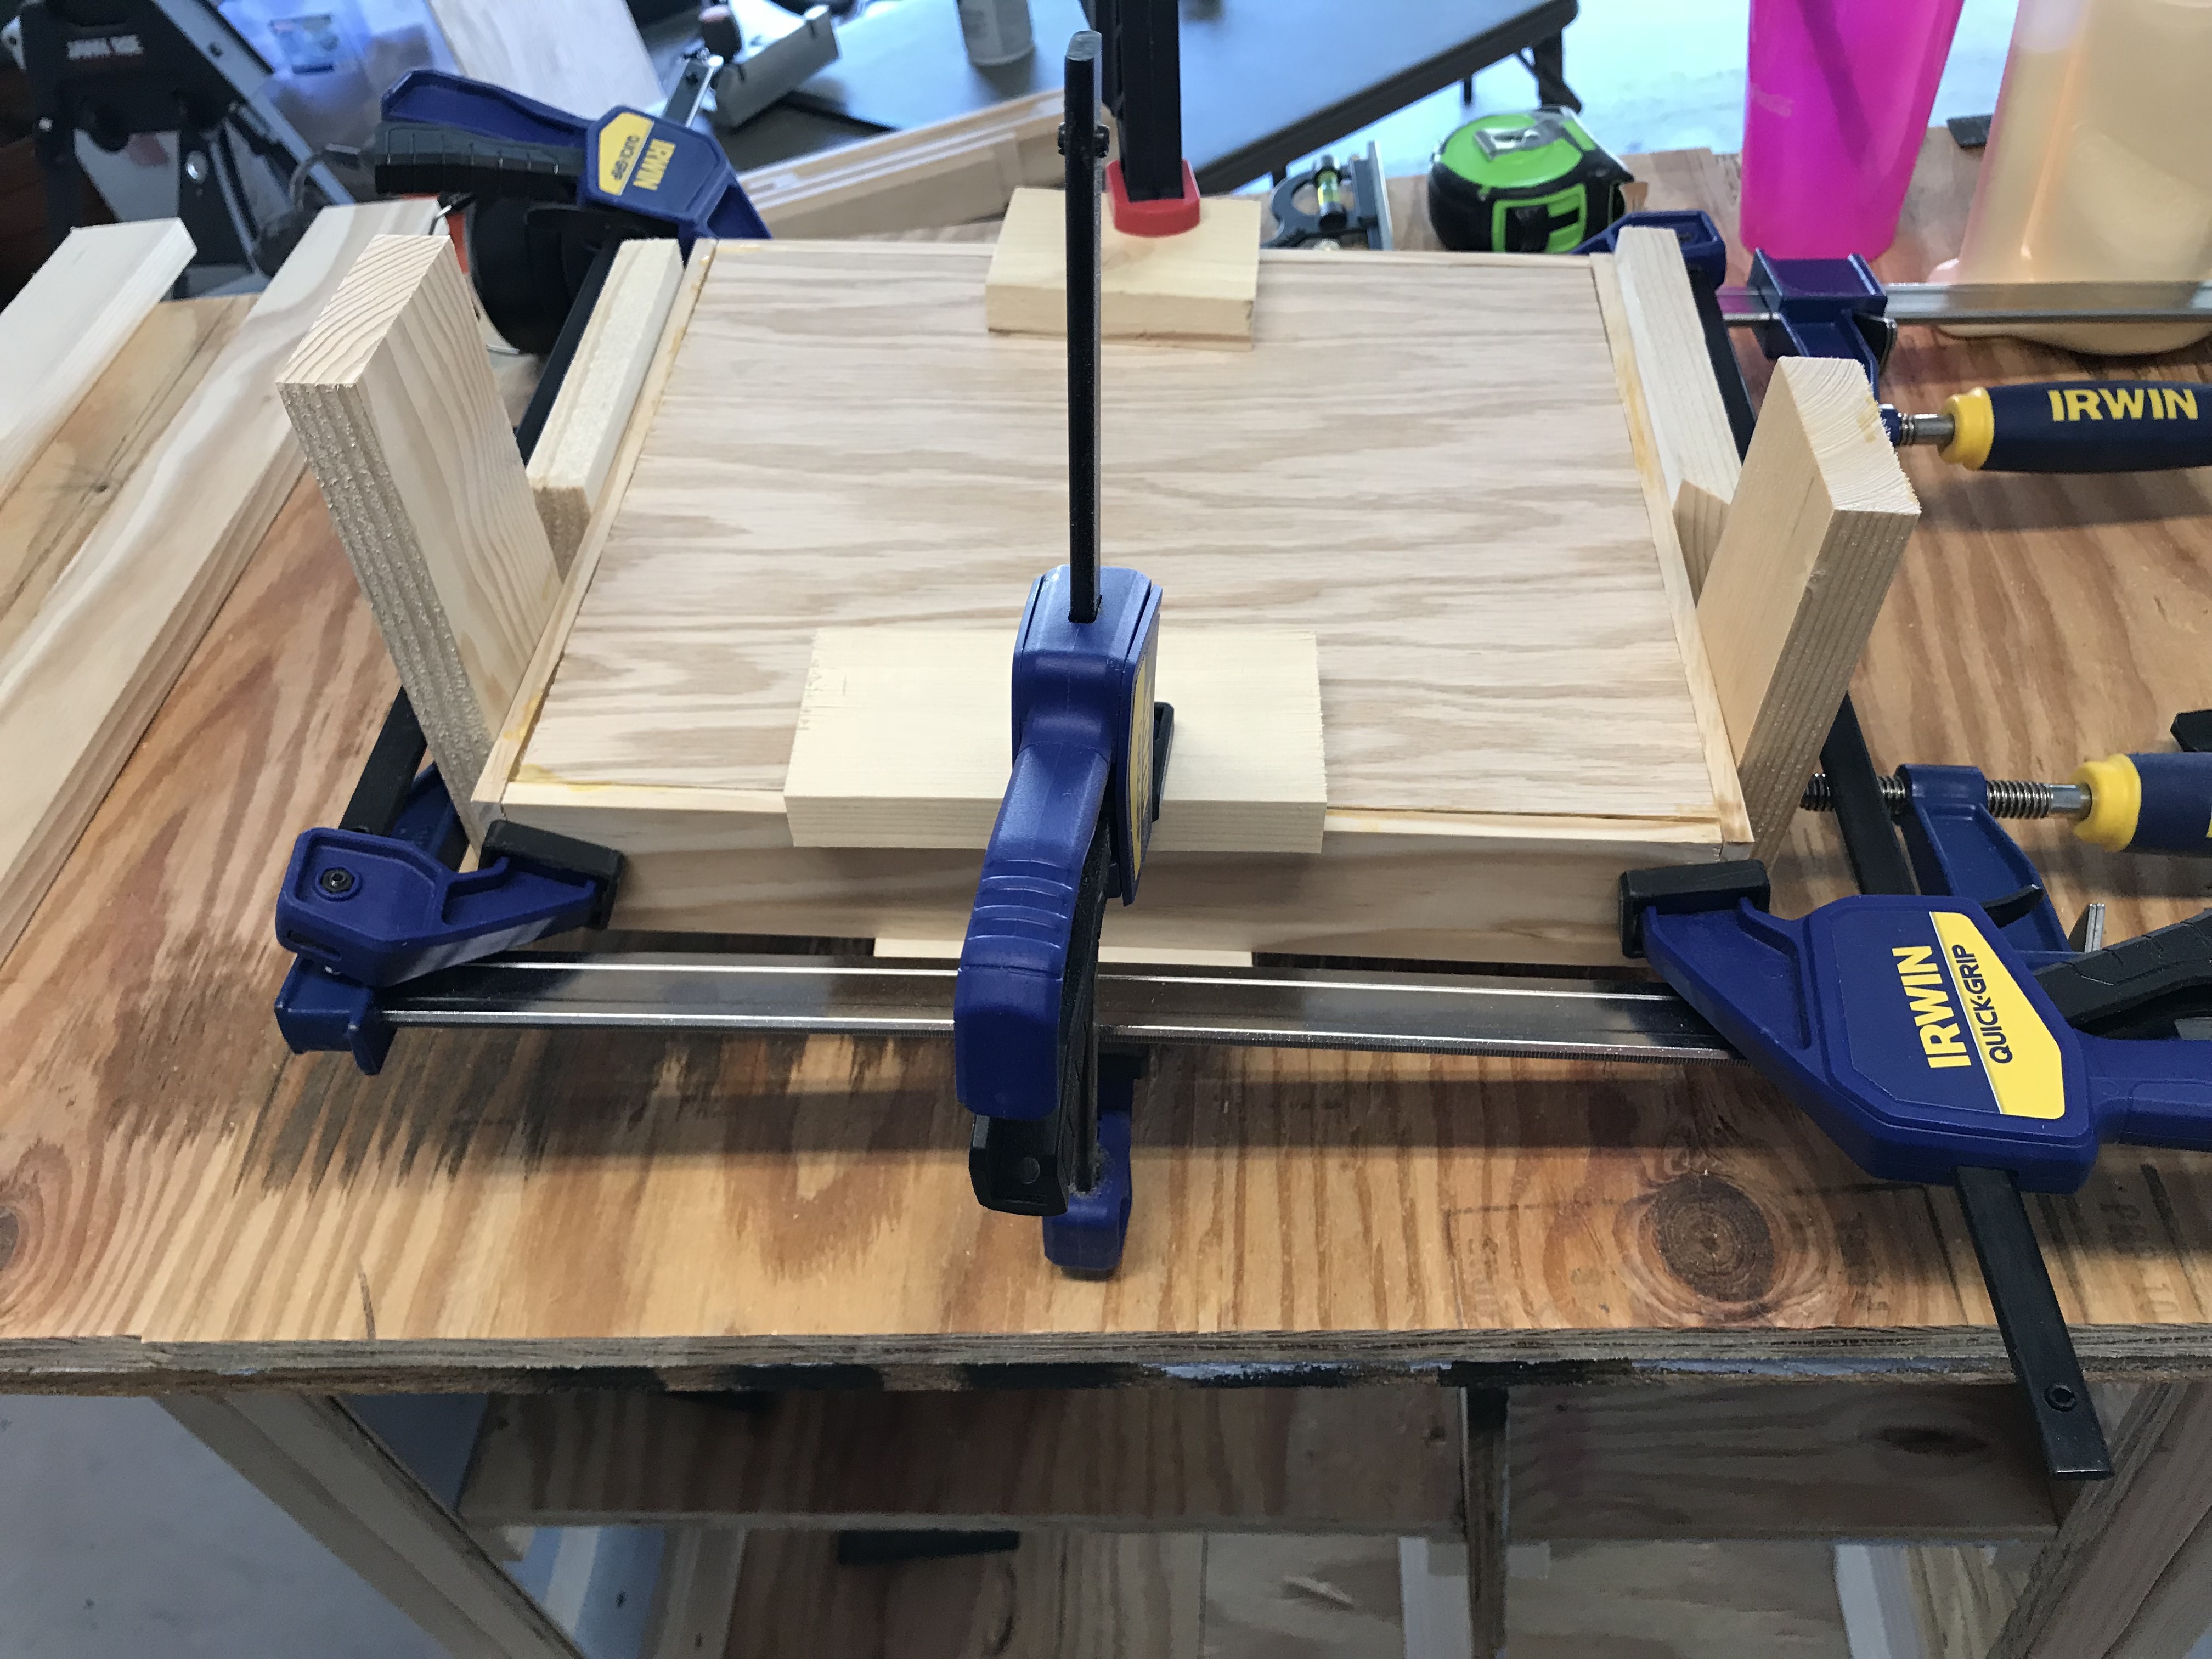
Then I had to put them all together:


Next I had to rip the sheet of plywood, which I did not enjoy. I got it cut a bit too much and it didn’t fit exactly like I wanted it to, but that’s okay, it’s on the bottom. I cut it out and then glued it in place:
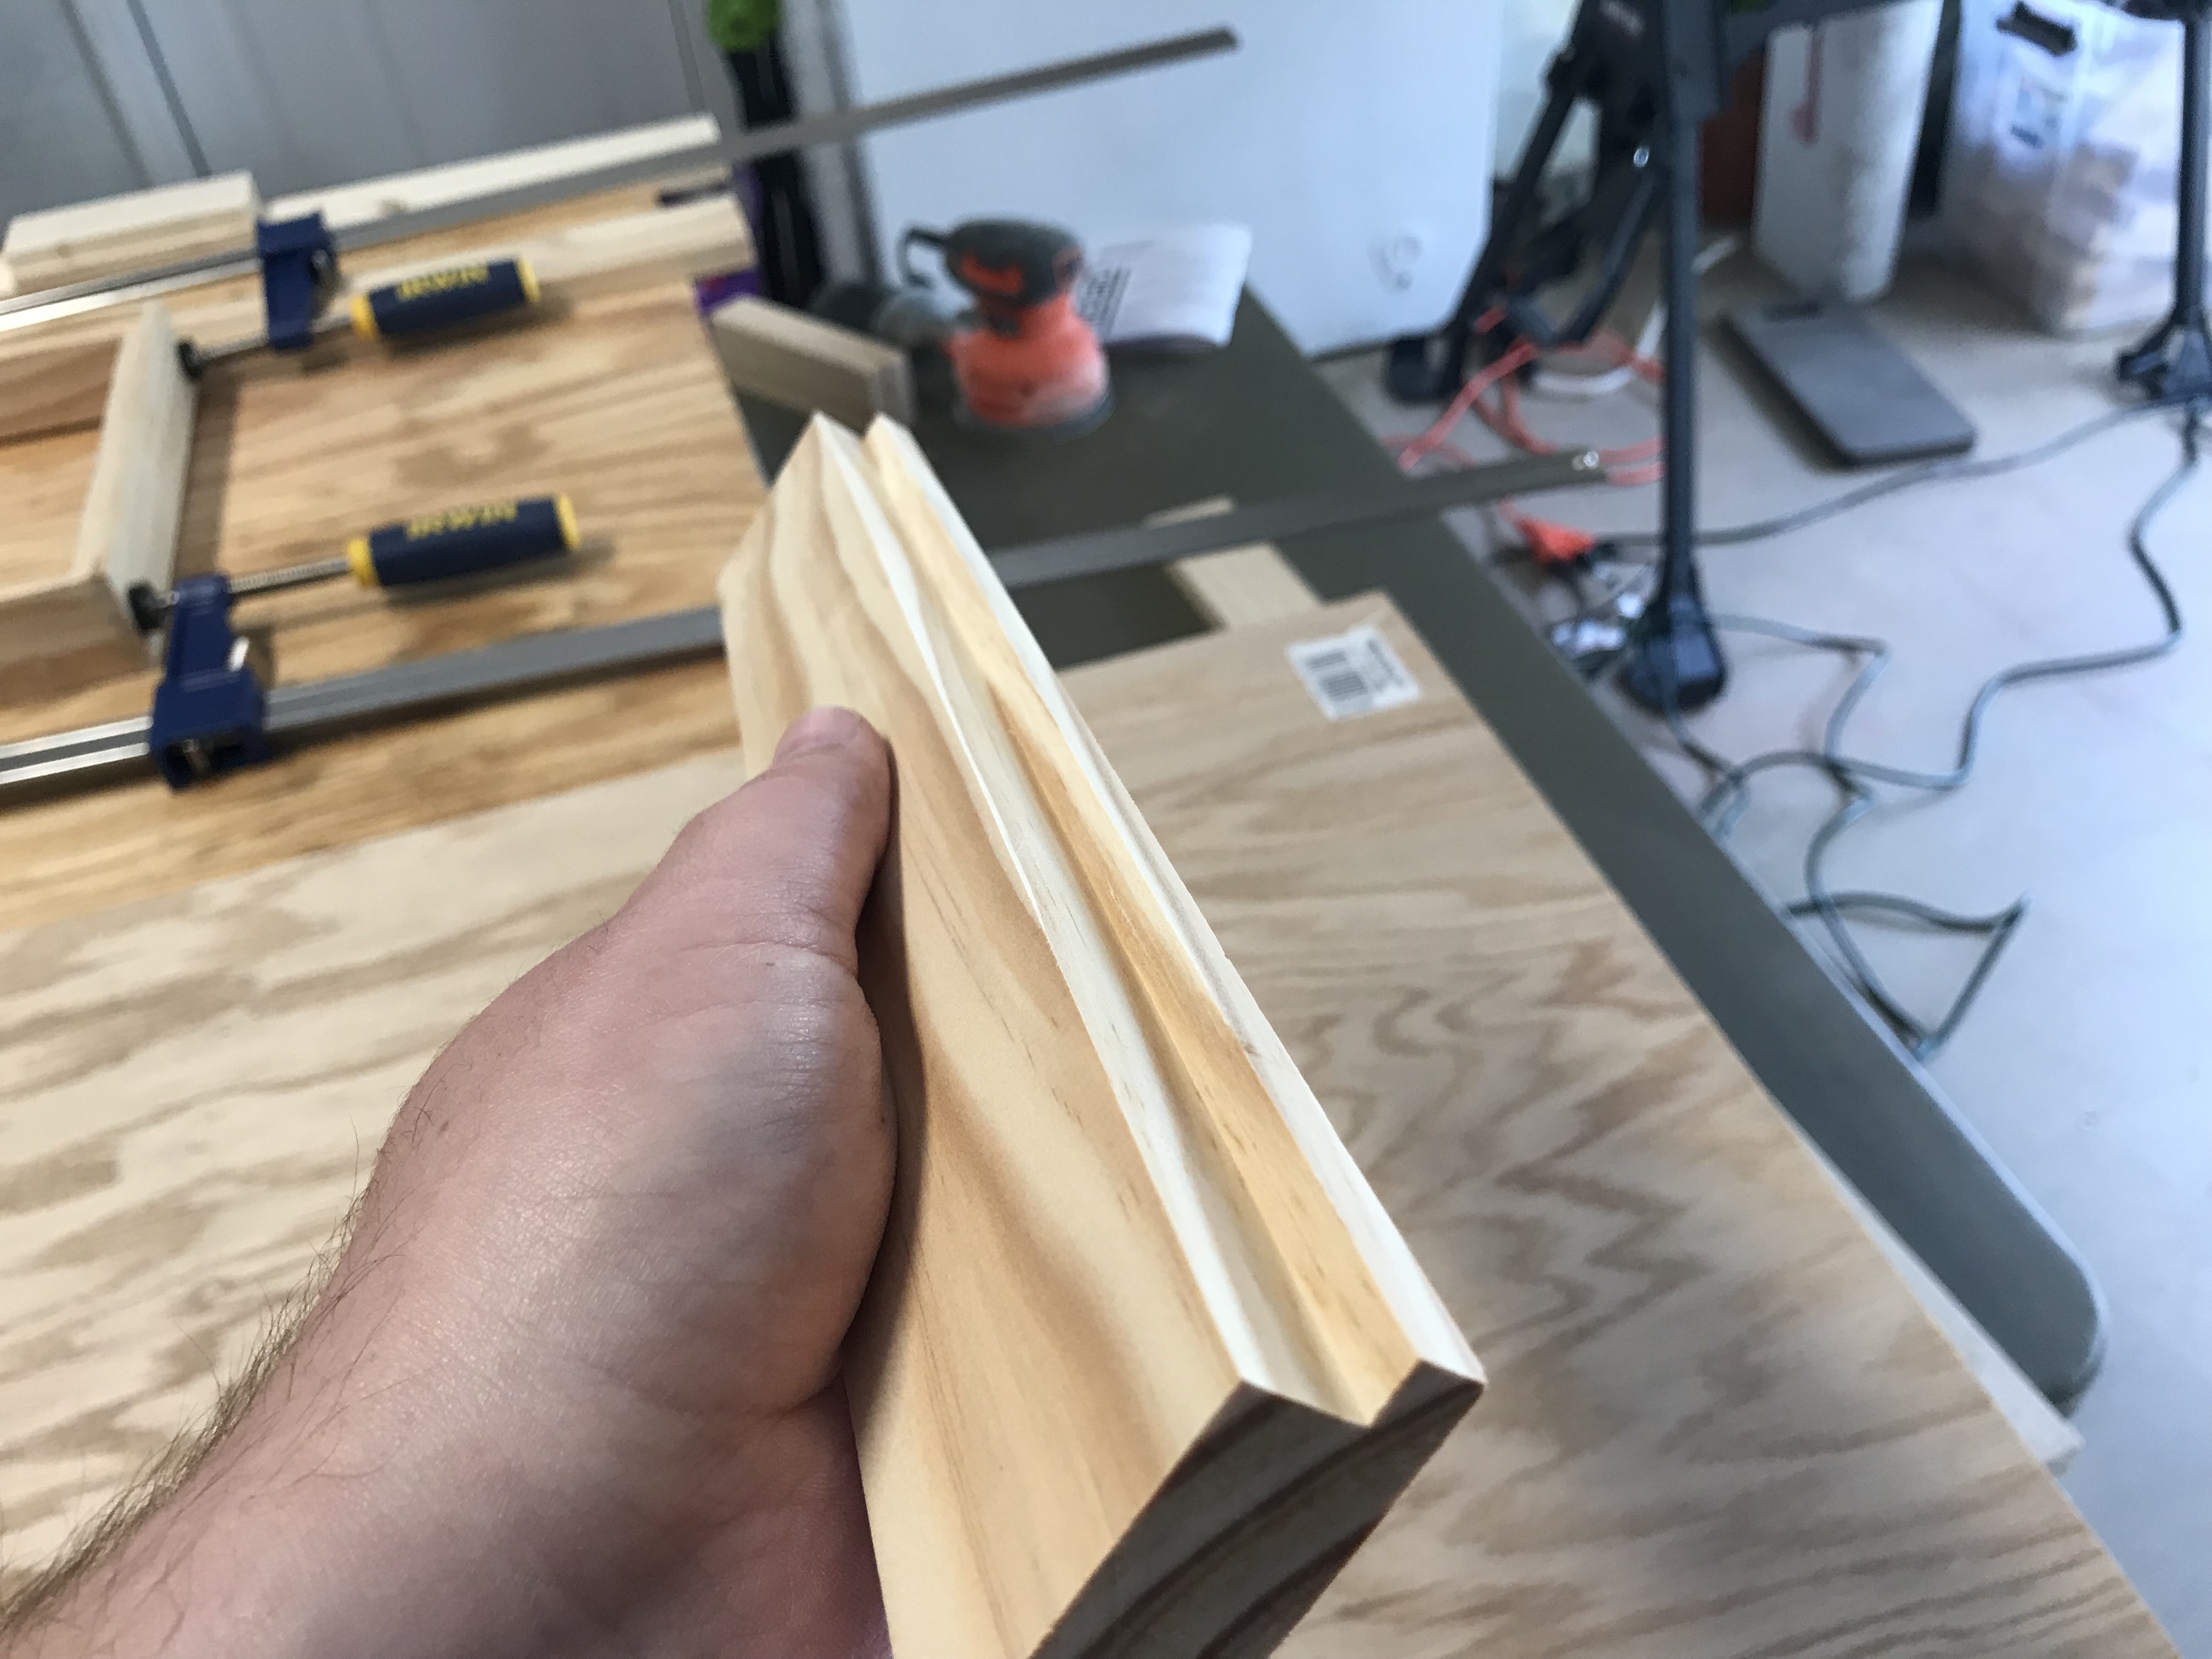
After that dried up, I cut some decorative bevels into the top:


The last step was to make a paperweight – which consisted of just gluing up two boards together. You’re supposed to add personalization to it, I just haven’t gotten around to it yet.

After I made this, I thought it was time to try something not part of the course – and we’ve been needing some barstools for our kitchen area.
This project was really more of a “let’s see if I can do it, and if I can, I’ll make a better one later” type of project. I began with some 2x4s and cut them down to some lengths that would work well for the project:

This project, I was finally going to use pocket holes. I don’t have an expensive “Kreg” jig, but rather I had purchased a pocket hole jig from Harbor Freight.
The only thing I don’t care for about the HF jig is that I can’t adjust the height of where the holes go in the board. It ended up working out just fine for this project, but I can see where in the future it may restrict me from using them in all projects.
Pocket holes are supposed to “hide” the screw, and then you can go in and fill the holes later, or you can just leave them if you’d like. Here’s the jig, and here’s how it works:


I am using the Kreg brand screws – they were a gift from my wife at Christmas.
After getting all the holes drilled, I started to piece things together:

After putting the braces in, and then putting on the seat boards, here’s what it looked like:

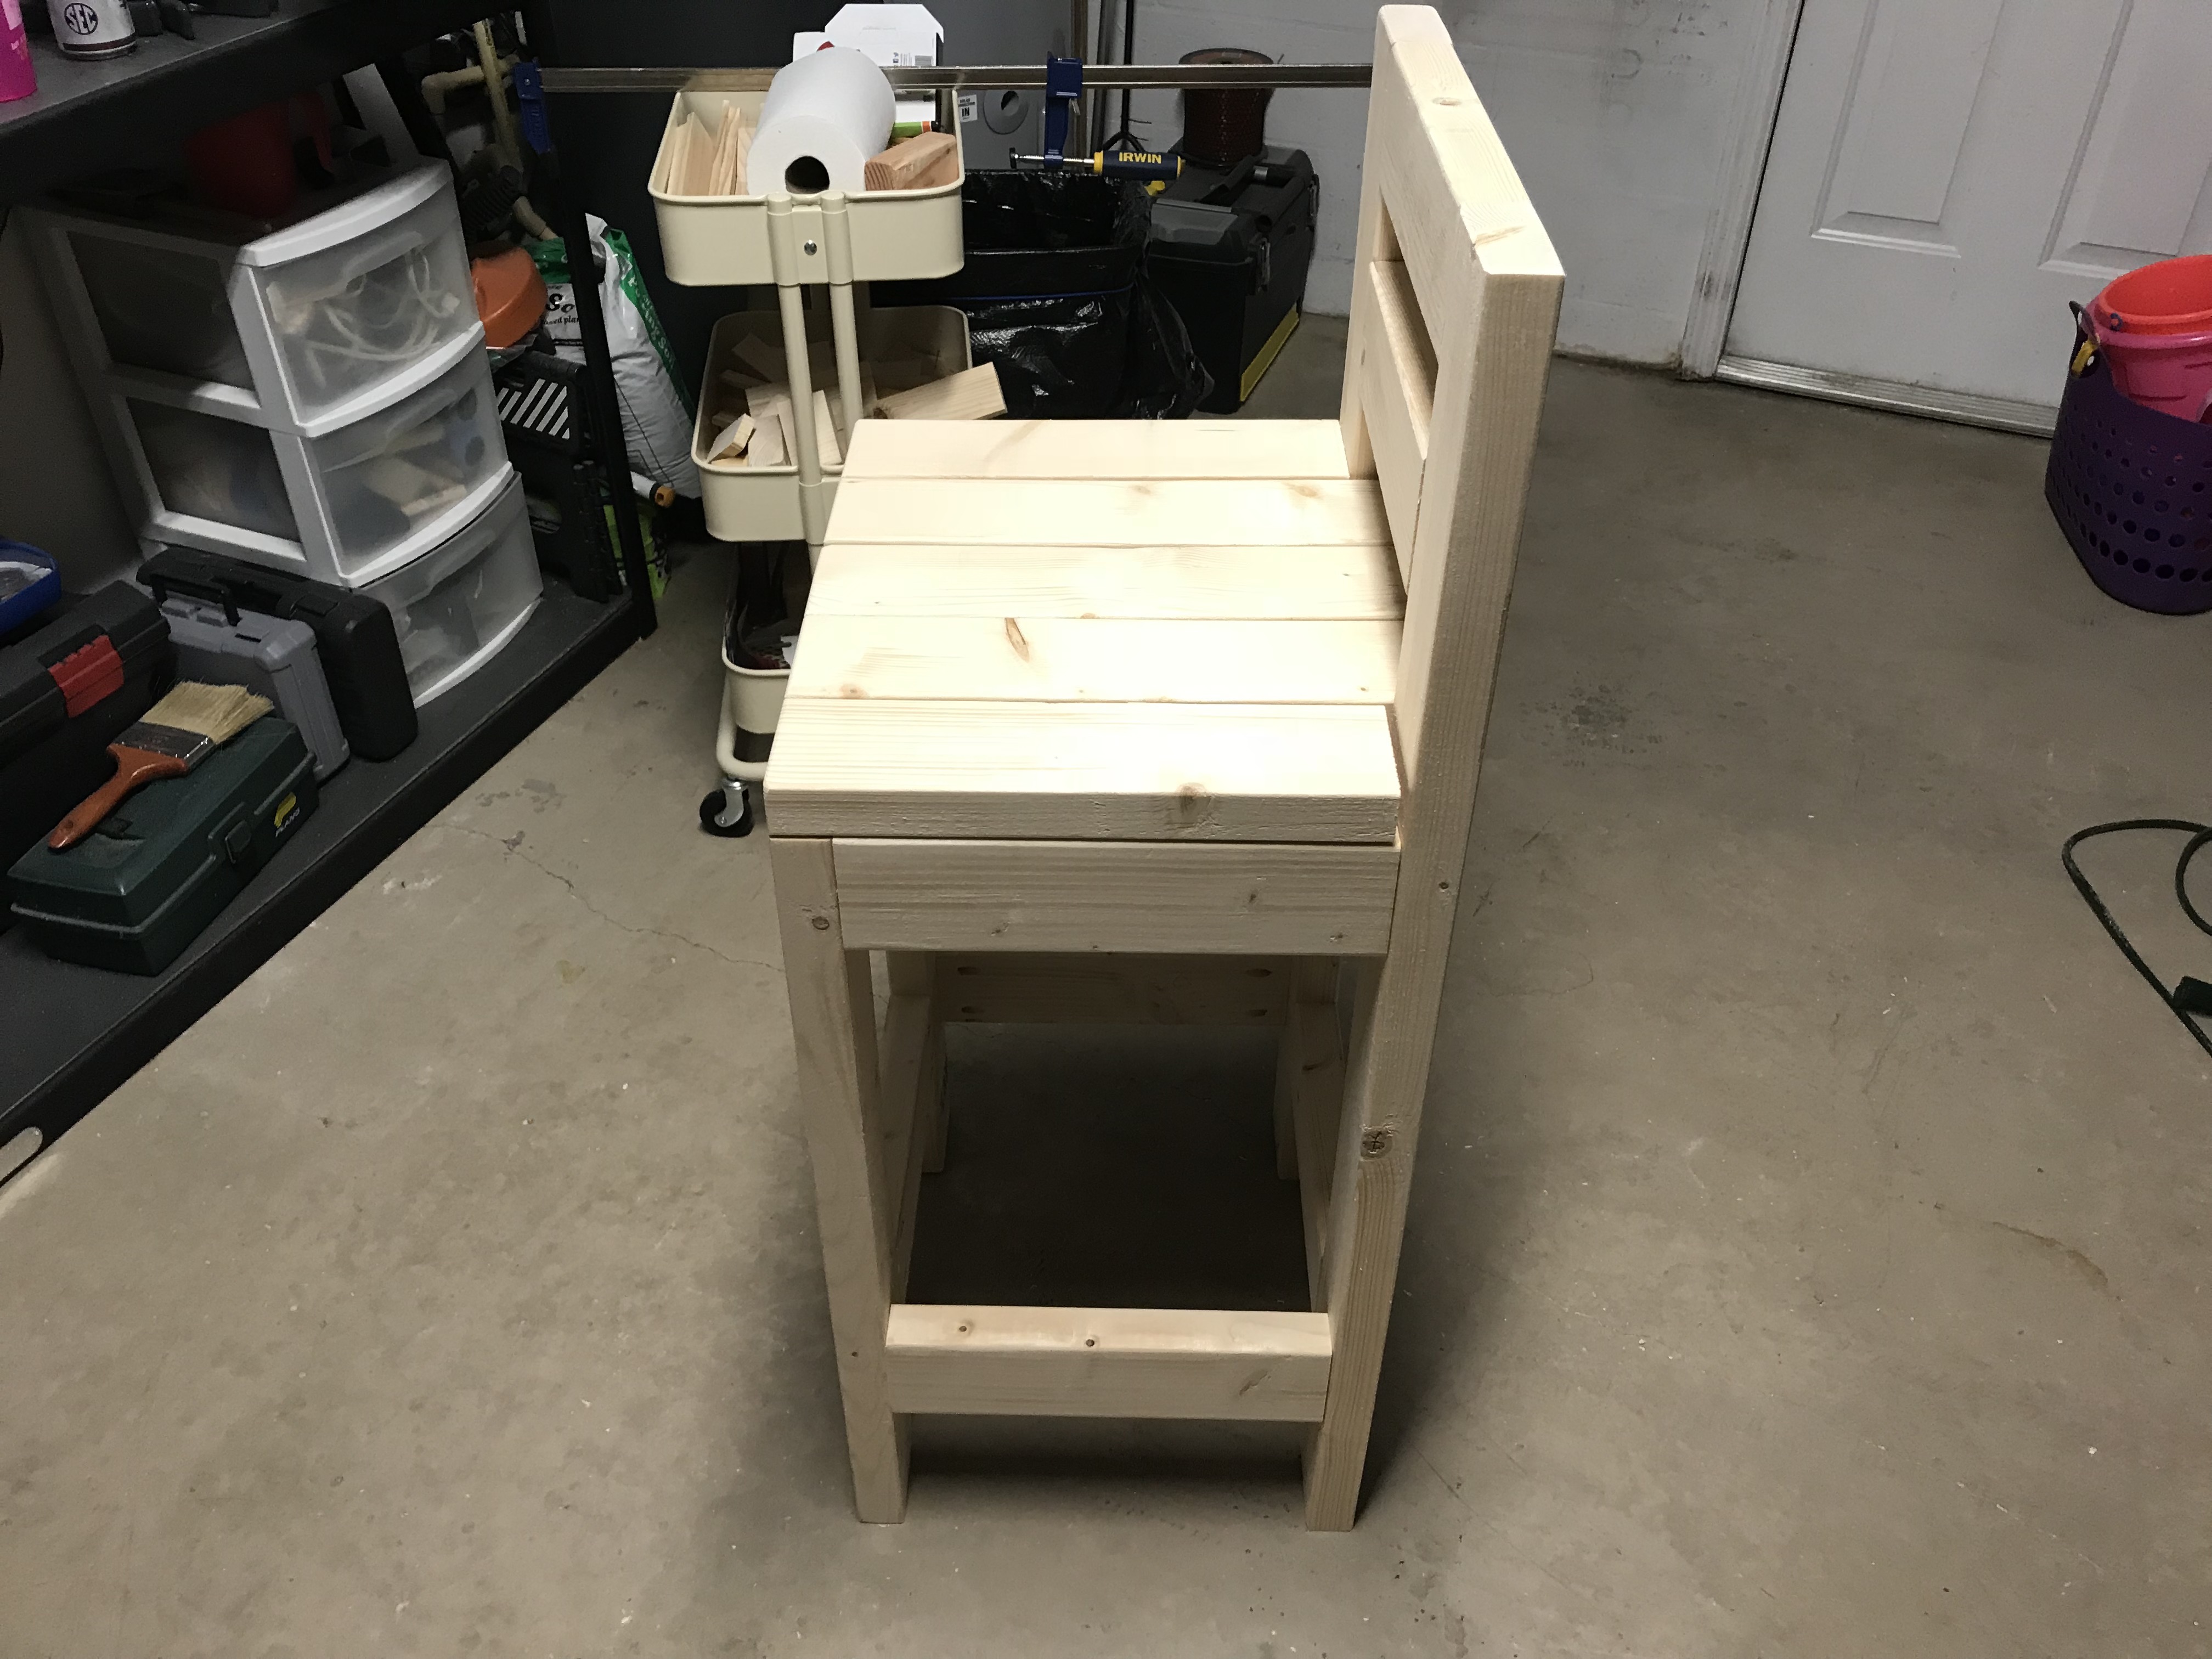


The chairs will fit perfectly in our kitchen/living room area under the kitchen counter. However, they are a bit clunky – so I may go back to the drawing board and make something a bit less of a large footprint.

Regardless, even if we don’t use it in the kitchen area, I now have a great seat for my garage/workshop area.
