When we began looking for a house here in Tampa, FL, one of the things that we noticed almost right away was that in our price range, the secondary bedrooms in most of the newer homes were tiny. In the apartment we stayed in for two years, Josie’s bedroom was about 12′ x 13′. In Nashville, her bedroom was about 14′ x 14′. Now, her room is roughly 10’x10′. She’s never complained about the size of her room – except that she wished there was more room to play and stretch out.
Her bedroom used to have a daybed given to us by some good friends – the Bybee Family – a long, long time ago. After several moves, the thing finally just fell apart. So unfortunately, since we moved in to our house in December, Josie has been sleeping on two twin mattresses stacked on top of each other in her room. Needless to say, we needed to remedy that.
I wanted to surprise her, so last week, when my wife’s parents came in to town to stay at the beach for a week, I stayed behind a few days to get something done: A loft bed for Josie.
Understand this: I’ve never worked with wood in any way. I have never fancied myself as a DIY guy. I like to watch DIY videos, dream about doing DIY things, but never had the tools or skill level needed to do much. So why not start with a gigantic loft bed to place in your daughter’s room, right?
I scoured the internet for plans – and finally settled on about 3 different ones. I ended up sort of merging some ideas together to get the final product.
I also had to buy a few things in order for me to get started. I had a $300 Amazon Gift Card from a promotion from my internet/cable provider, so I used that to buy these two things:
A Rockwell Jawhorse Sheetmaster
Rockwell Jawhorse Sheetmaster. Could NOT have done this job by myself without this.
An inexpensive Hitachi Miter Saw
Once these came in, and after I got going, I realized my tool box was rather dry. I had a few things, but not nearly what I needed to make this project go smoothly. I figured I’d spend a few dollars and make an investment into what I hoped would become a hobby down the road.
So I also added:
A Black and Decker Orbital Sander
A cordless Black and Decker Circular Saw (went with this one because I already had 4 batteries from previous purchases that were interchangeable)
I had a buddy from church that was going to help me with the build, and we were all set to go, but at the last hour, he texted me telling me his wife was going in to labor. Can’t get mad about that!! (By the way, the baby is doing well…) The only problem was that he is very skilled at woodworking, and he also had a vehicle to put the lumber in!
I drive a 2006 Honda Civic, not a car known for it’s lumber hauling ability. My wife’s car might could have handled it, but she had taken her car to the beach to haul all the vacation items. So I rented a cargo van from Uhaul for $19.99 a day, a $10 collision waver, and 59 cents a mile. I ended up paying about $50 total for the rental. But it was worth it.
I got the van, and proceeded to my local Home Depot. Mind you, I’ve never purchased lumber before, but I knew I needed good quality straight boards. The bed would be built out of 2x4s, 2x6s, and a sheet of plywood. I went through the boards, picked out the straightest pieces I could, and moved on to hardware.
For the build, I needed about 60 4″ hex bolts, and Home Depot didn’t have those. They only about 20. So instead I bought the 3 1/2″ wood screws I needed, the 2″ wood screws, the flat washers, the lock washers, and the hex nuts. Then I loaded everything up, and went to Lowes. They had the bolts I needed. I also picked up a 3 pack of chisels.
I got home, unloaded, and then returned the van. I finally got the project started around 1pm on Tuesday.

My stack of 2x6x8 boards, and my Hitachi Miter Saw.

My stack of 2x4x8 boards.
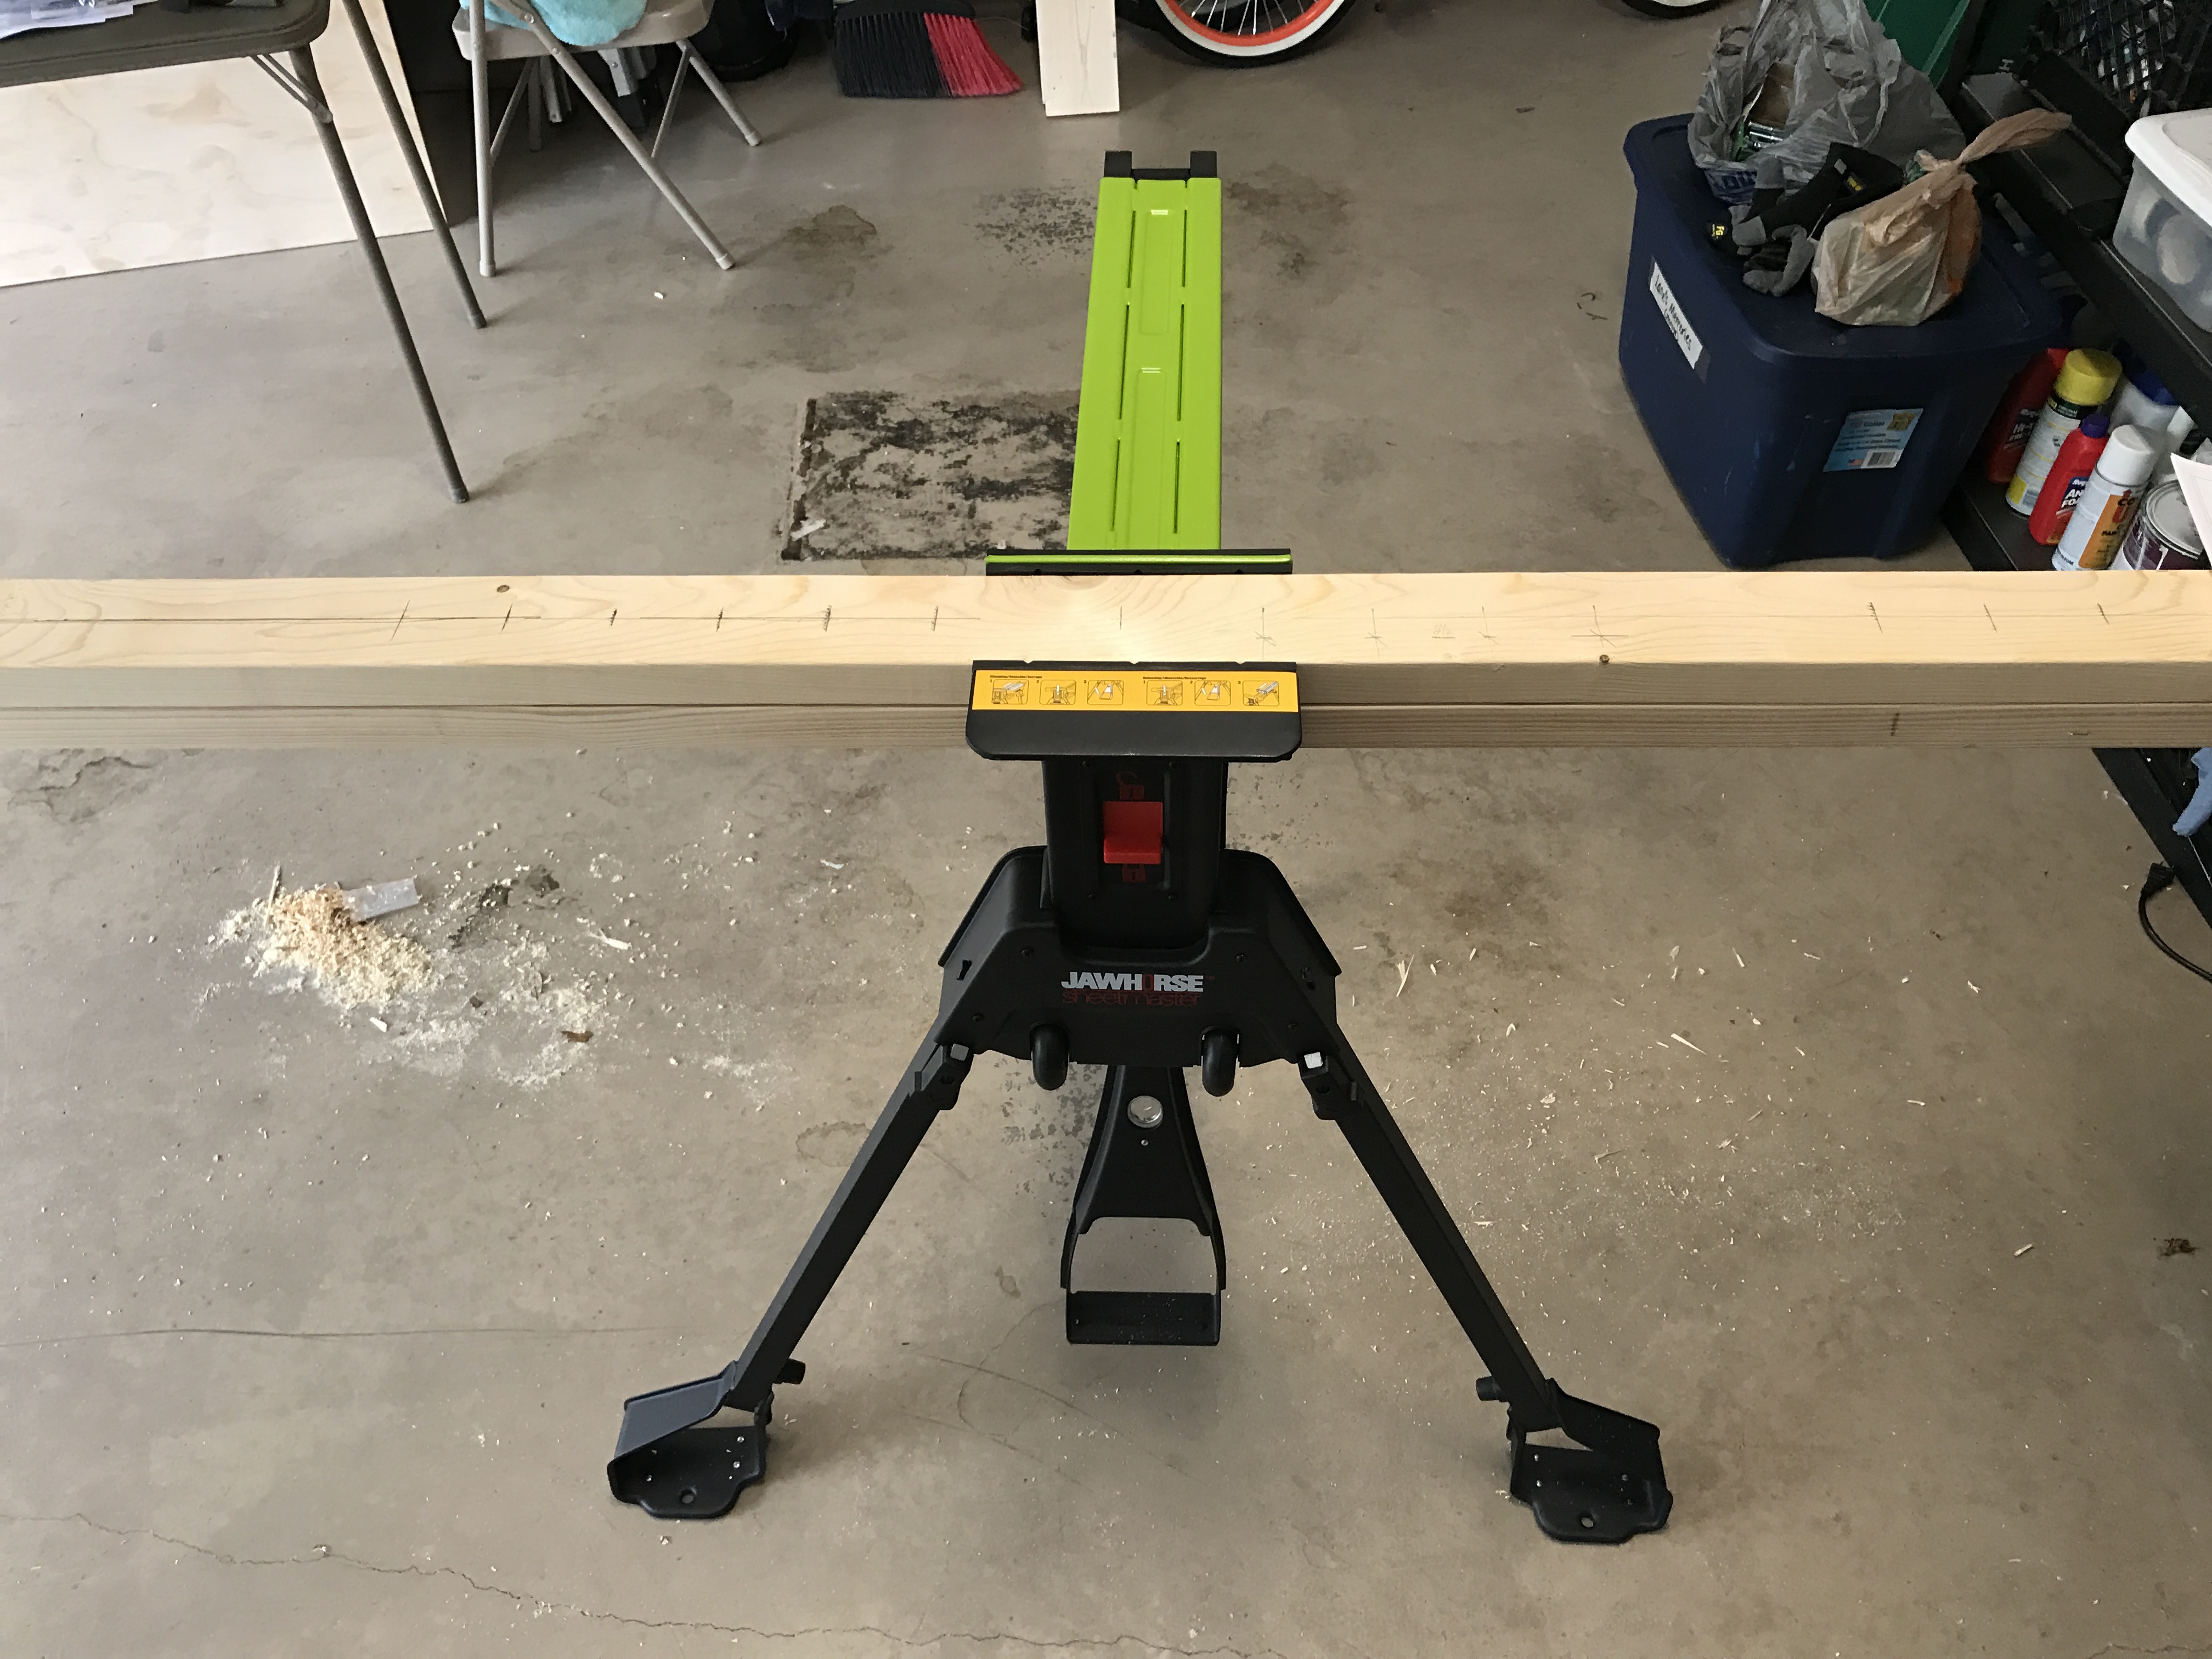
The first thing I did was start measuring out the wood for cuts and for drill holes. Since I’m not very sure of what I’m doing, and since i had never done this before, I took careful steps to measure often, and cut once. Same thing with the drill holes.
Remember, I live in Tampa. It’s summer. I’m working in my garage. It’s probably 150% humidity and the temp was high as well. It took me the better part of the day to get the cuts made and the holes drilled.

Stacks of my cut and drilled pieces.

Stacks of my cut and drilled pieces.
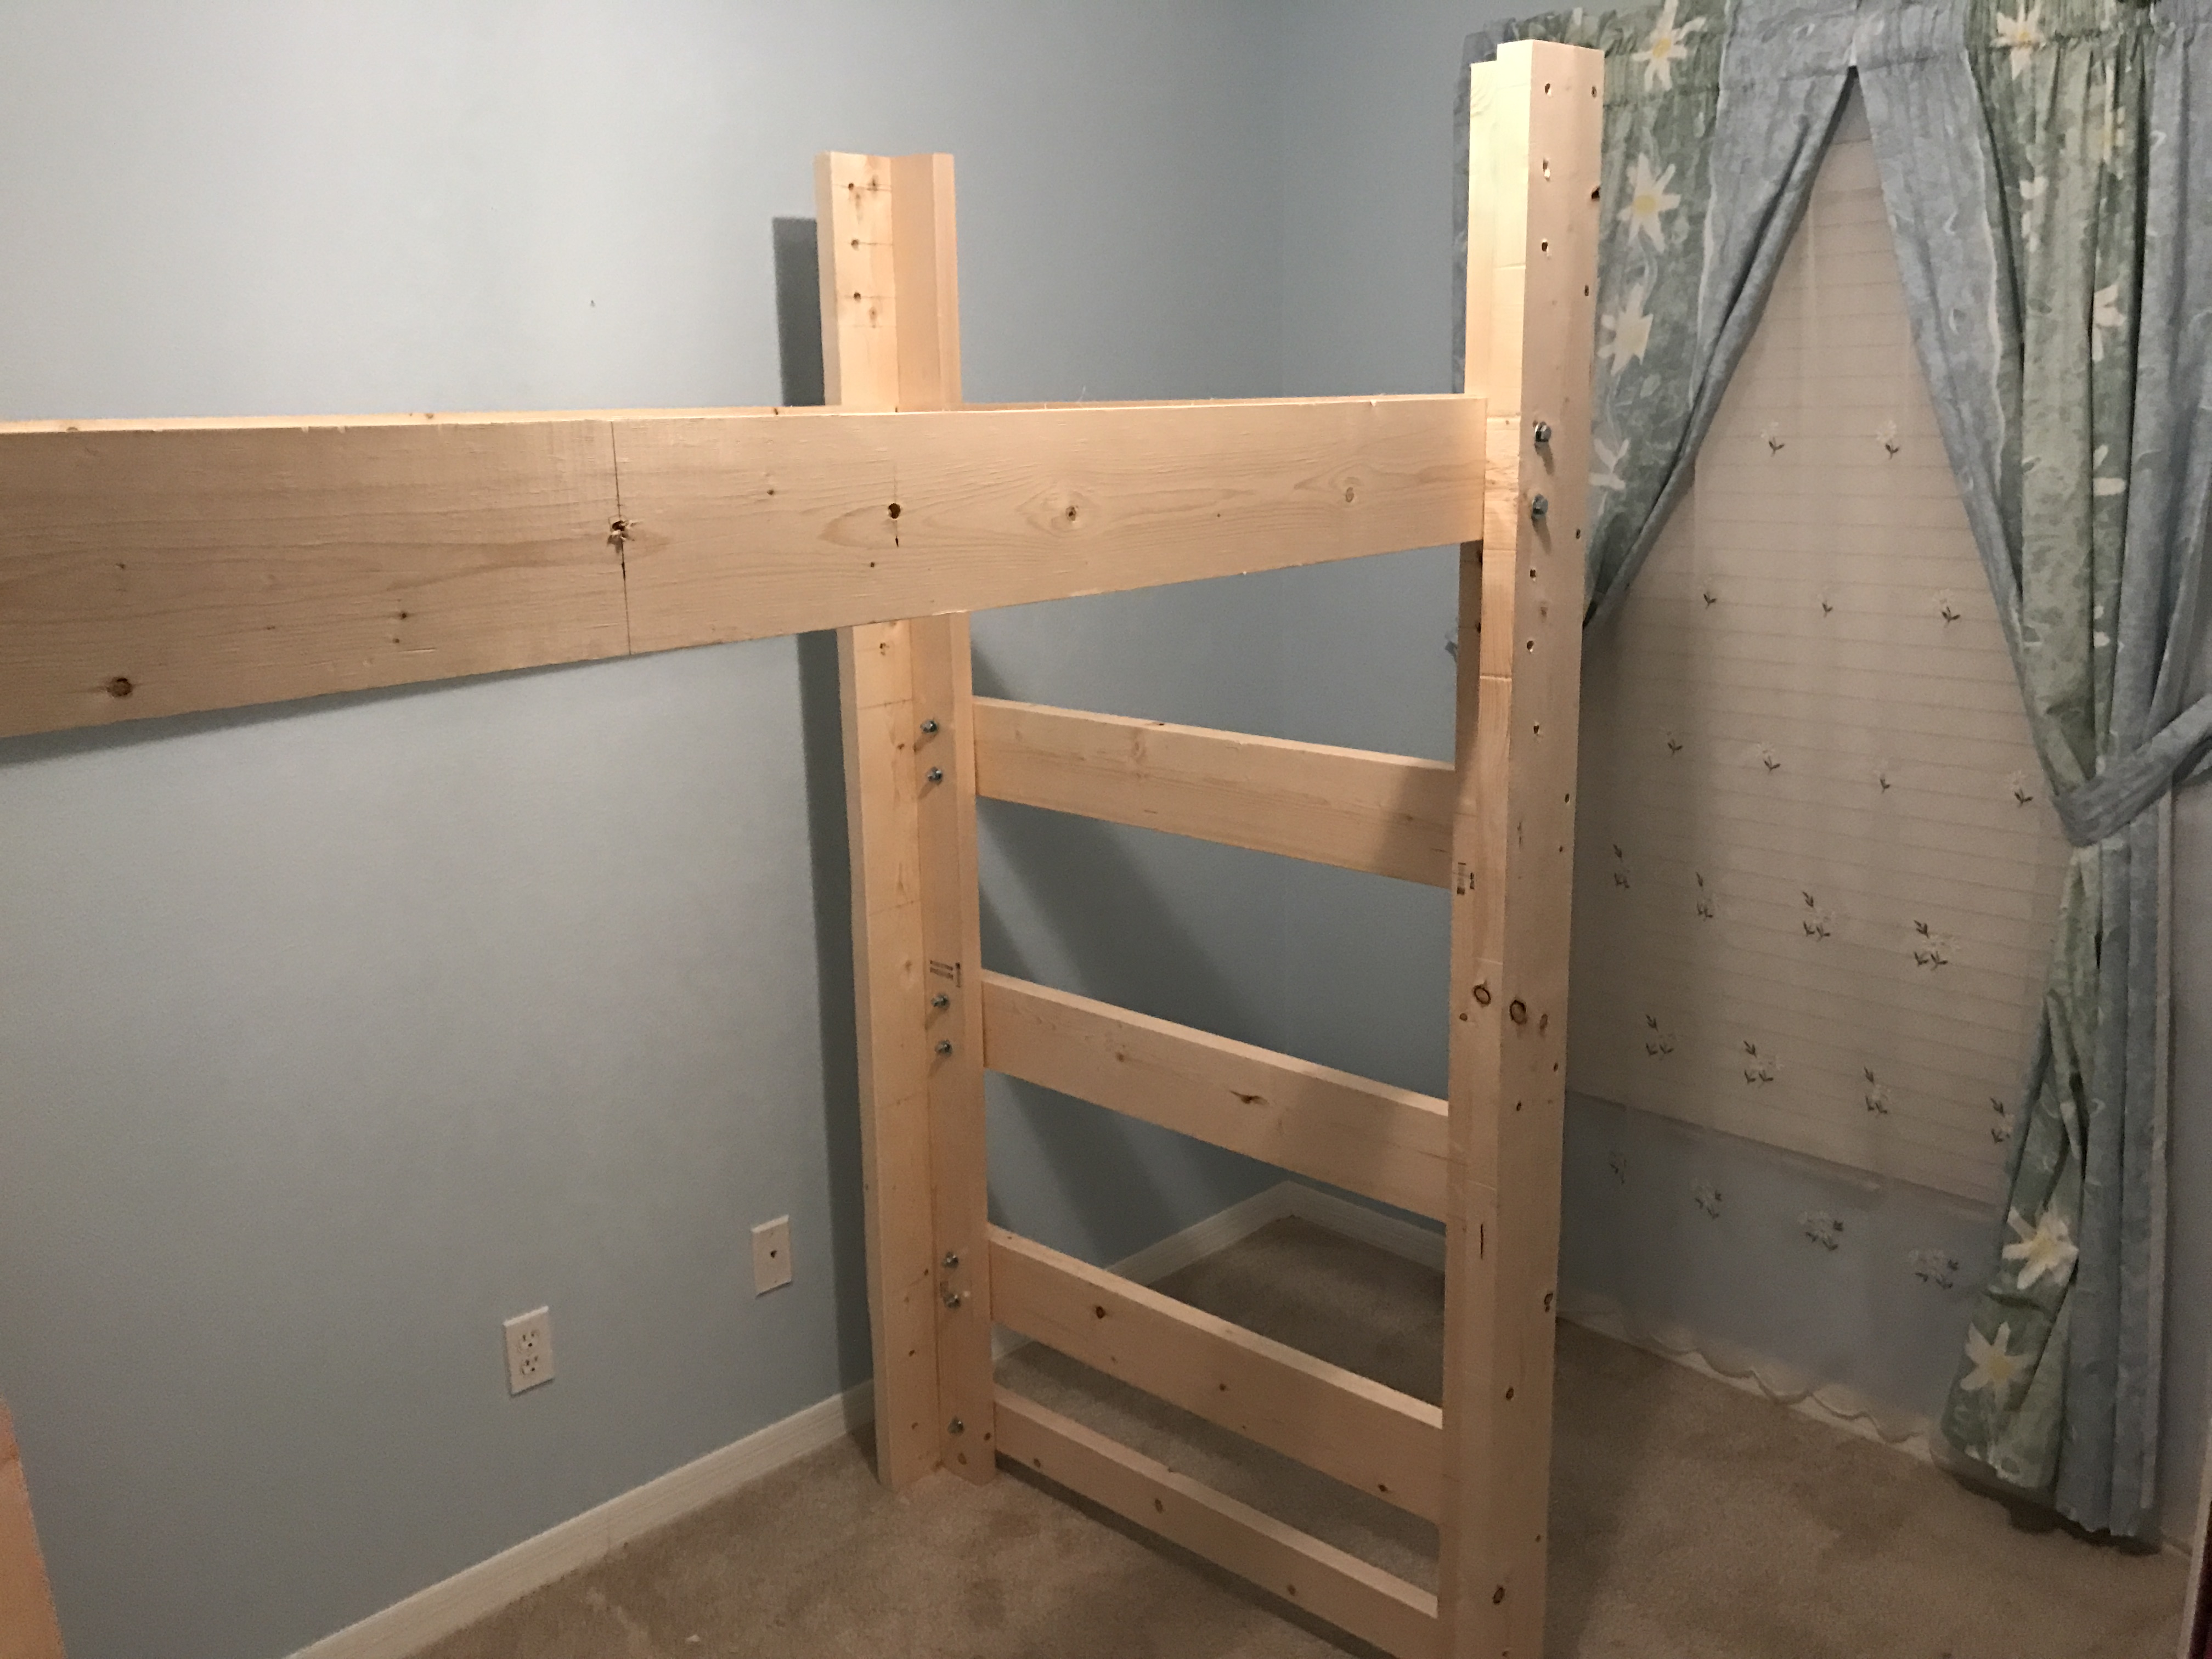
At the end of that night, I was able to assemble the tall side legs. I used the glue, a 1/8″ drill bit to pre drill for the wood screws, and then clamped them together to assemble.

Assembling the legs. I glued them, clamped them, pre-drilled, and screwed them together with 3 1/2″ wood screws.
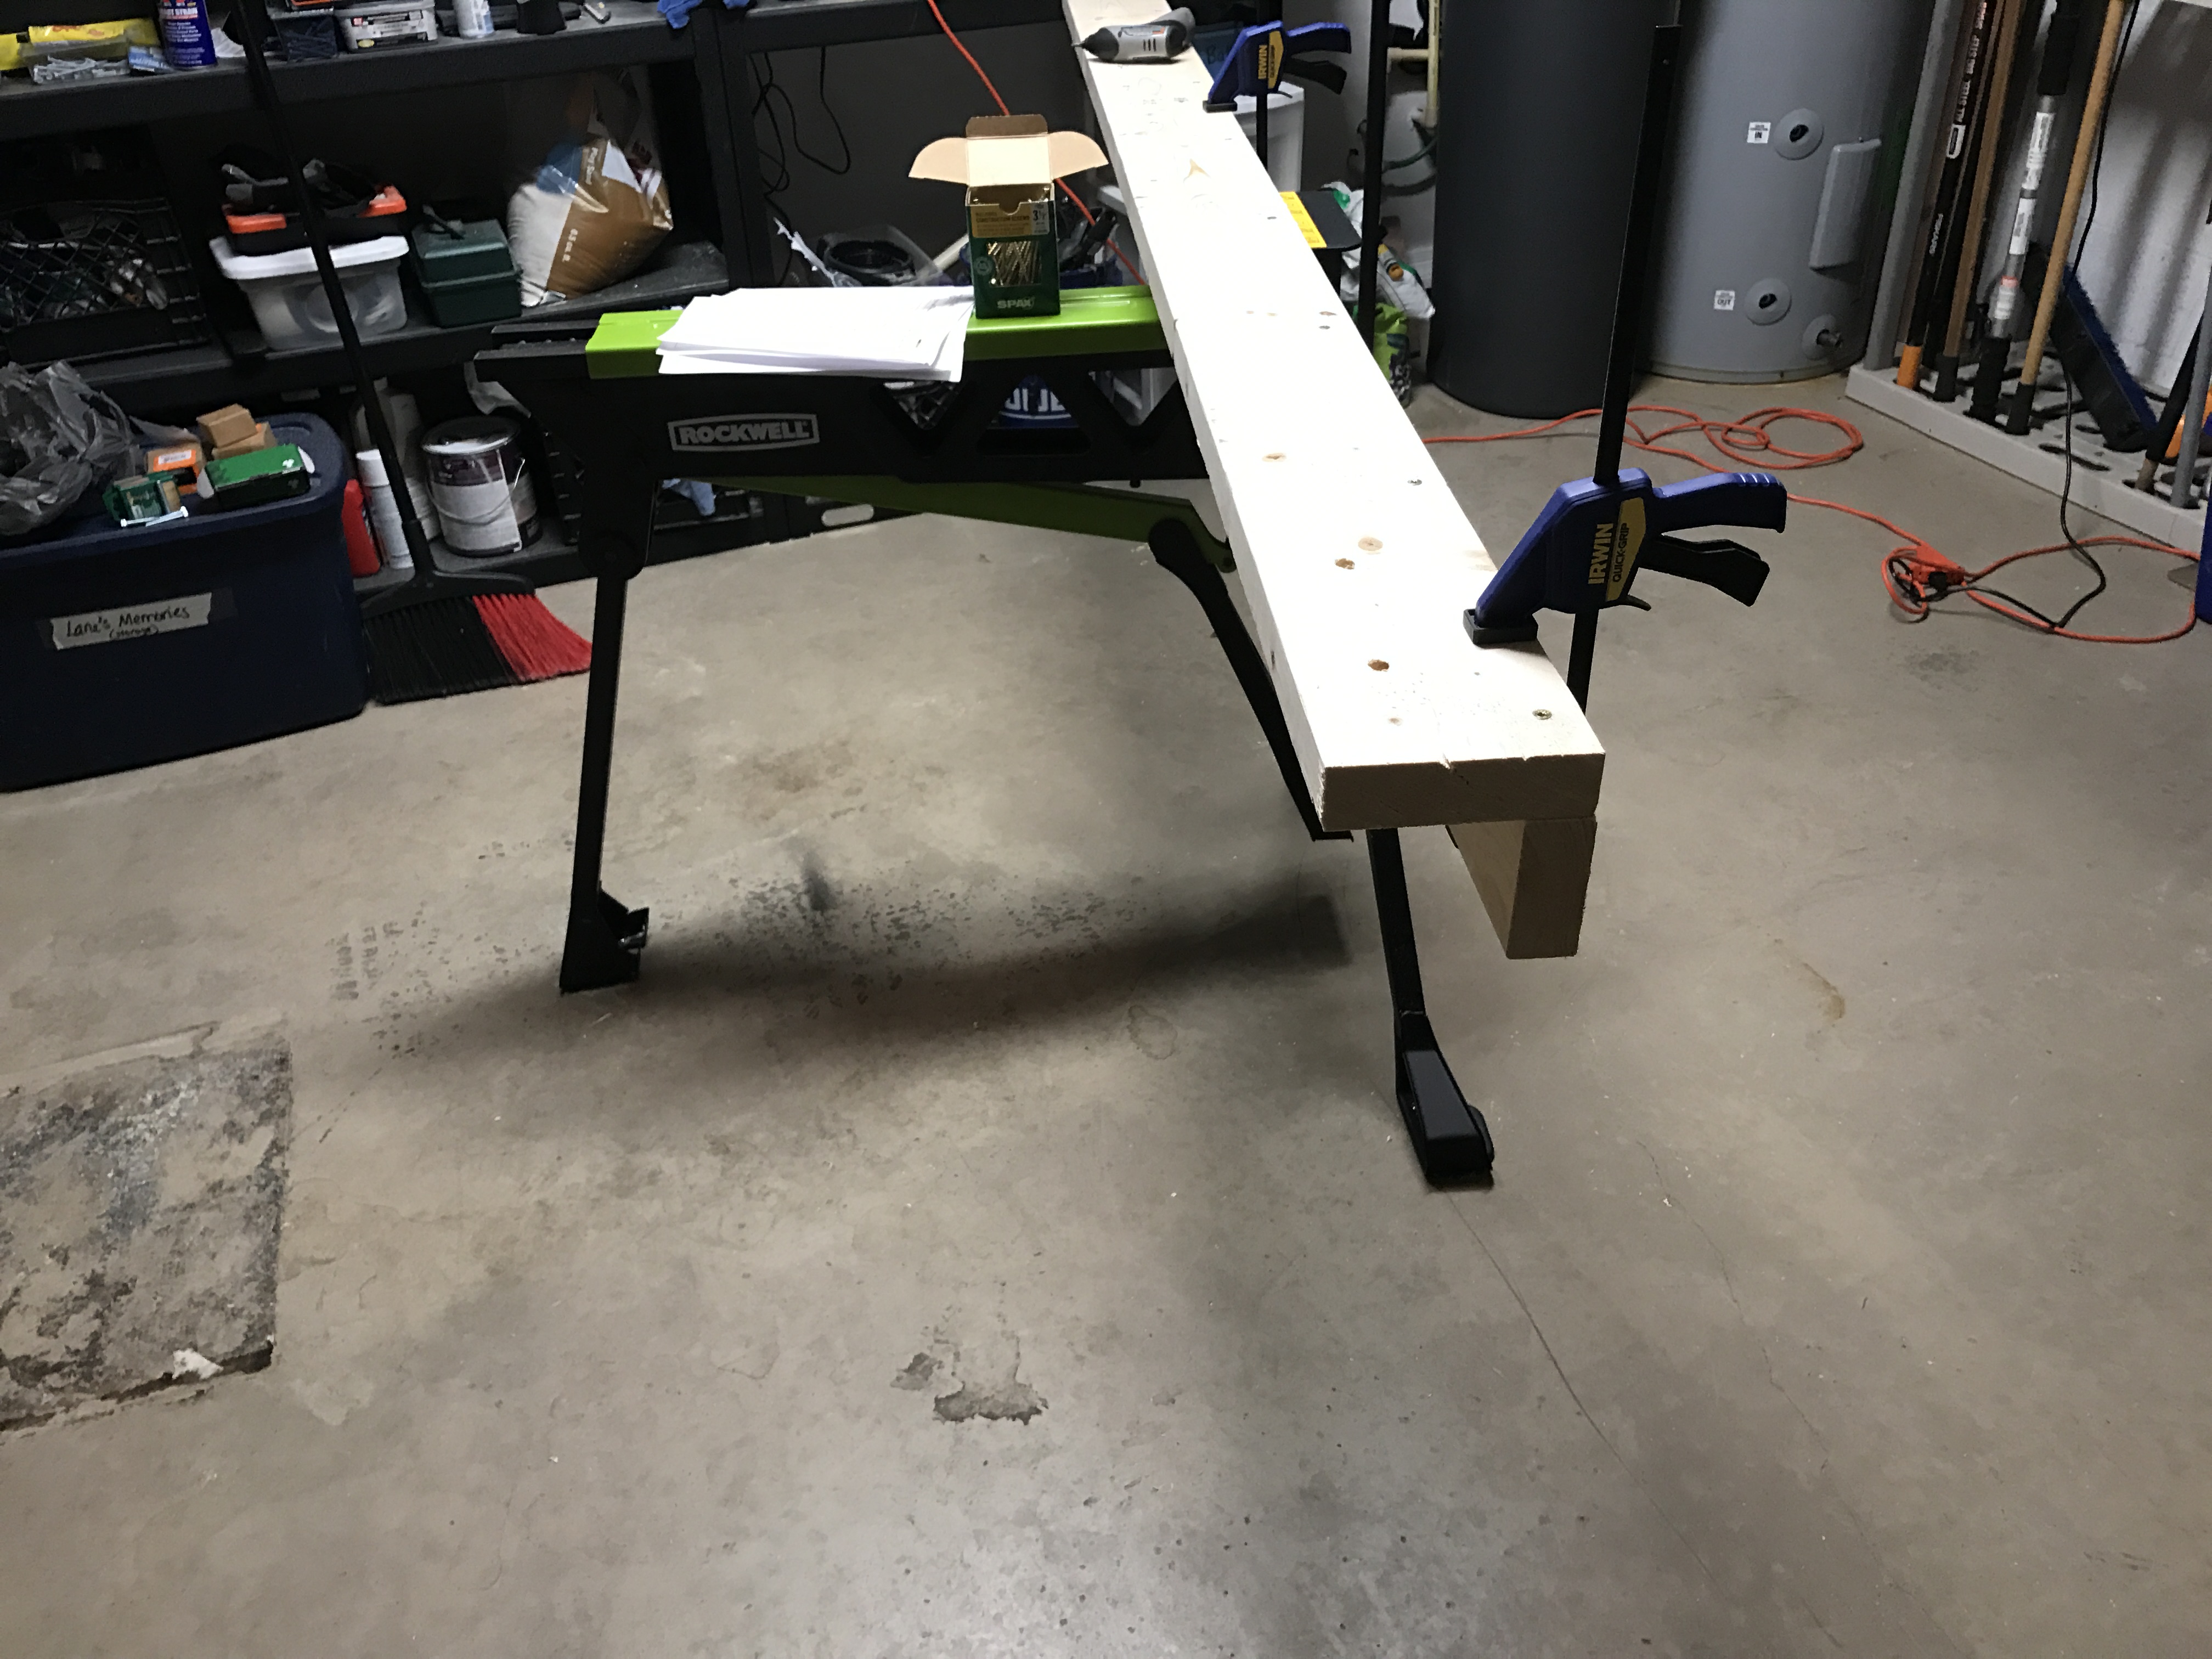
I then took these inside to Josie’s room, and crossed my fingers…and they fit! The pieces fit! I had already notched out the thin side of the mattress support rails, using that same 3/4″ circular saw depth, I went around the 2″ side of the 4 2×6 boards used for the support rails. The plywood would set inside these notches.
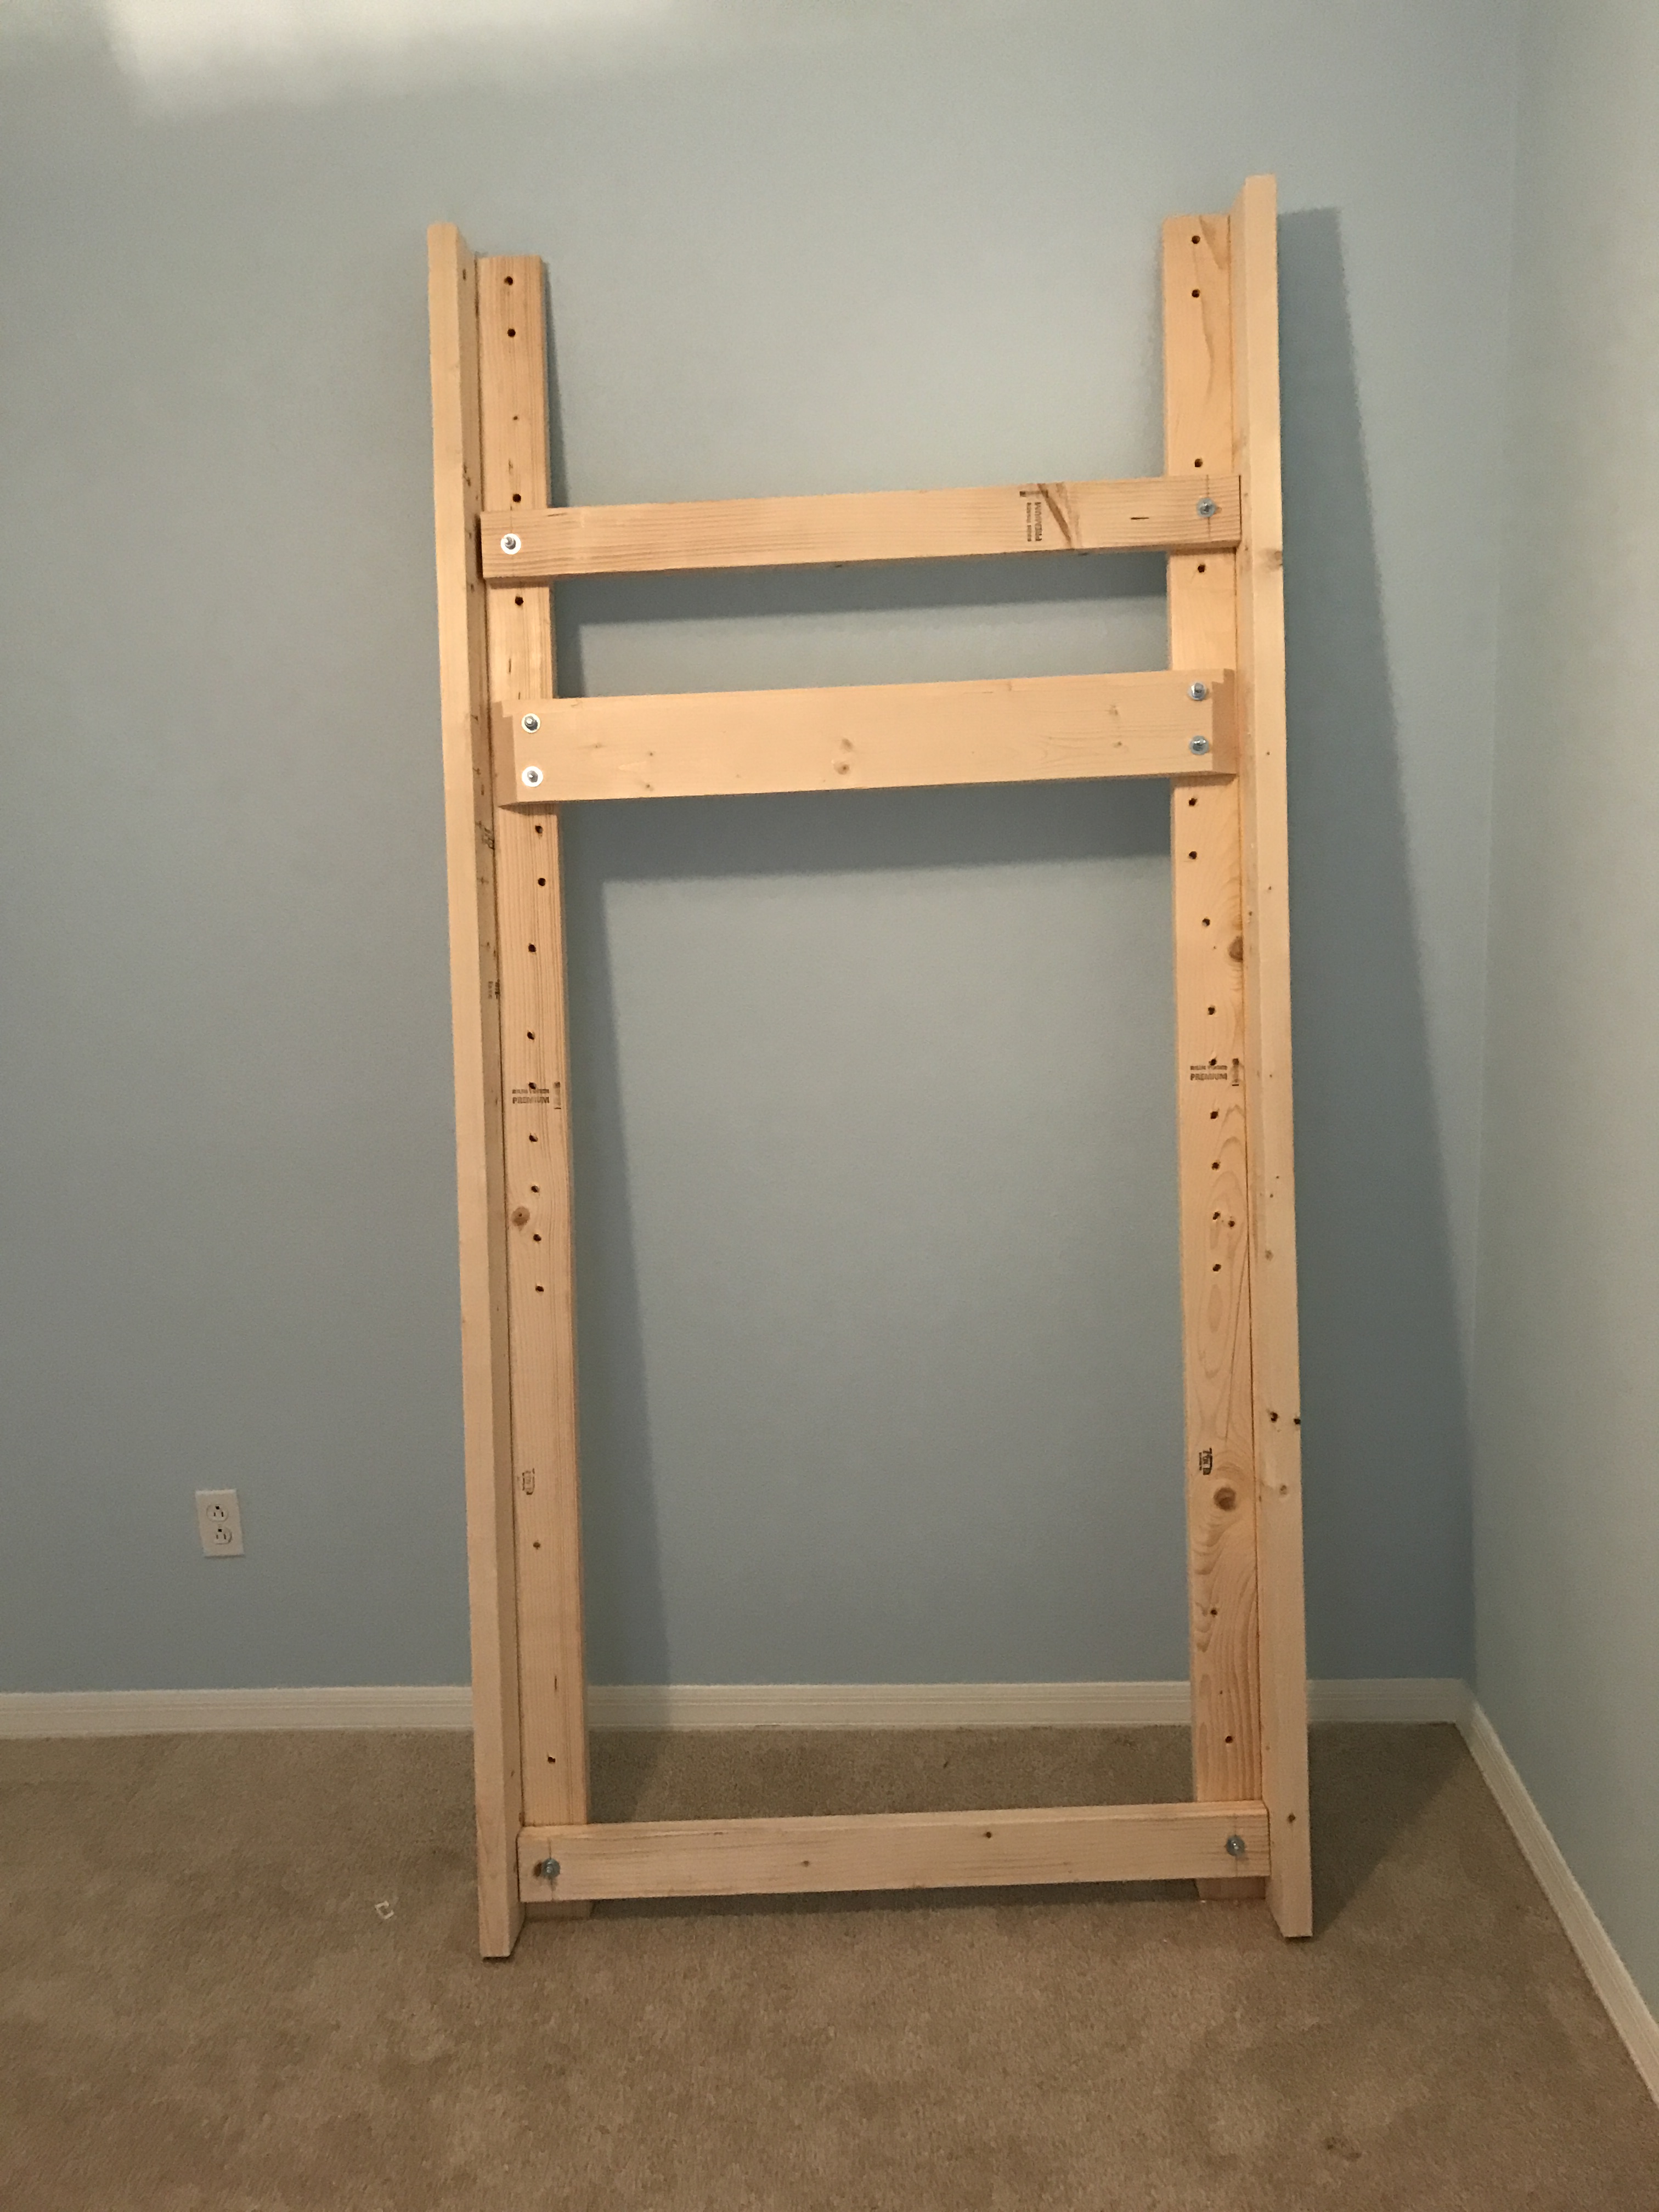
Tall side legs before cross brace.
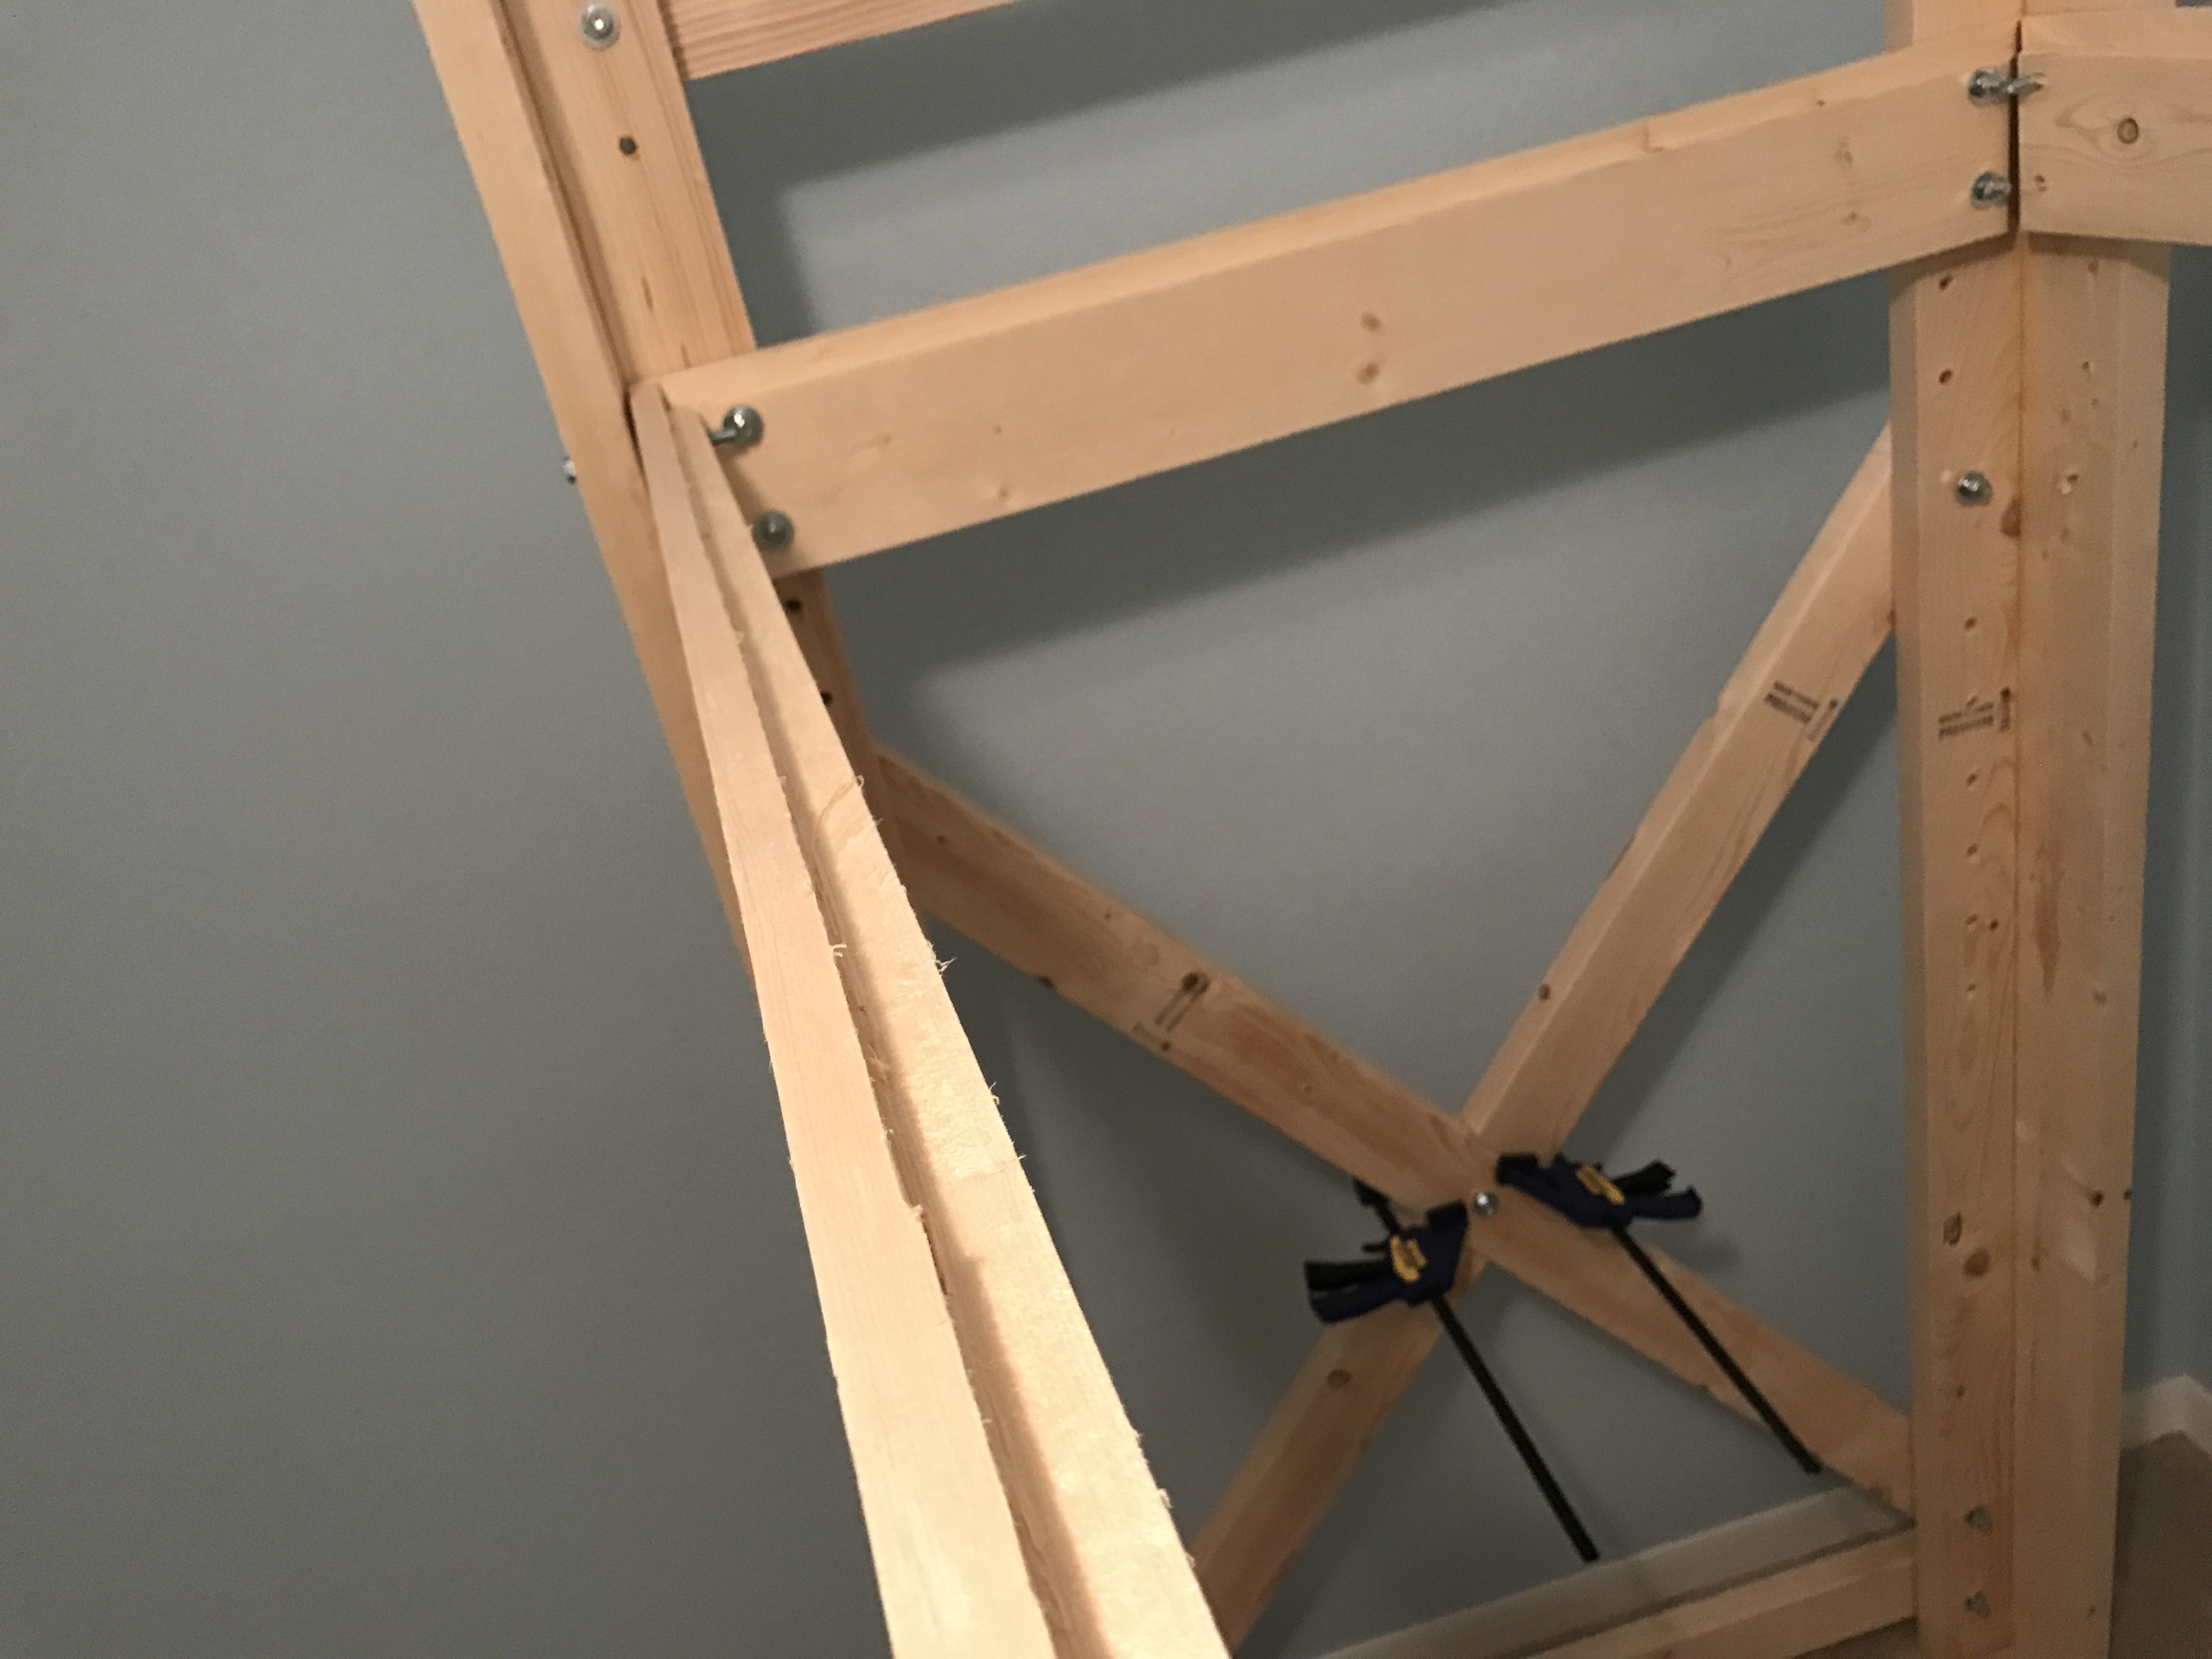
What I had to do next was temporarily put the cross brace on, so I could measure where I needed to make the cross lap joint. I did this by using the circular saw set to a 3/4″ depth, and notching out the space for the joint, and then using a hammer and chisel to knock the pieces out. I went back in, and the cross lap joint worked! I joined it together.

Put the cross brace in place, marked, and notched out a cross lap joint.
I got those done, and promptly went to bed at about 1:30am.
I woke up in the morning early, and proceeded to put the other end of the bed together, the short side. This side would house the ladder steps. I was able to get that assembled, and put the 4 bed rails up, and then I left to go to work at about 9am. I got back home after church that night about 9pm – and immediately began assembling the rest of it. I was joining my family at the beach the next day, and didn’t have time to spare!
Short side of the bed assembled, with ladder steps, and the mattress rails in place as well.
Shot of the notched area for the mattress. A sheet of plywood will go here.
I put together the cross piece for the middle of the bed to support the plywood. I also put together the back cross brace the same way I did the side cross brace.

The center brace for the bed, the plywood will sit on top of this, and in the notched area of the mattress rails.

Here you can see the back cross brace, done in the same manner as the short cross brace at the head of the bed.
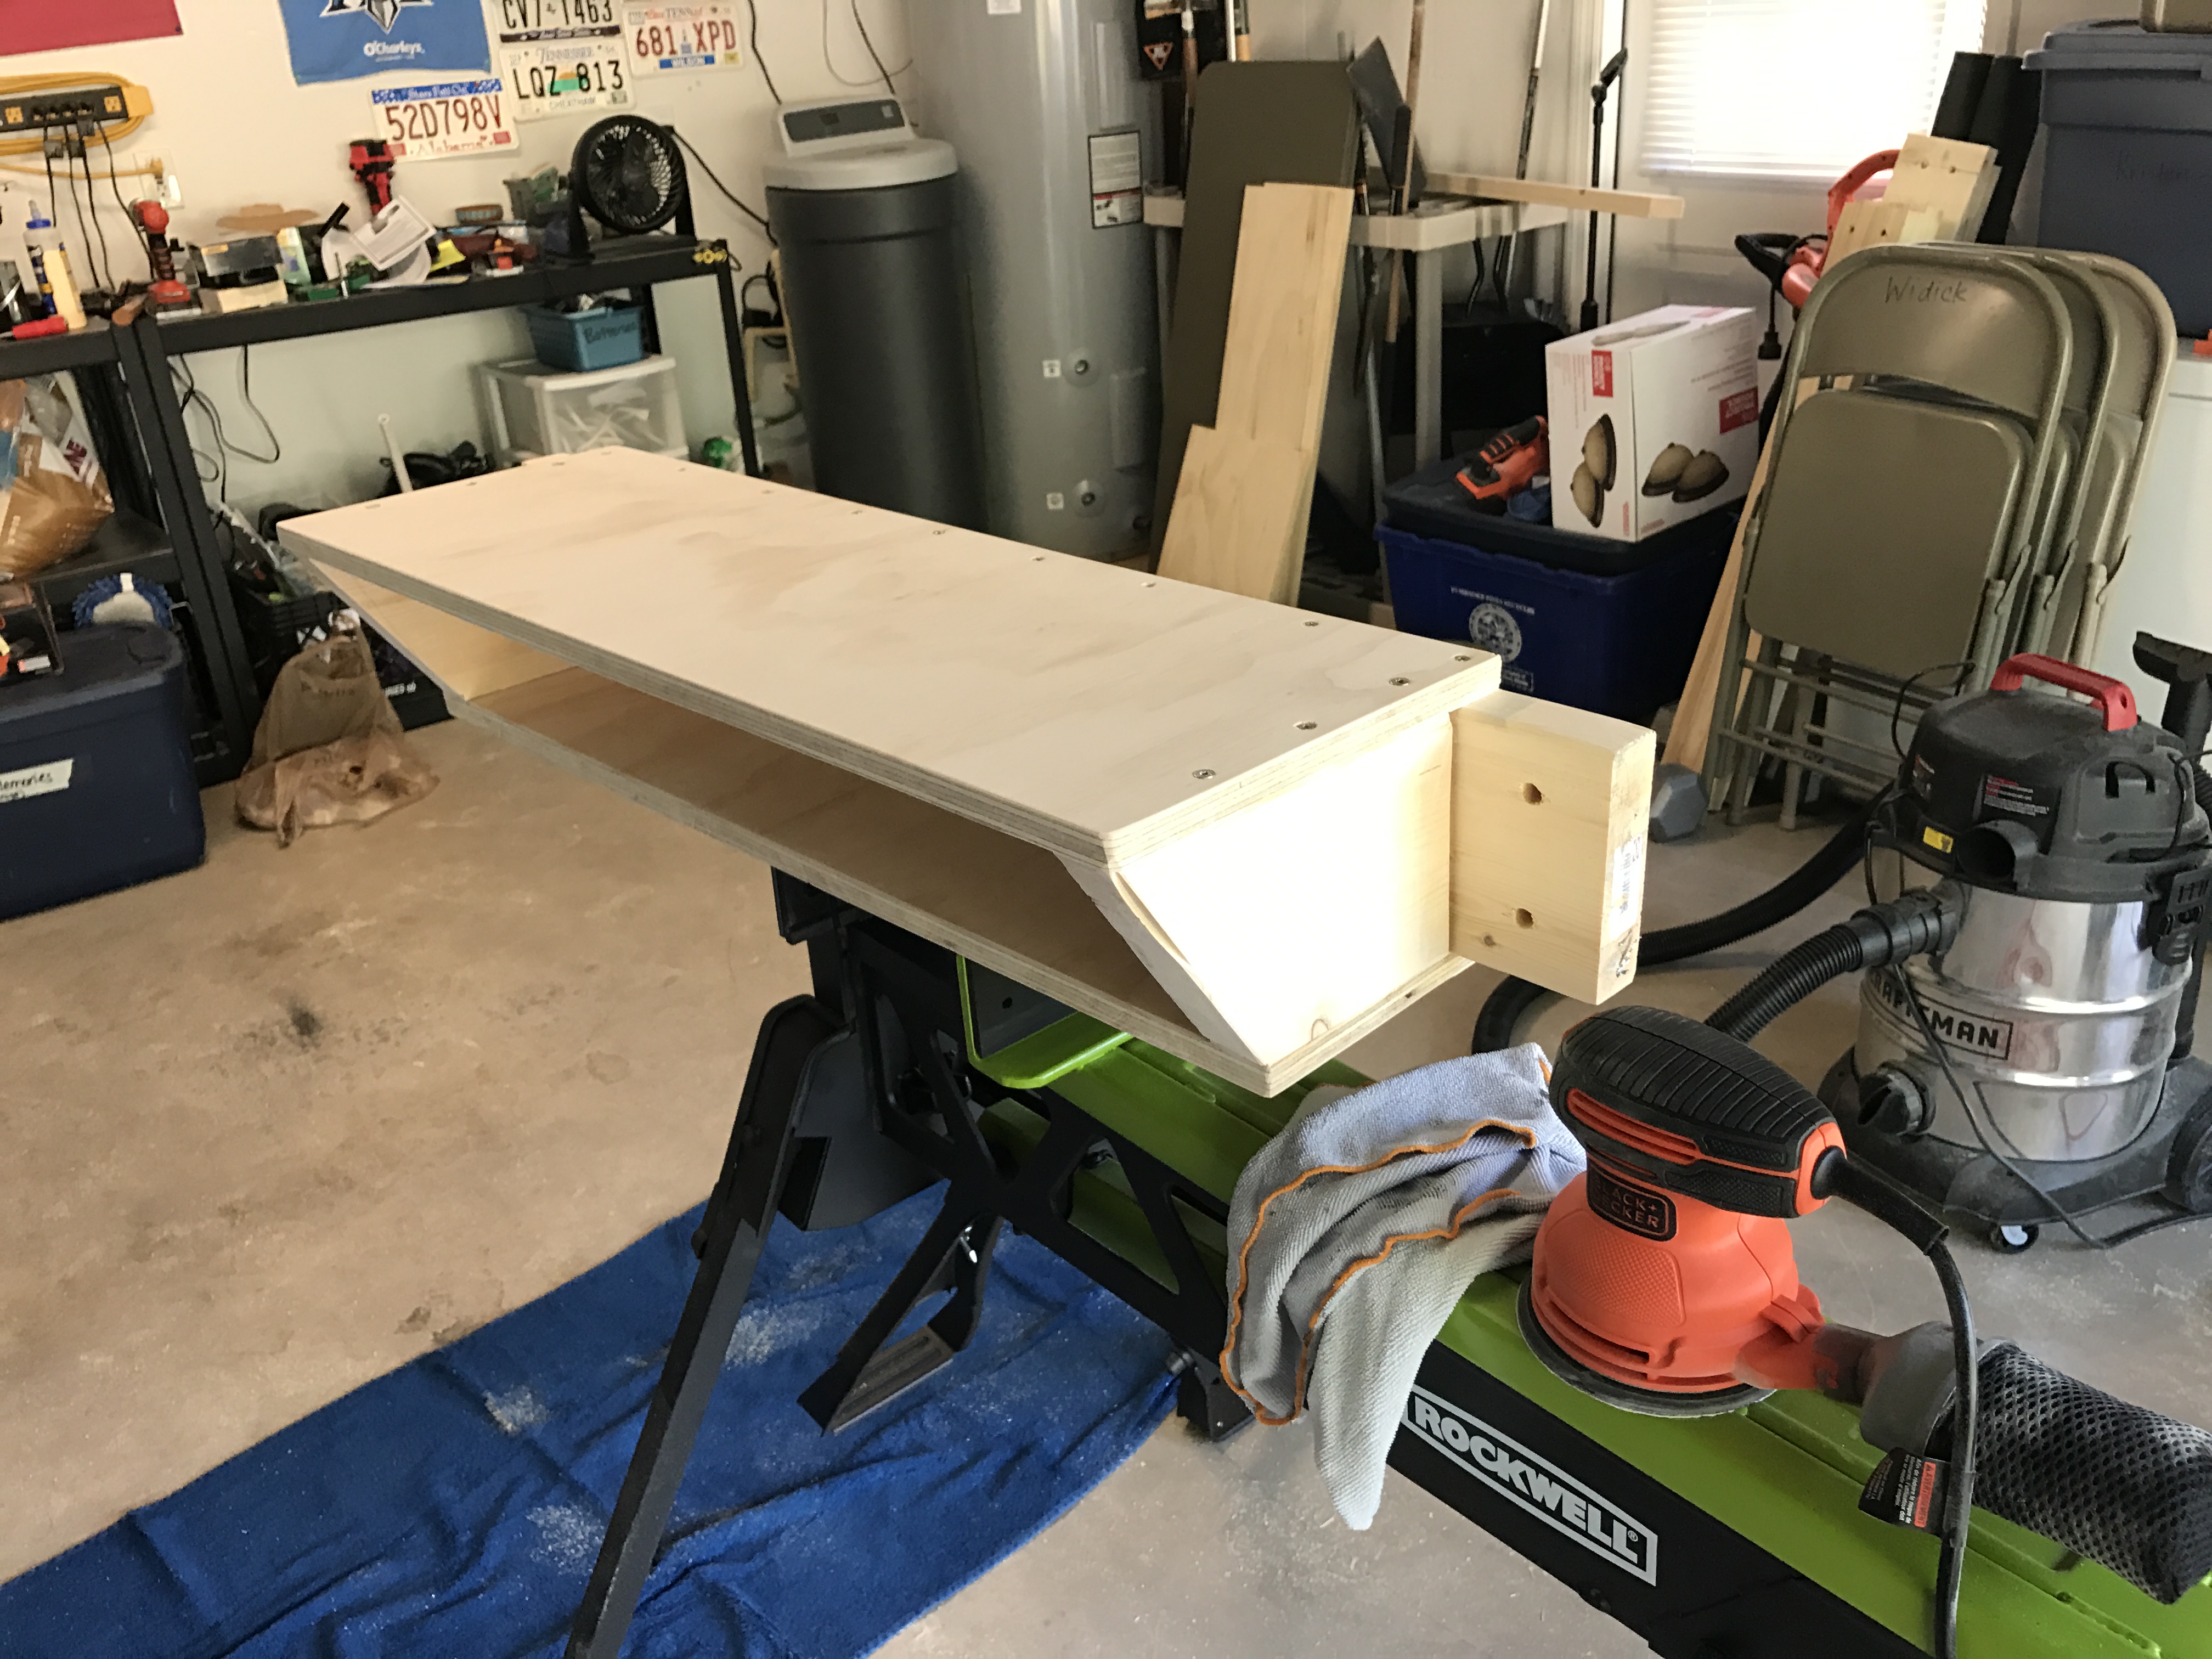
After that, even though I wasn’t completely done, I realized the only thing I had left to do was cut the plywood, and make the shelf for the top of the bed. I couldn’t make the shelf until I cut the plywood, so I decided that I would finish all that after Josie saw her surprise.